
Renting shouldn’t mean staring at bare walls for years. The right rental-friendly wall decor can turn a plain apartment into a space that actually feels like yours, without risking your security deposit or your landlord’s patience. This roundup gathers nineteen damage-free ideas — from adhesive gallery walls to leaning ledges and removable wallpaper — that hold up in real apartments, not just in theory. Each idea is chosen for genuine durability, easy removal, and visual impact, so you get the warmth and character of a fully decorated home while staying entirely within your lease terms. If you’ve been putting off decorating because you’re renting, this is where you should start.
Command Strip Gallery Wall
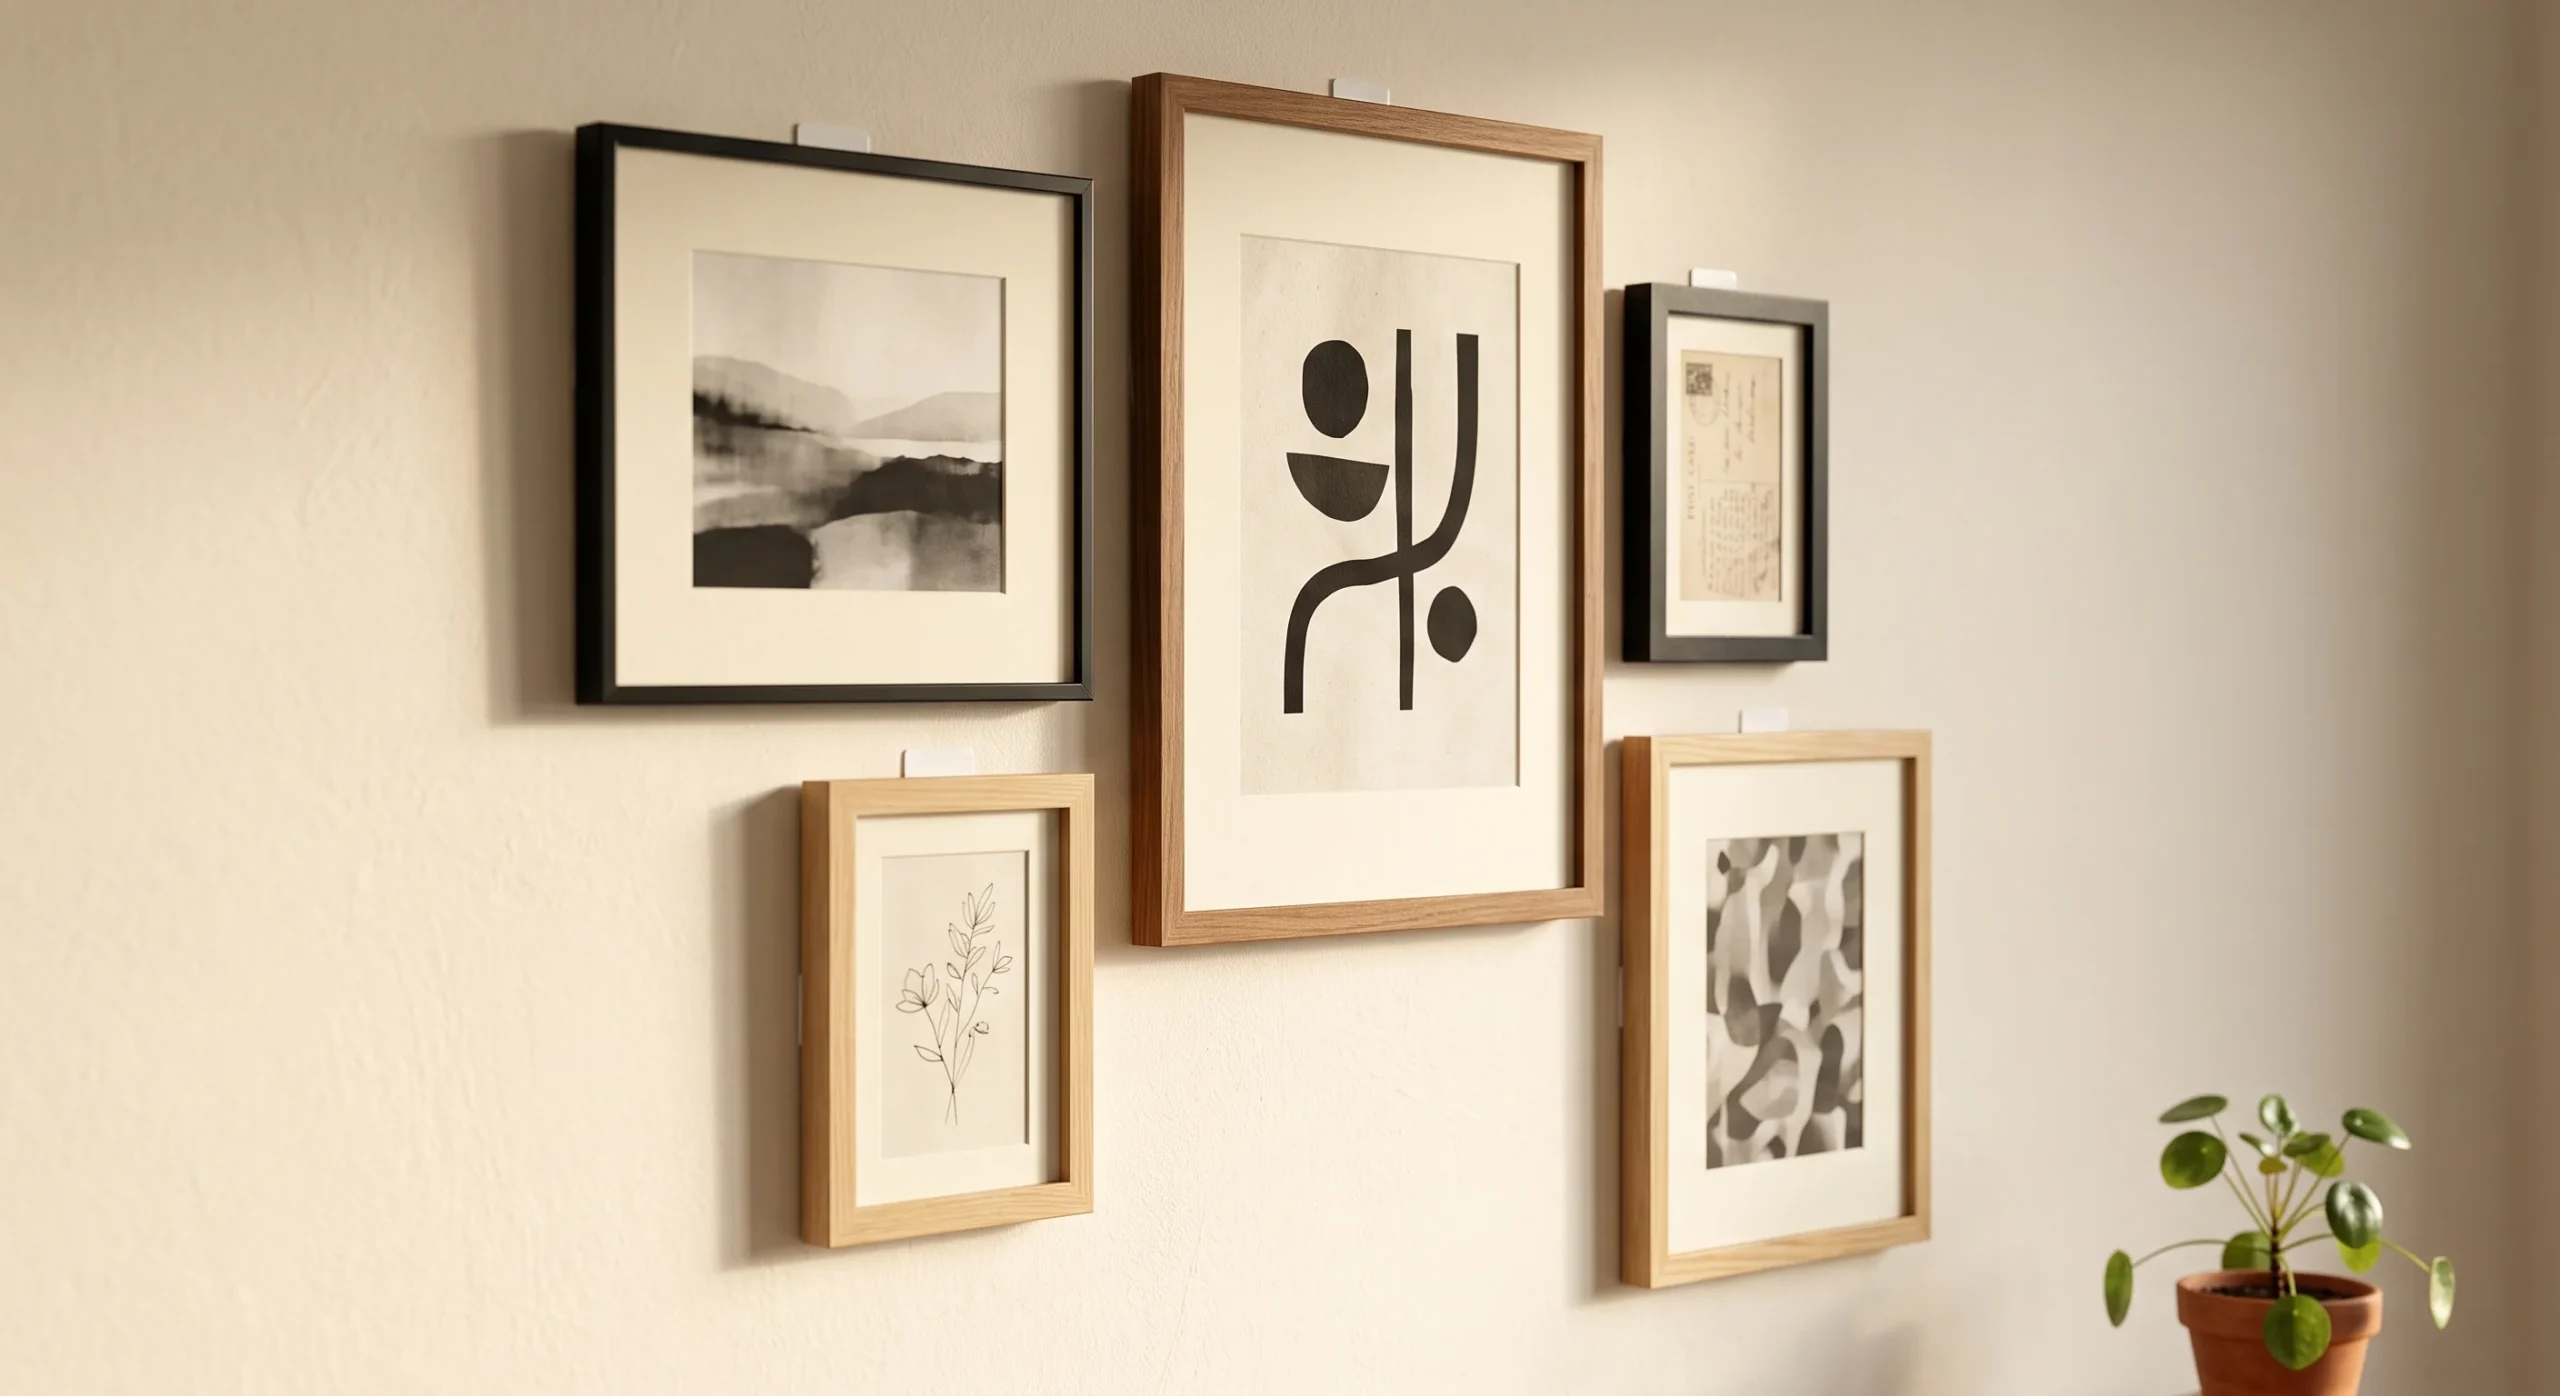
- Adhesive strips hold frames securely without punching holes, so you keep your full deposit at move-out.
- Arrange odd-numbered groupings of 3, 5, or 7 frames for a layout that feels intentional rather than random.
- Mix frame sizes and slim gallery-style mats to add visual weight without cluttering the wall.
- Test the wall surface first — textured or freshly painted walls sometimes need a specific strip variant.
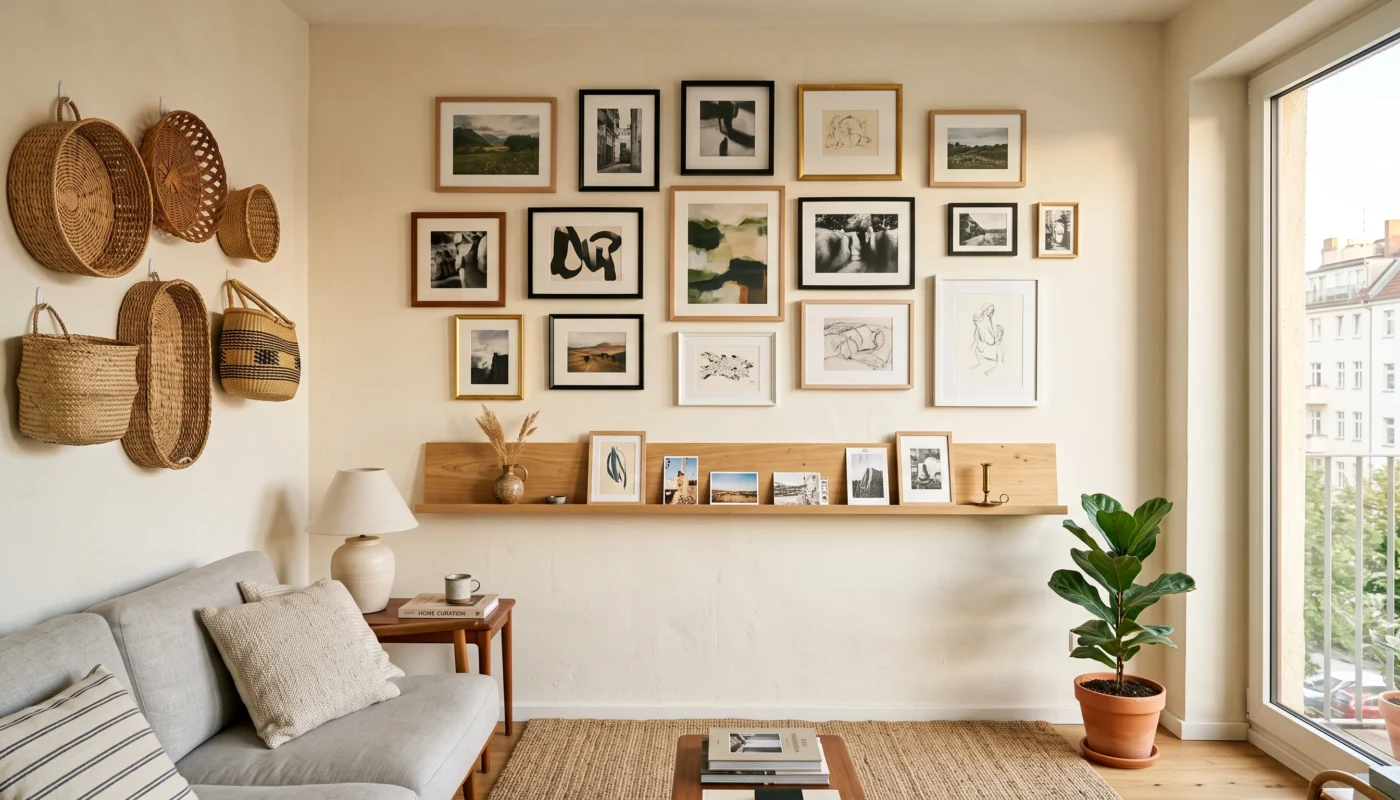
A command strip gallery wall works because it solves the exact problem renters face: wanting a layered, personal wall without permanent hardware. Structurally, adhesive strips distribute weight evenly across a foam core, which is why lightweight frames hold so well over time. The trick is choosing frames under the manufacturer’s weight limit and spacing them with painter’s tape guides before committing. Done this way, the wall reads as a cohesive collection rather than a scattered afterthought, which is exactly the balance a small apartment wall needs.
Once the layout is mapped, real homes benefit most from mixing textures — a few matte black frames against warm wood ones keep the grouping from feeling flat. A reader’s eye is drawn first to the largest frame, so anchor your best piece at eye level and build outward from there. This idea transforms a blank wall into a warm focal point within an afternoon, with zero drying time, zero patching, and a full security deposit intact when the lease ends. It is often the single highest-impact project for the actual effort involved.
Removable Wallpaper Panels
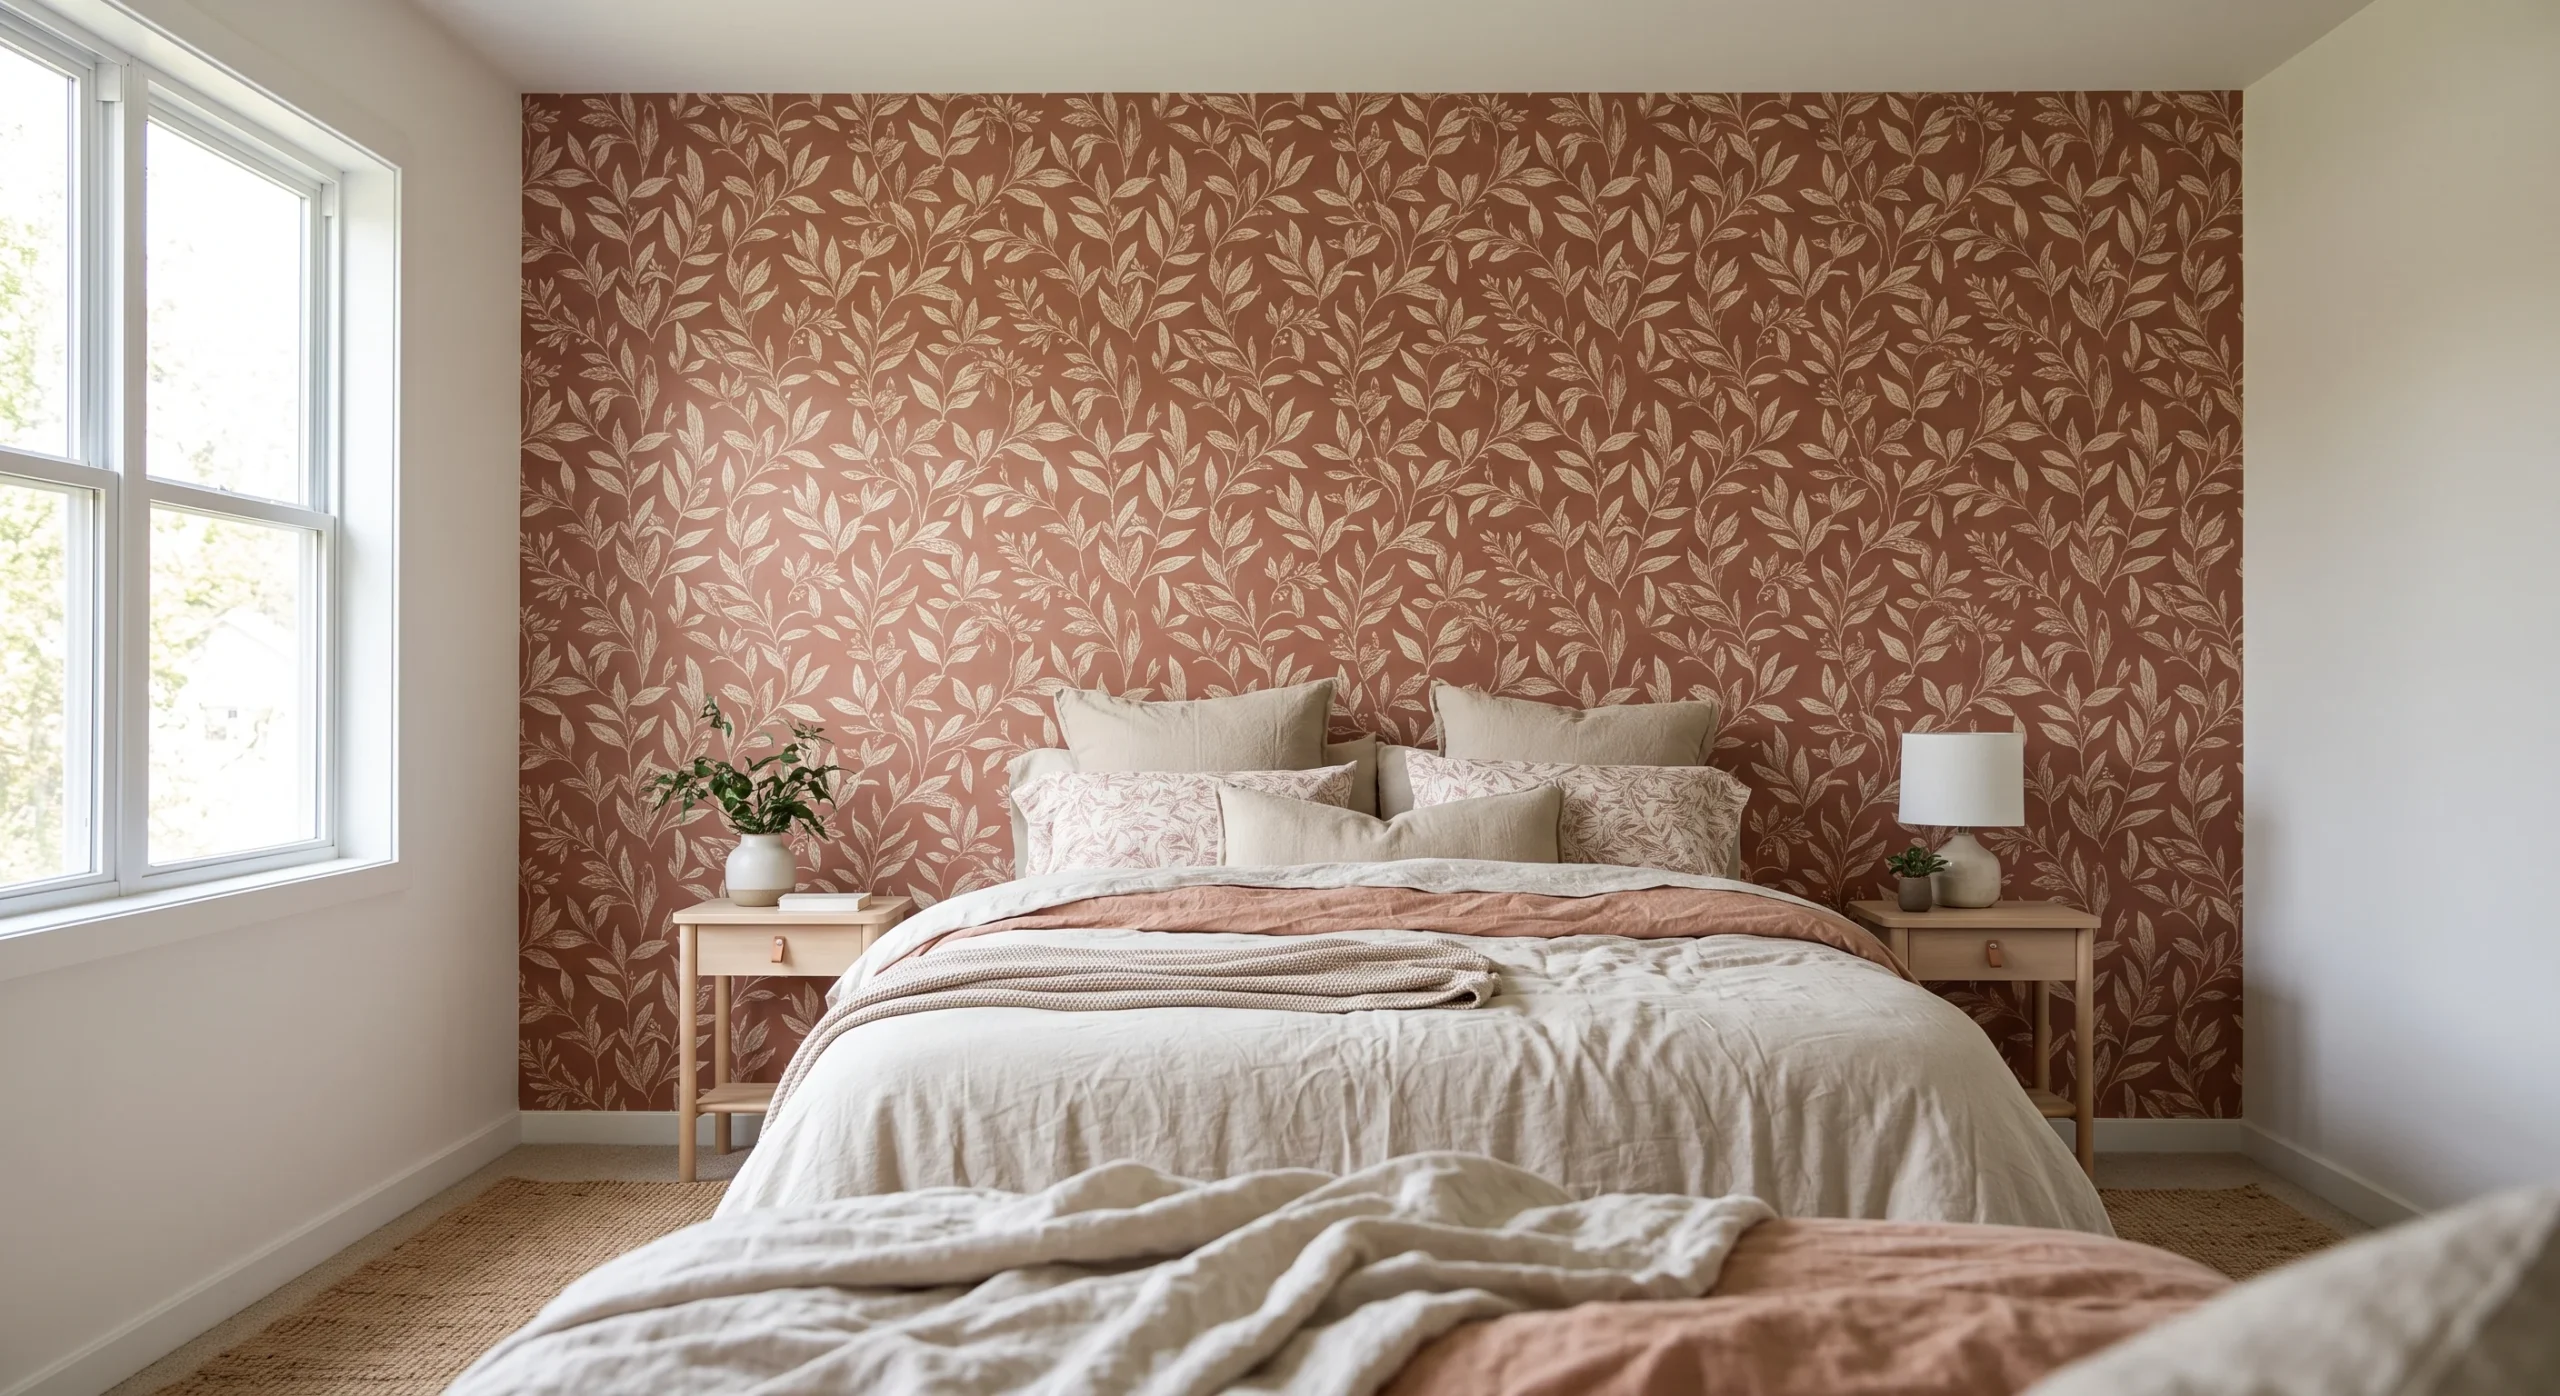
- Peel-and-stick wallpaper panels add pattern or color to one wall without adhesive residue on plaster or drywall.
- Focus on one accent wall rather than the whole room — it lowers cost and speeds up removal later.
- Choose a textured or matte finish over glossy vinyl, which tends to show wall imperfections more clearly.
- Order a sample swatch first; wall paint sometimes reacts differently to adhesive than a showroom test wall.
Removable wallpaper solves a different problem than paint: it lets you introduce pattern, texture, or saturated color without the two-coat commitment of painting and repainting before you move out. The material is engineered with a low-tack adhesive layer that bonds to smooth or lightly textured walls without pulling paint off on removal, provided the wall was properly primed by the landlord originally. Panels are cut to align seams, so measuring the wall width beforehand prevents an awkward half-panel at the end. This is one of the few apartment decor upgrades that changes an entire room’s mood in a single afternoon.
In real apartments, one wallpapered wall behind a bed or sofa reads as a deliberate design choice rather than a limitation of renting. The visual weight it adds means you can simplify everything else in the room — fewer accessories, calmer furniture — and the space still feels finished. Removal typically takes under an hour per wall if you warm the adhesive slightly with a hairdryer before peeling from a top corner. What you’re left with is a plain wall again, ready for the next idea, with none of the patching traditional wallpaper would have required.
Washi Tape Art Border
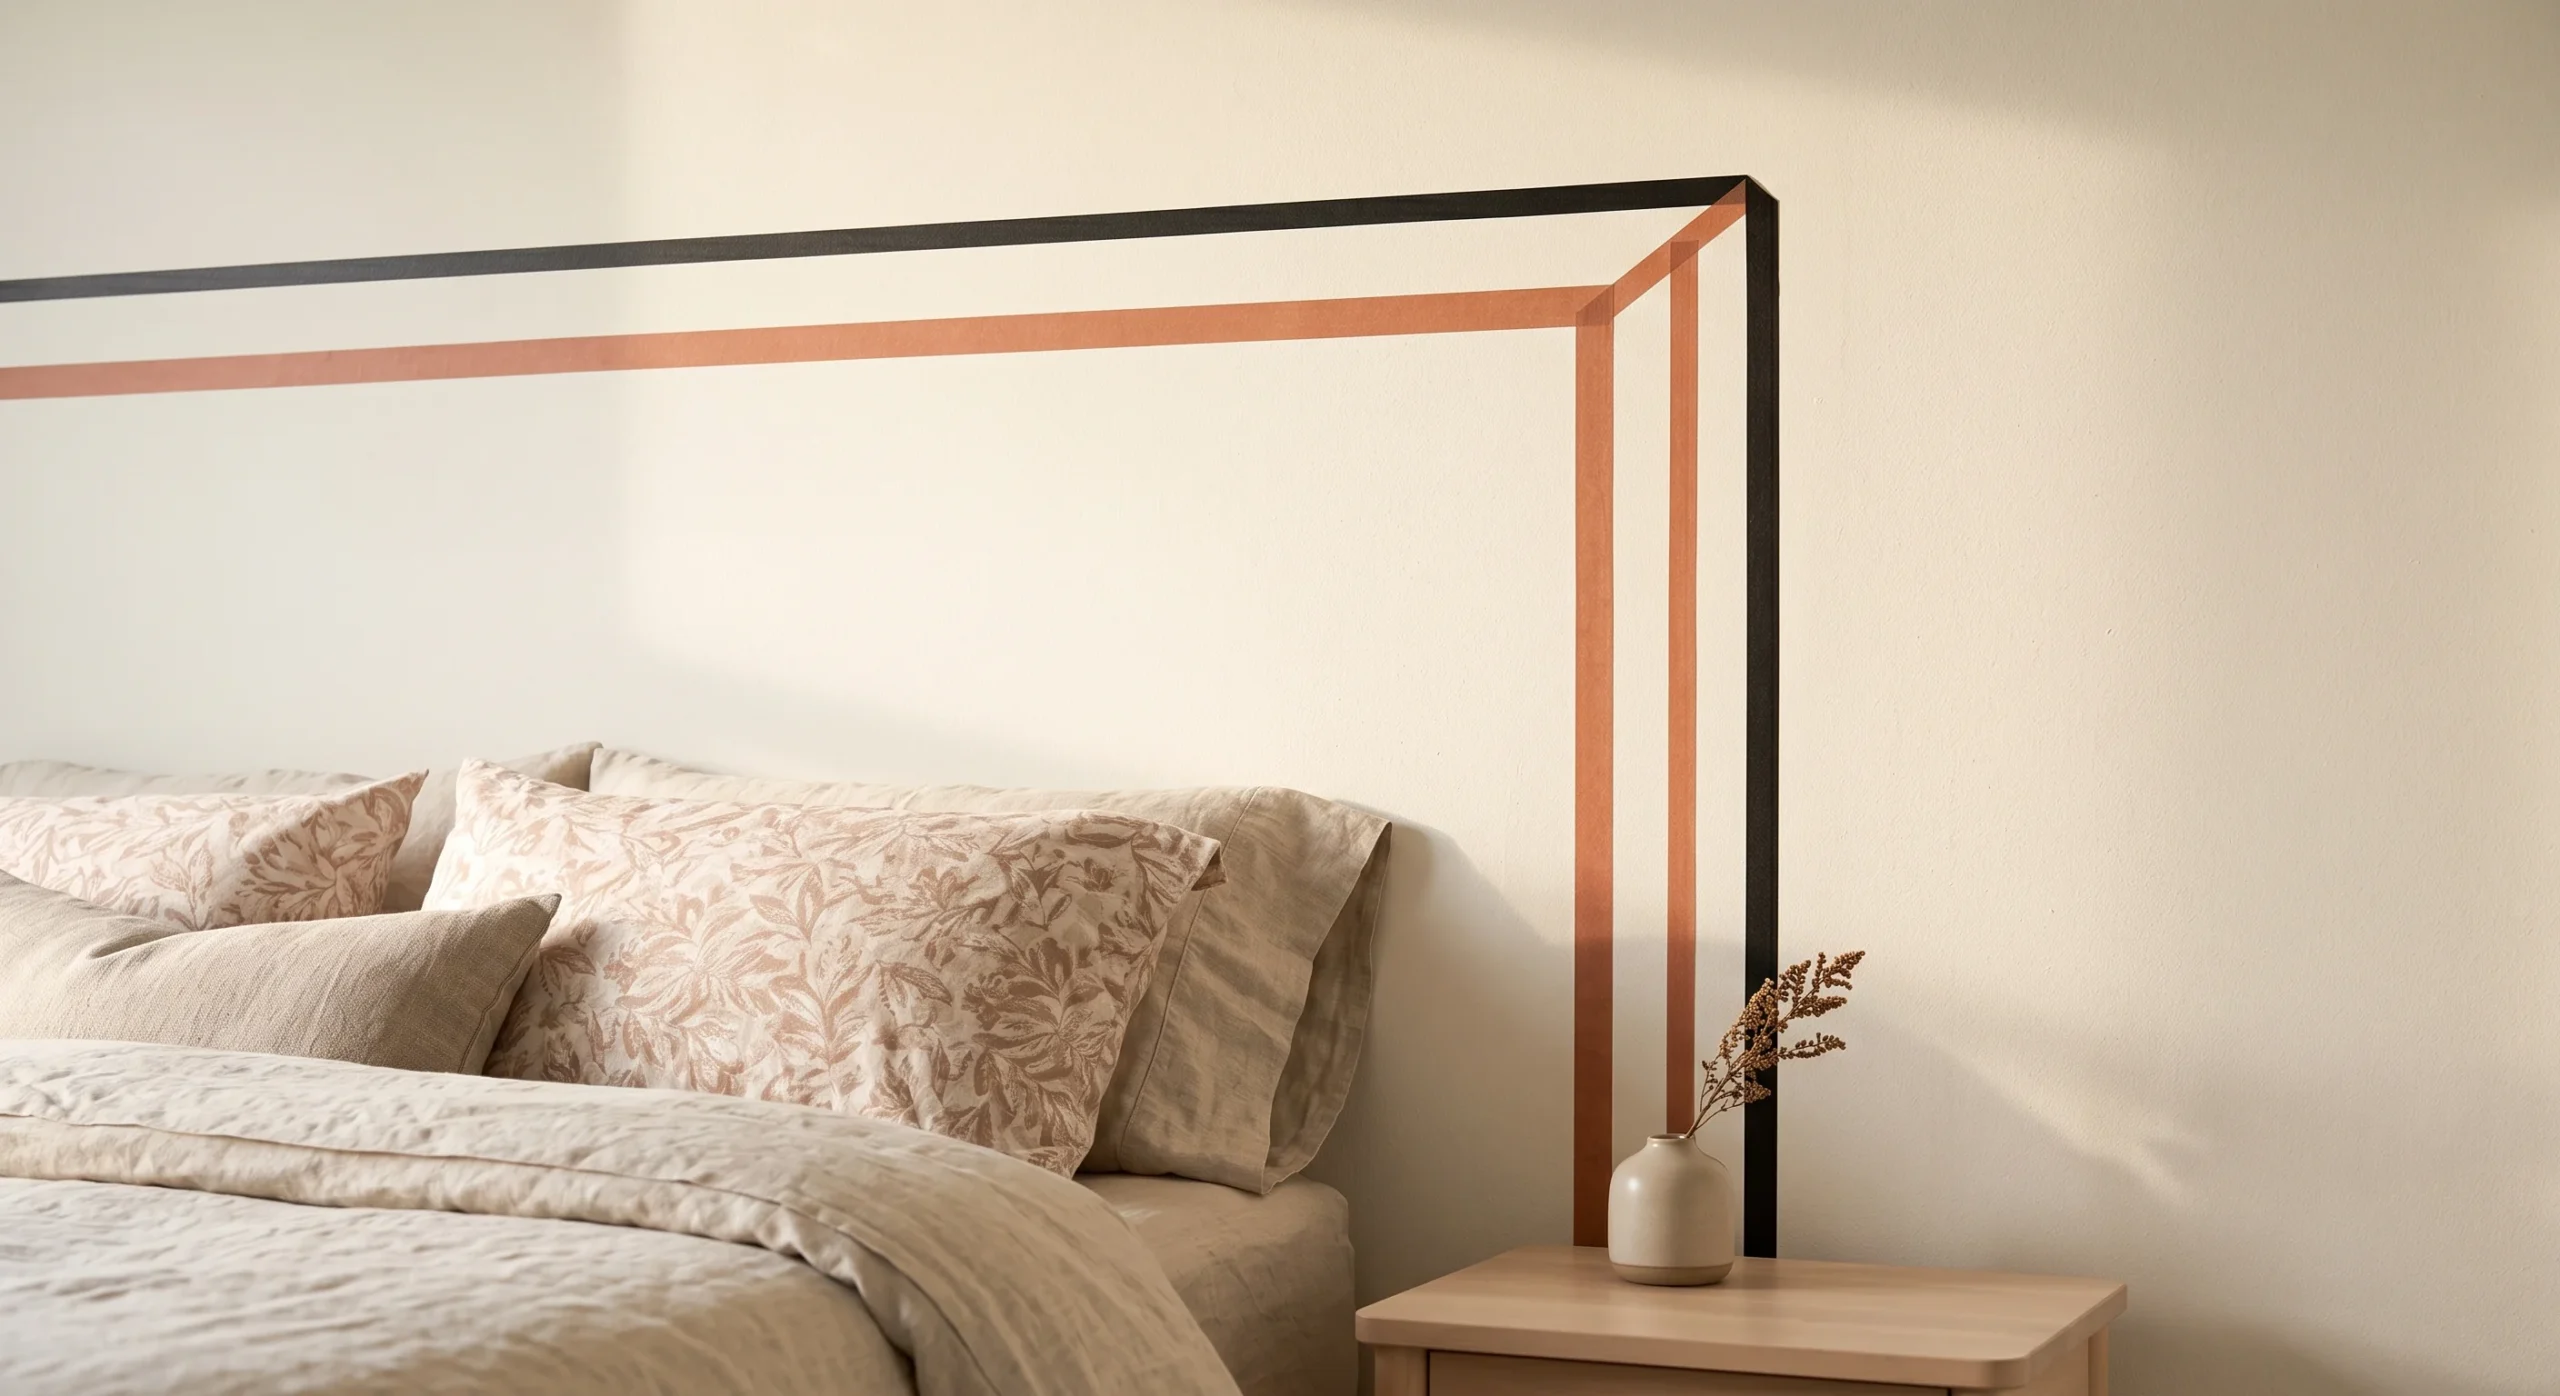
- Washi tape creates a graphic border or geometric shape directly on the wall using low-tack paper tape.
- It peels away cleanly from most painted surfaces, even after months, without pulling up paint underneath.
- Use it to frame a poster, outline a faux headboard shape, or build a simple line pattern.
- Layer two tape colors for a more custom look instead of relying on a single solid line.
A washi tape border earns its place on this list because it is the lowest-cost, lowest-risk way to add graphic structure to a plain wall. The tape’s paper base and light adhesive were originally designed for scrapbooking, which is precisely why it releases cleanly from painted drywall instead of bonding permanently the way packing tape would. Mapping the shape first with a pencil line, then applying the tape in short, straight sections, keeps corners crisp. This idea works especially well behind a bed frame with no real headboard, instantly giving the illusion of one without any furniture purchase.
The transformation is subtle but real: a plain rectangle of tape can visually organize a wall the way a piece of furniture would, giving the eye a clear focal point instead of empty space. Because it costs very little, it’s easy to experiment with two or three layout attempts before settling on one that fits the room’s proportions. When you move out, the tape lifts away in one motion, leaving no shadow or residue behind, which makes it one of the safest experiments any renter can try first.
Leaning Shelf Ledges
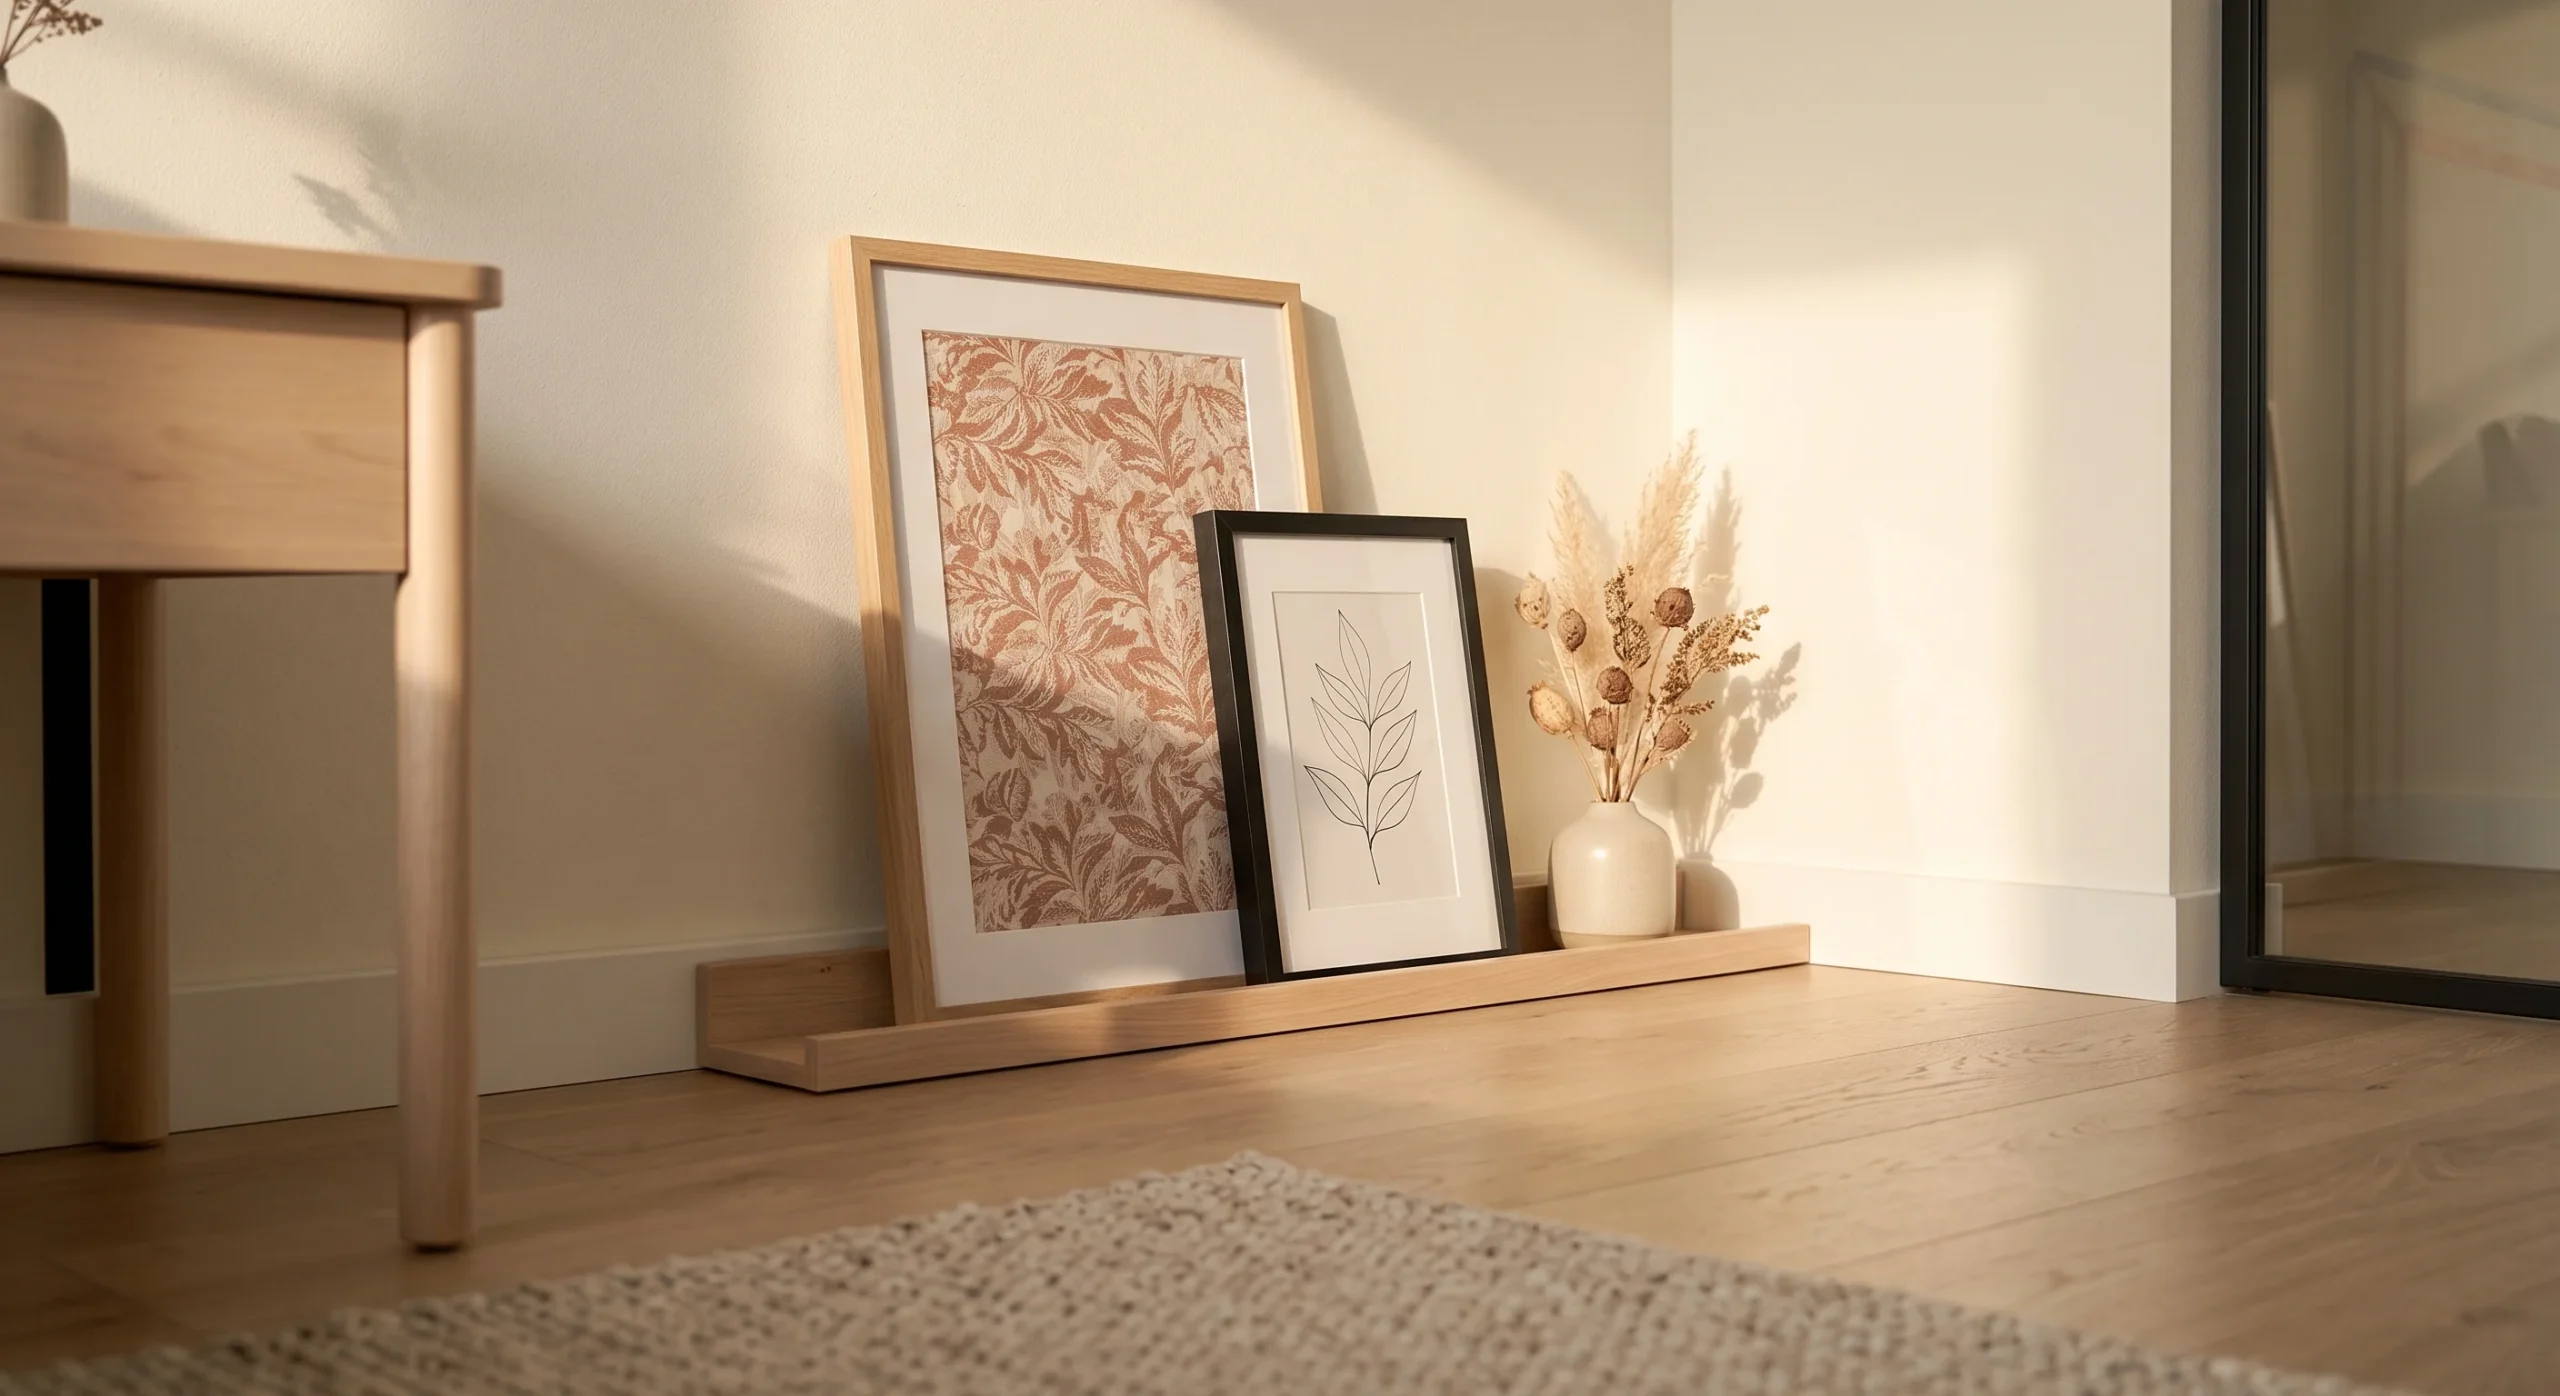
- Wall-leaning shelves rest against the wall on their own footprint, needing no wall anchors at all.
- Use them to display framed art, small plants, or books in an easily changeable arrangement.
- Layer two shelves of slightly different heights for a more dimensional, styled look overall.
- Choose a shelf with a wide enough base to stay stable, especially in homes with pets or kids.
Leaning ledges solve a structural problem that hanging shelves cannot: they distribute their entire load onto the floor rather than the wall, which means there is genuinely zero wall damage risk involved. This makes them one of the most flexible options on this list, since the arrangement on top can be restyled seasonally without touching the wall at all. Placing the ledge against a stud-free stretch of wall is still worth doing for extra stability, even though technically none is required. The footprint should sit flush against the baseboard so it doesn’t tip forward under weight.
In real apartments, a leaning ledge often becomes the most-changed decor element in the room, since restyling it takes minutes rather than hours. Overlapping two or three frames in front of each other adds a depth that a single flat-mounted frame cannot achieve on its own, since the same layered-overlap principle applies well to both surfaces. The result is a corner that feels curated and personal, shifting easily with the seasons without a single tool or hole involved.
Tension Rod Curtain Wall
- Tension rods wedge between wall or window edges using spring pressure, with no drilling into any surface.
- Use one to hang a curtain, tapestry, or fabric panel that softens an entire wall instantly.
- Adjustable rod widths mean the same rod can be reused in a different room after you move.
- Pick a rod with rubber end caps to protect paint from pressure marks building up over time.
A tension rod curtain wall is a structural trick borrowed from window treatments and applied to an entire wall surface instead. Spring-loaded pressure inside the rod pushes outward against two fixed points, holding significant weight without a single screw involved. This makes it ideal for covering an unattractive wall feature — a dated closet door, an awkward nook, or plain drywall — with soft fabric instead of paint. Positioning the rod slightly above eye level and letting the fabric pool gently at the floor gives the treatment a more finished, tailored look than a flat, stretched panel.
The functional benefit is real: fabric absorbs sound and softens hard apartment surfaces in a way that paint or paper simply cannot, noticeably calming a room’s acoustics. Reader impact shows up fastest in bedrooms, where a fabric-covered wall behind the bed reads as an intentional headboard wall rather than a workaround. Because the rod tension is fully adjustable, the same hardware moves with you to the next apartment, making this one of the more cost-efficient ideas on this list over several years of renting. Measuring the rod’s mid-range extension beforehand also prevents a visible center sag once the fabric is hung.
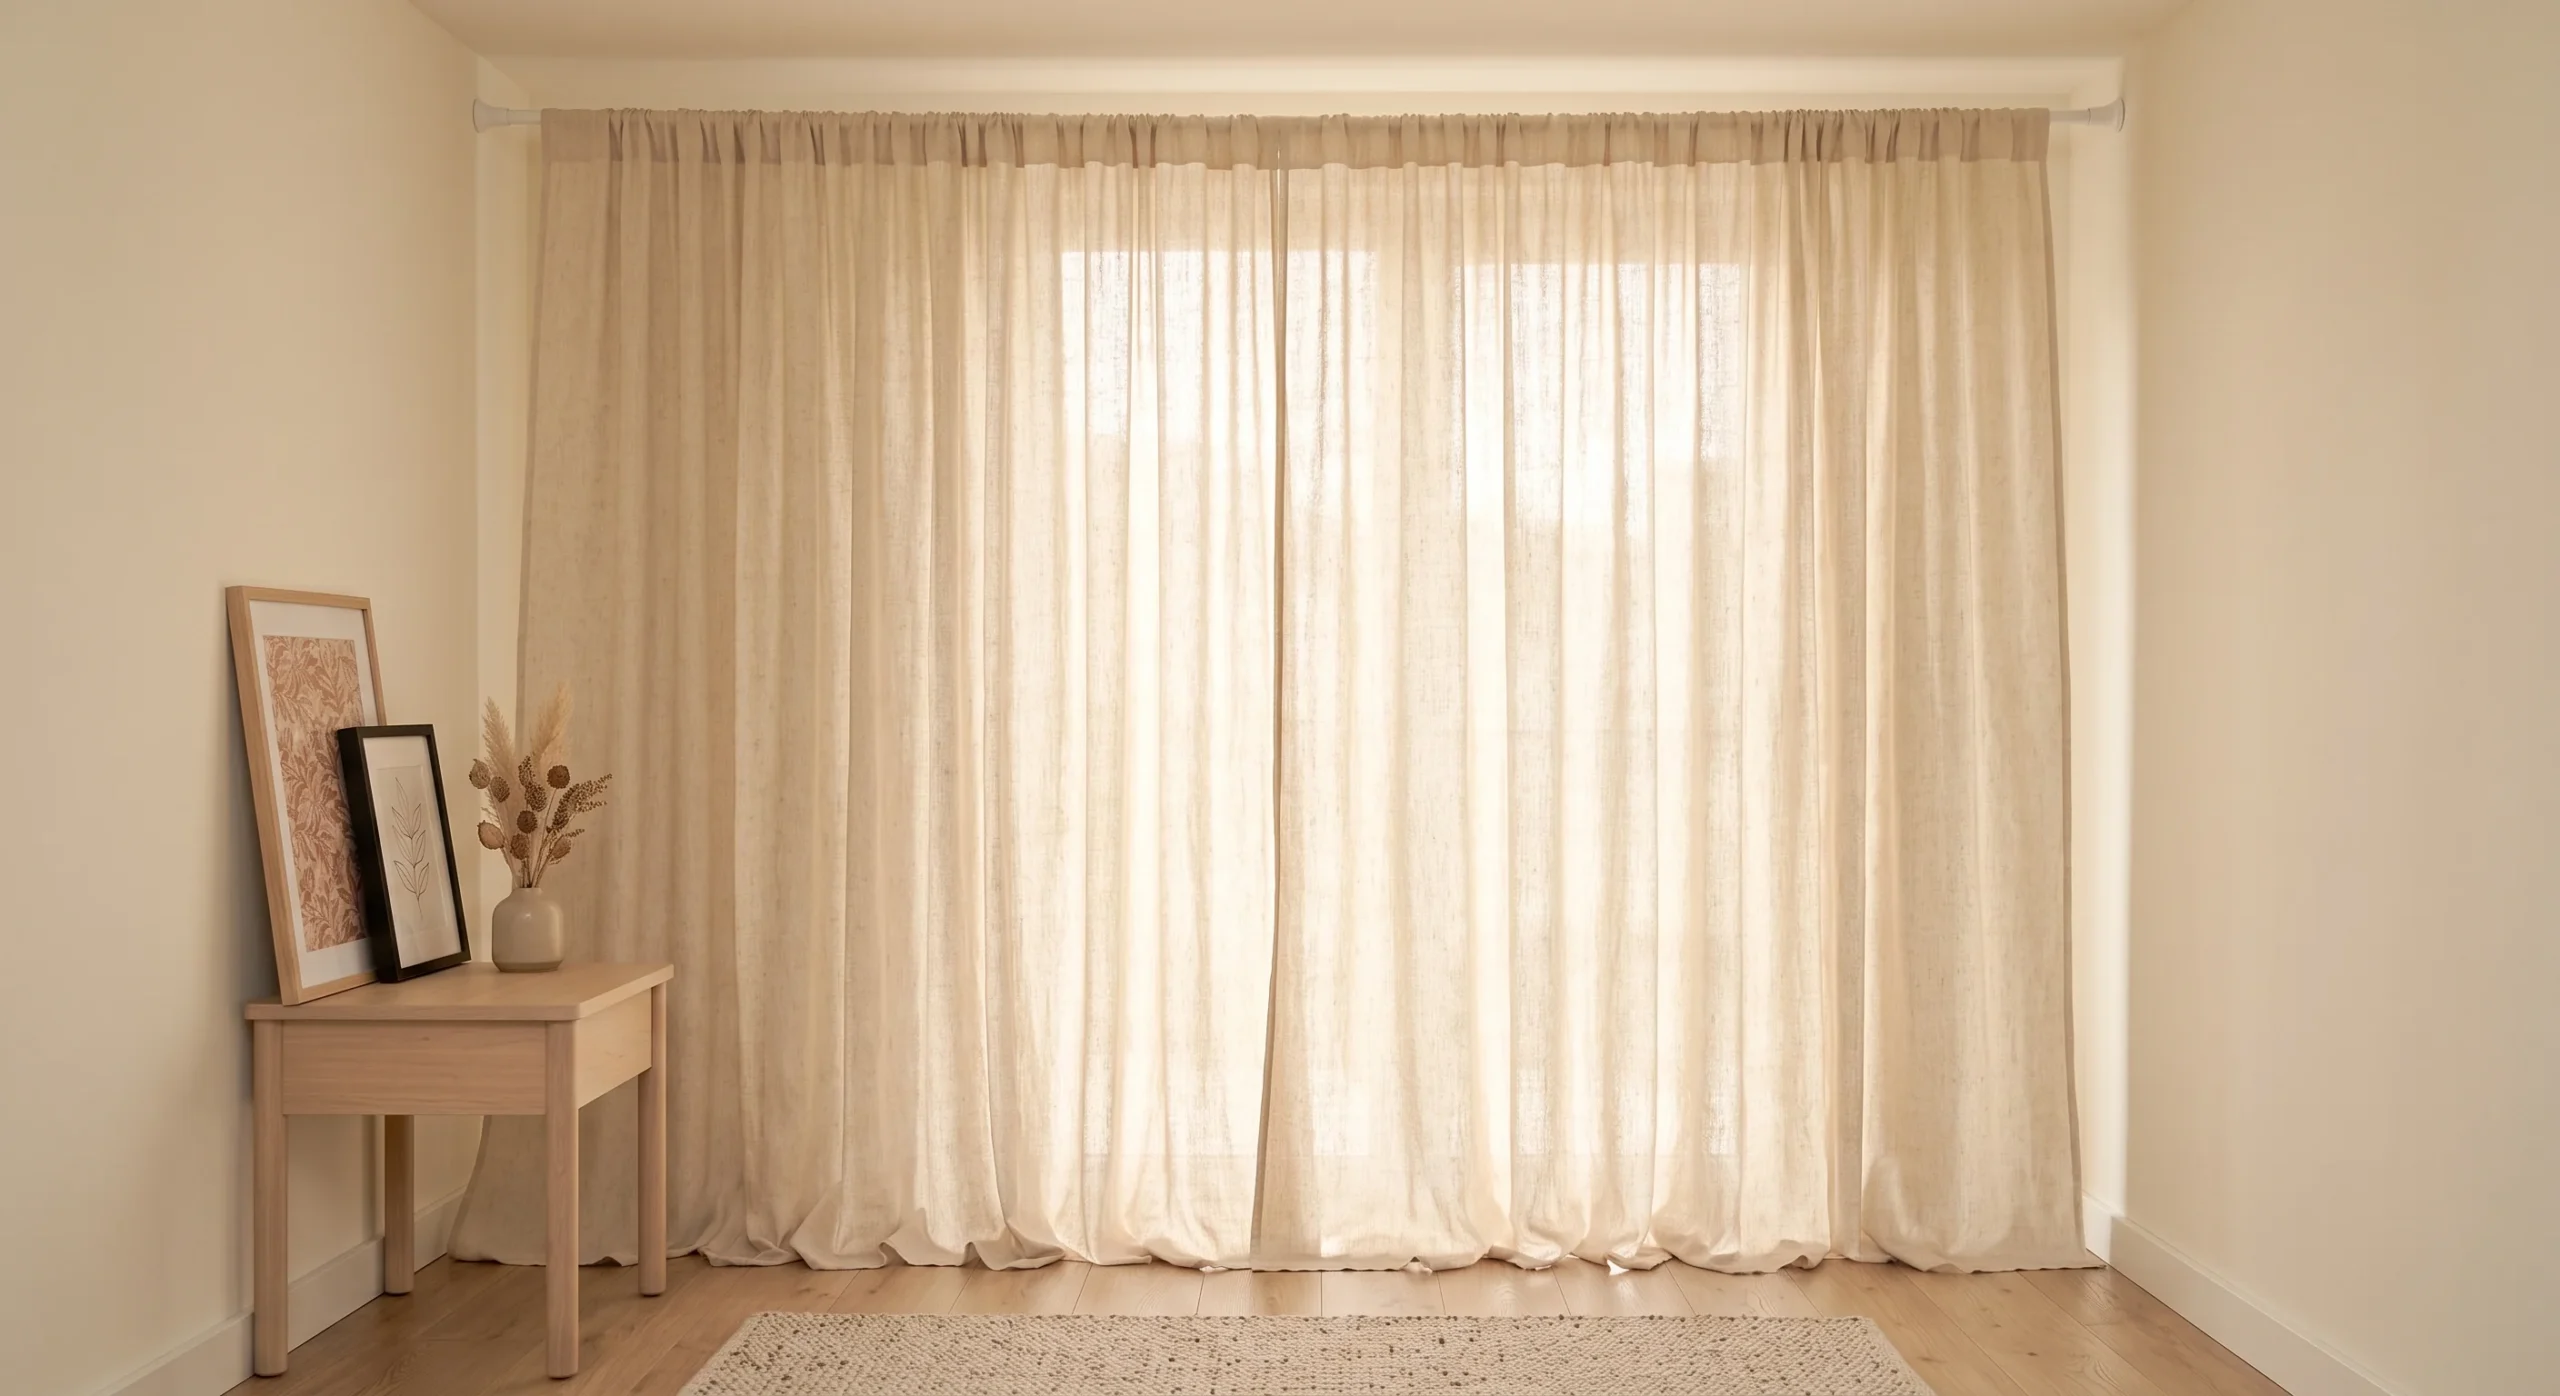
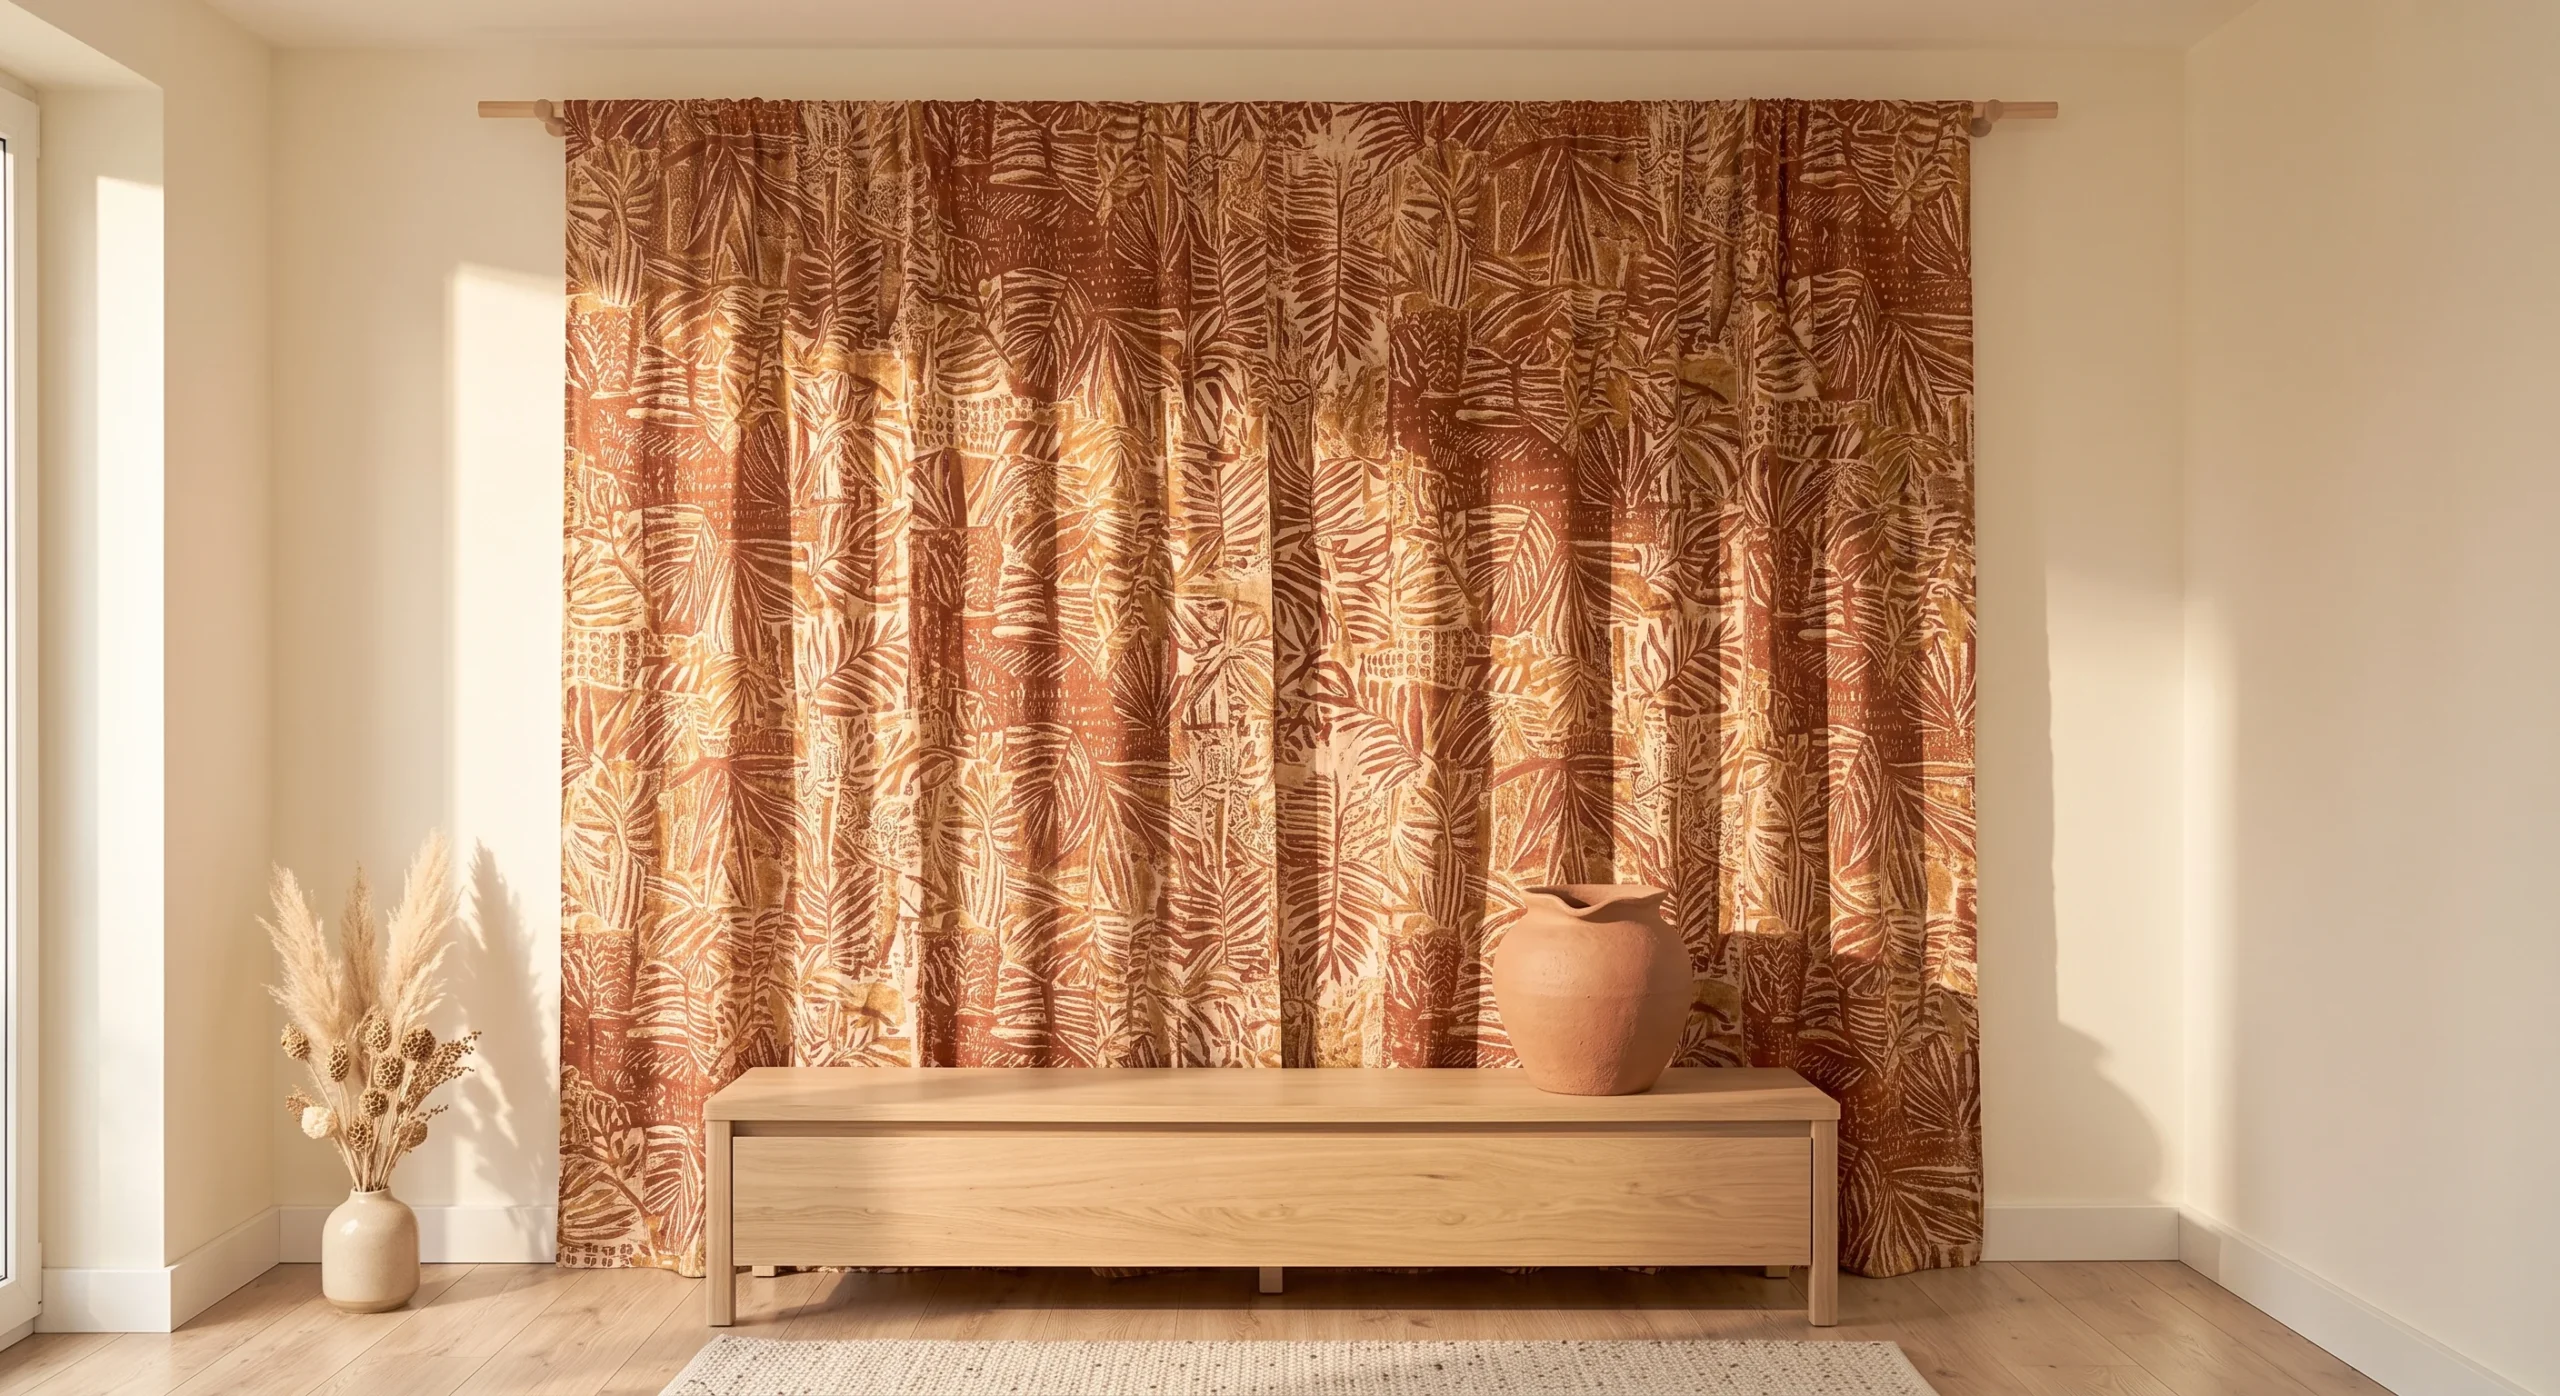
Fabric Panel Hangings
- Lightweight fabric panels mount using clip rings or a slim wood dowel, avoiding wall anchors entirely.
- Choose linen or cotton blends that hold their shape without curling at the edges over time.
- A single oversized panel can act as an art piece, filling a large wall for less than framed prints.
- Hem the bottom edge with a thin dowel pocket to keep the fabric hanging flat against the wall.
Fabric panel hangings borrow a technique architects use often: letting a single large-scale material do the visual work instead of many small accessories scattered around. A wide panel of linen or printed cotton, hung from a slim dowel with two small adhesive hooks, covers far more wall area than a framed print at a fraction of the weight. Because the whole piece hangs from just two anchor points, the hooks carry minimal stress compared to an equivalent framed alternative. This makes fabric one of the most efficient damage-free materials by square foot of coverage achieved.
Visually, a fabric panel softens a wall’s hard edges and introduces color or pattern without competing with existing furniture the way multiple frames might. It also tends to disguise minor wall imperfections — old nail holes, faint marks — left behind by previous tenants before you moved in. At move-out, the panel simply unhooks and rolls up, leaving the wall exactly as it was found originally. Few other ideas on this list offer this much visual coverage for this little ongoing maintenance or risk. A light steam or gentle iron on a low setting also keeps the fabric looking crisp between apartments.
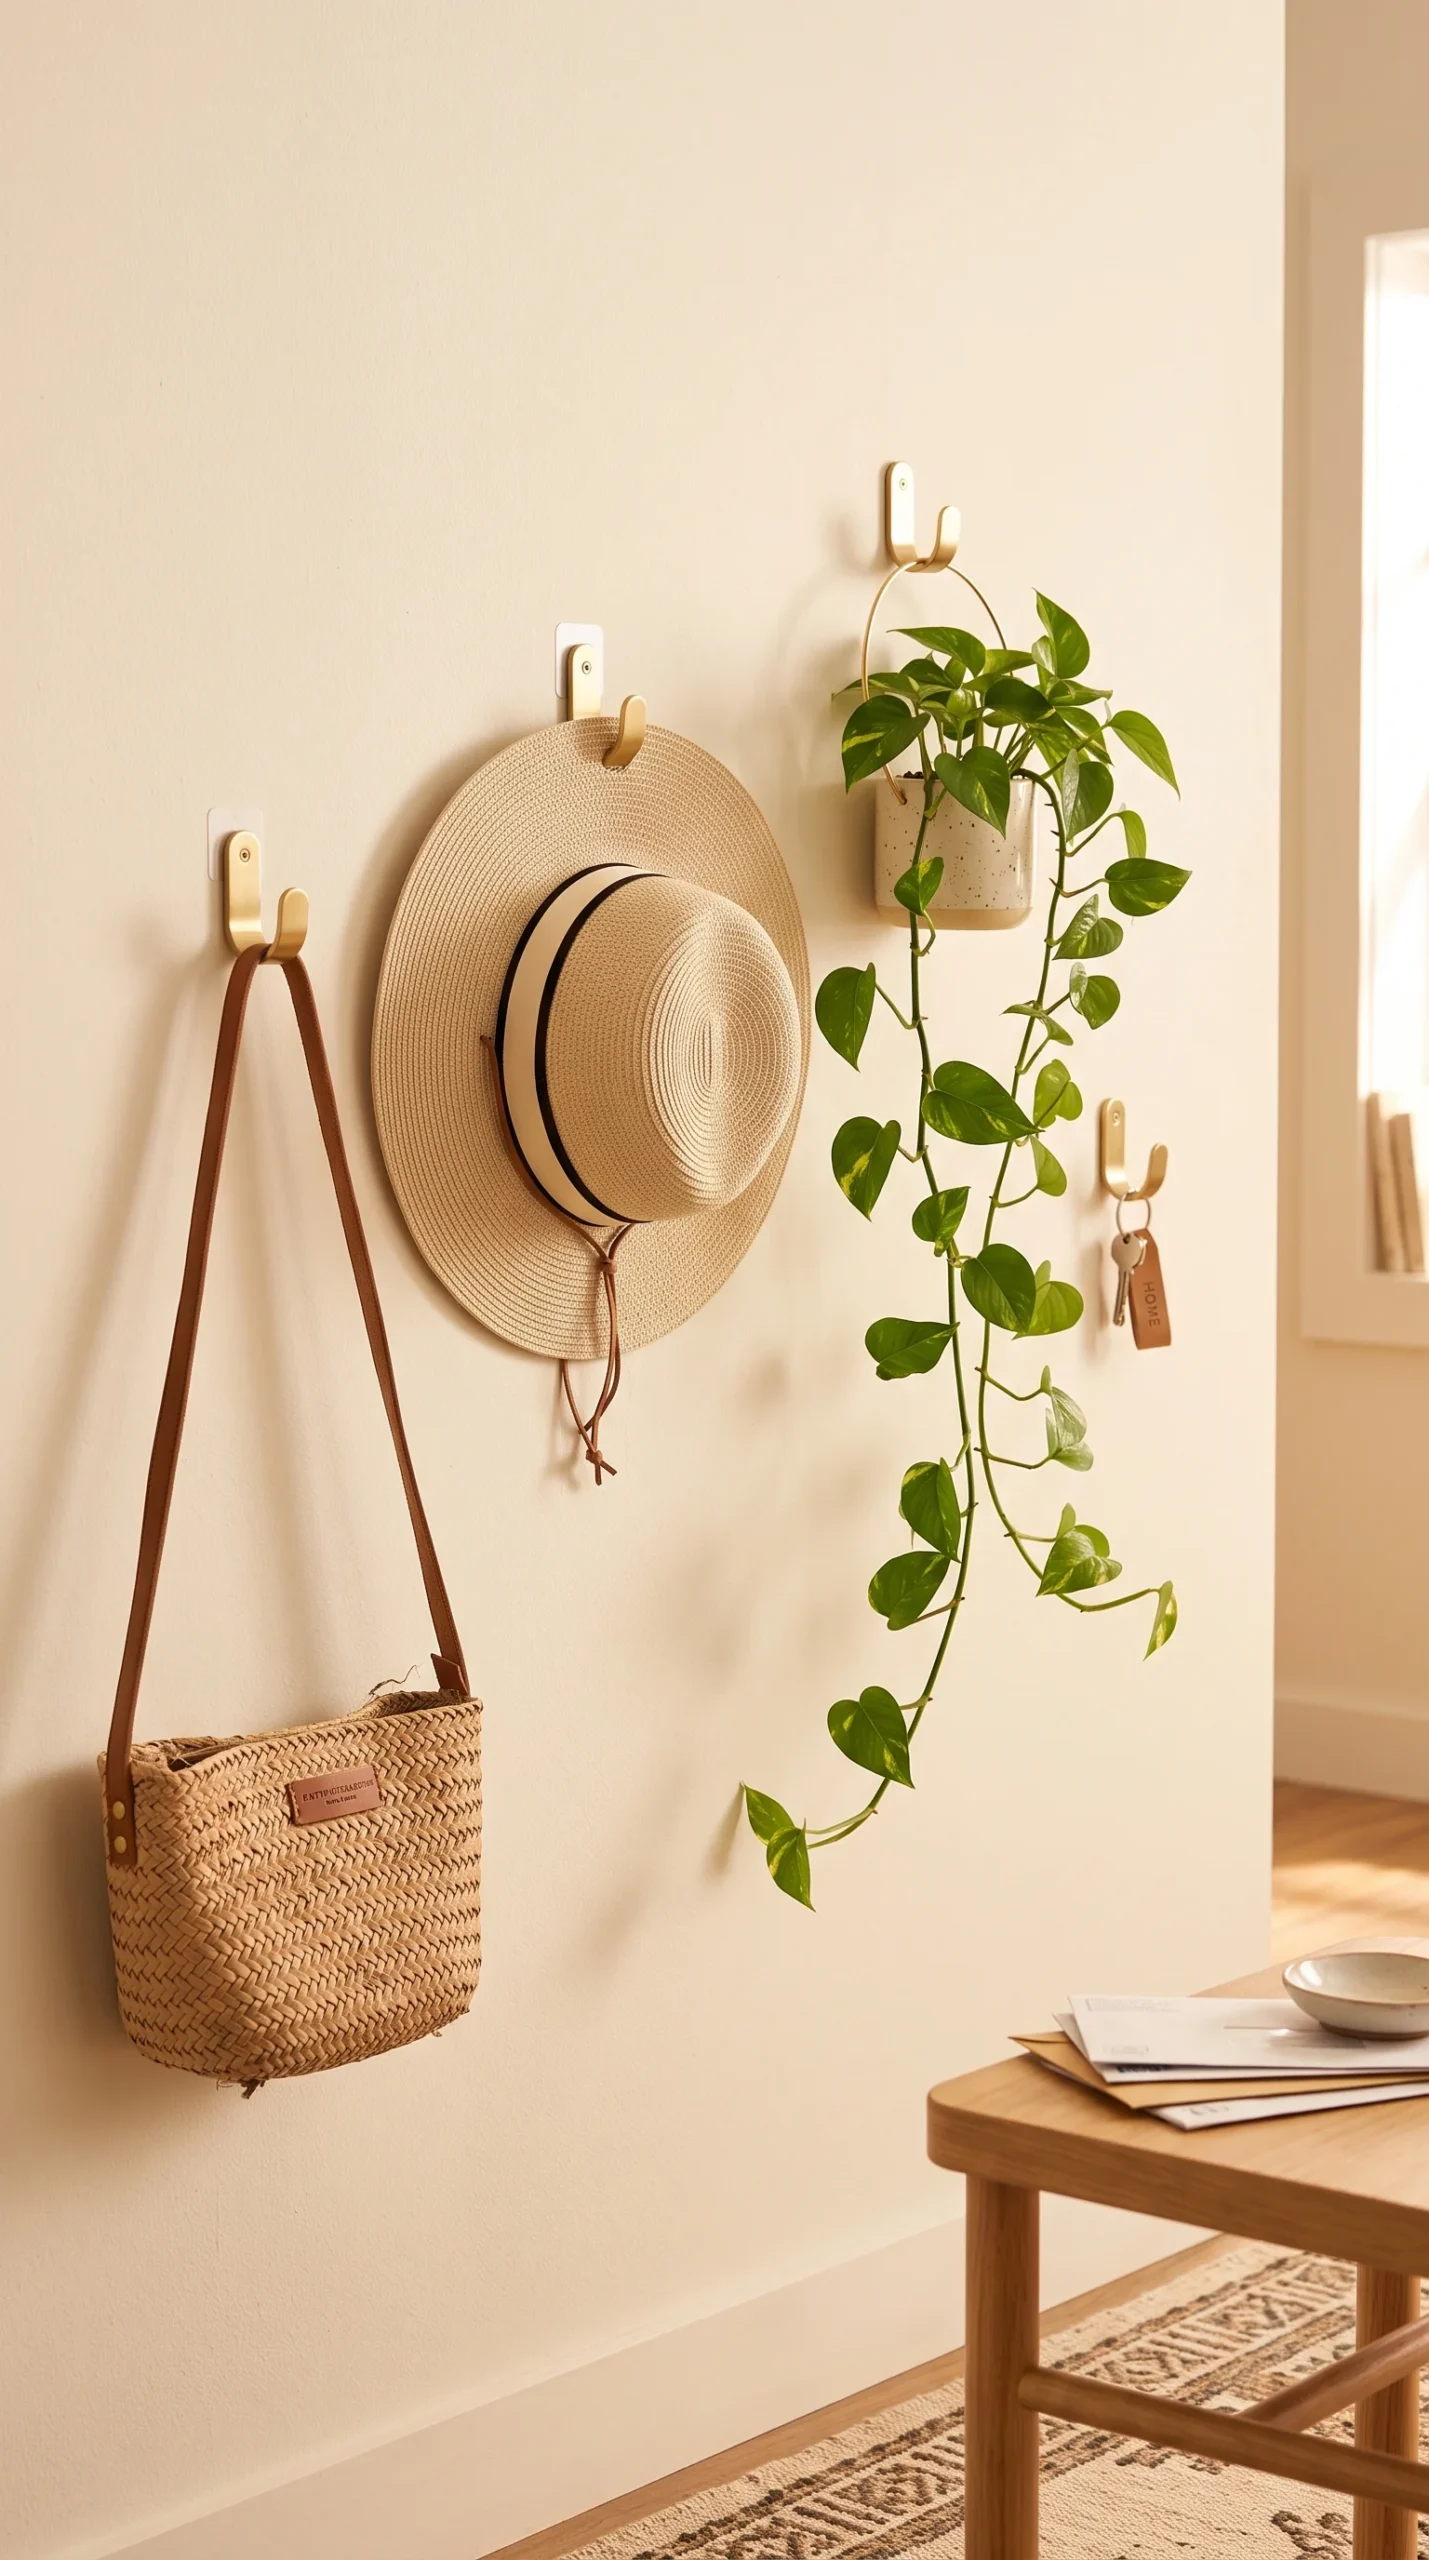
Adhesive Hook Display
- Small adhesive hooks hold light items like hats, bags, or plants directly on the wall surface.
- Group three or four hooks at varying heights for a functional display that also reads as decor.
- Check the hook’s rated weight limit before hanging anything heavier than a light jacket or tote.
- Remove hooks slowly and warm them slightly if residue appears after an extended time on the wall.
An adhesive hook display works because it merges function and decoration into a single wall feature, which is especially valuable in small apartments without room for extra furniture. Hooks rated for two to five pounds comfortably hold woven bags, sun hats, or a trailing plant in a light pot, turning practical storage into a styled vignette. Spacing them unevenly — closer together near the top, wider near the bottom — avoids the rigid, grid-like look of a coat rack and instead feels curated. This idea earns its spot because it solves a storage need most renters already have.
In a real entryway or bedroom corner, this kind of display reduces visual clutter elsewhere by giving frequently used items a defined home of their own. It also photographs well, since the mix of textures — woven straw, canvas, a trailing vine — creates natural depth against a plain wall. Removal is simple: most hooks release cleanly when pulled straight down and slightly outward, following the manufacturer’s specific angle, leaving the wall unmarked. Rotating which hooks carry the heaviest items also helps the adhesive bond last longer overall.
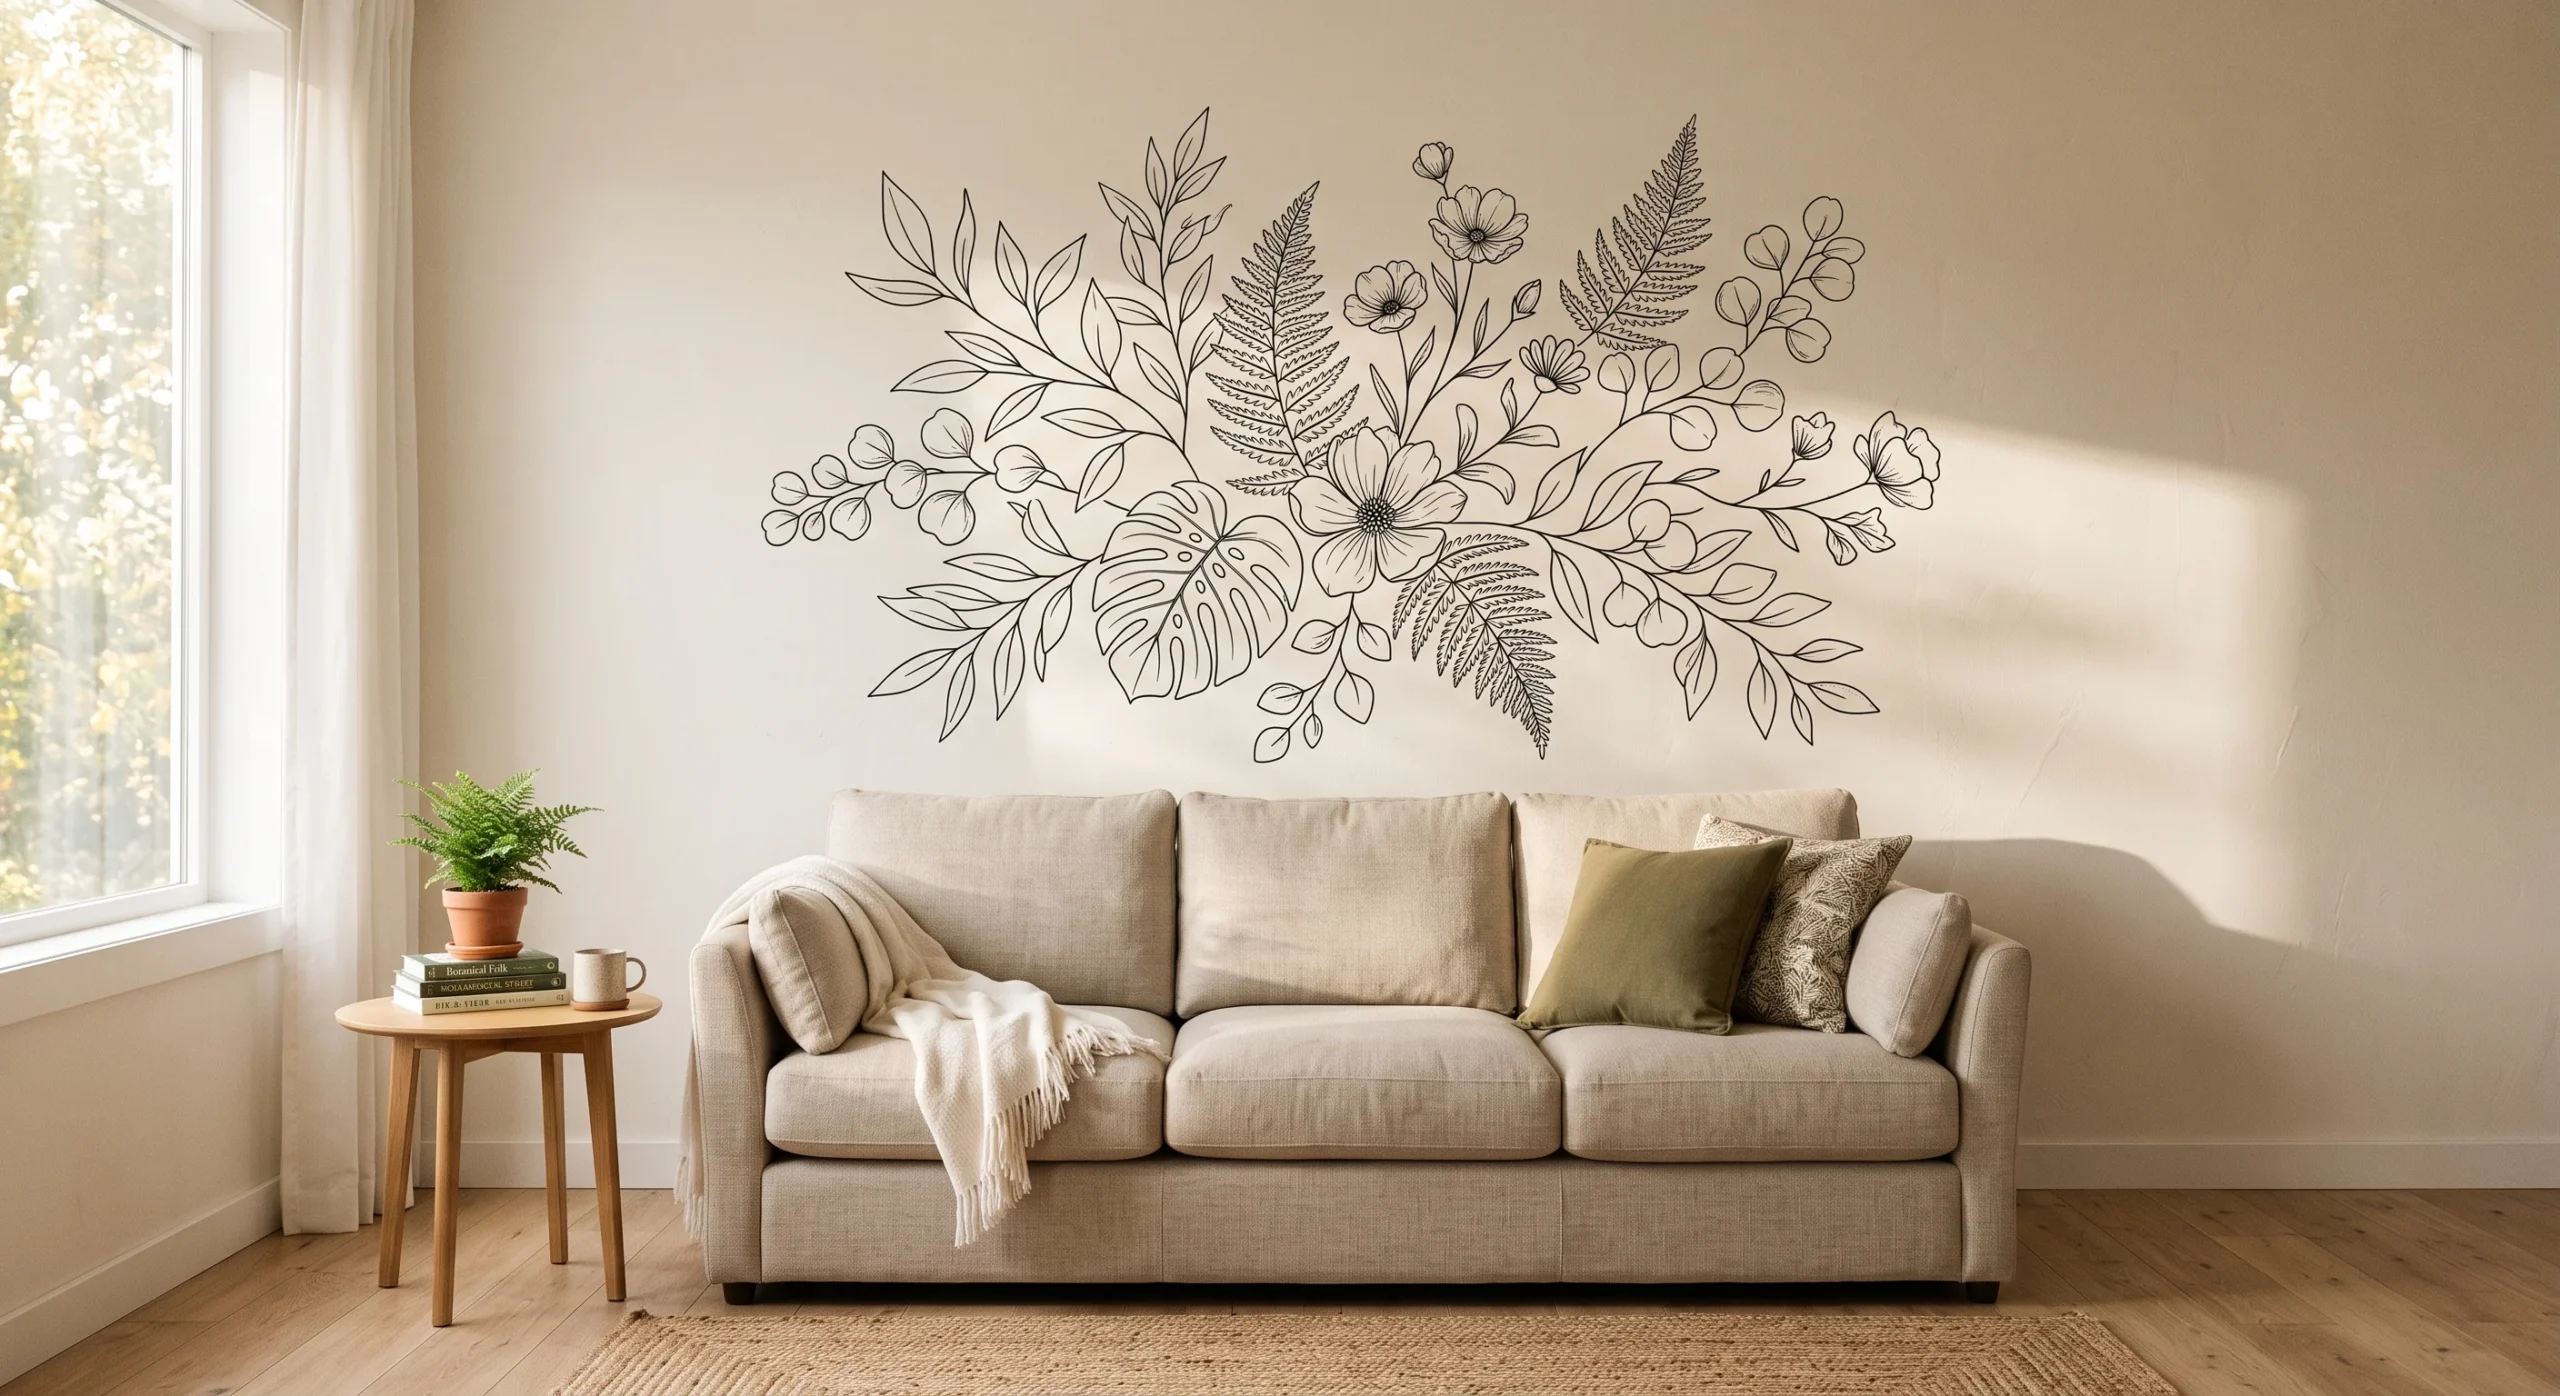
Peel-and-Stick Decals
- Vinyl decals apply directly to a painted wall and peel off cleanly when you’re ready for a change.
- Botanical, geometric, or line-art decals work especially well as a single accent rather than an all-over pattern.
- Smooth out air bubbles with a credit card edge while applying for the cleanest finished look.
- Store leftover decal backing sheets in case you want to reposition or reapply it later.
Peel-and-stick decals give renters a way to add a graphic moment to a wall without the material cost or install time of full wallpaper. A single large botanical or line-art decal, positioned slightly off-center above a headboard or sofa, acts almost like framed art at a lower price point. The vinyl is thin enough to conform to minor wall texture, which is why smoothing from the center outward during application prevents trapped air and creases. This is one of the fastest damage-free wall decor upgrades to complete, often finished start to finish in under twenty minutes.
The visual result reads more custom than most people expect from a decal, especially when the design scale matches the wall it sits on — oversized rather than small and centered. Because the material is genuinely repositionable on the first attempt, there’s room to adjust placement before committing to a final spot on the wall. When it’s time to remove it, pulling slowly at a low angle prevents any paint from lifting with it. What’s left behind is a completely clean wall, ready for the next idea entirely.
Over-the-Door Mirror
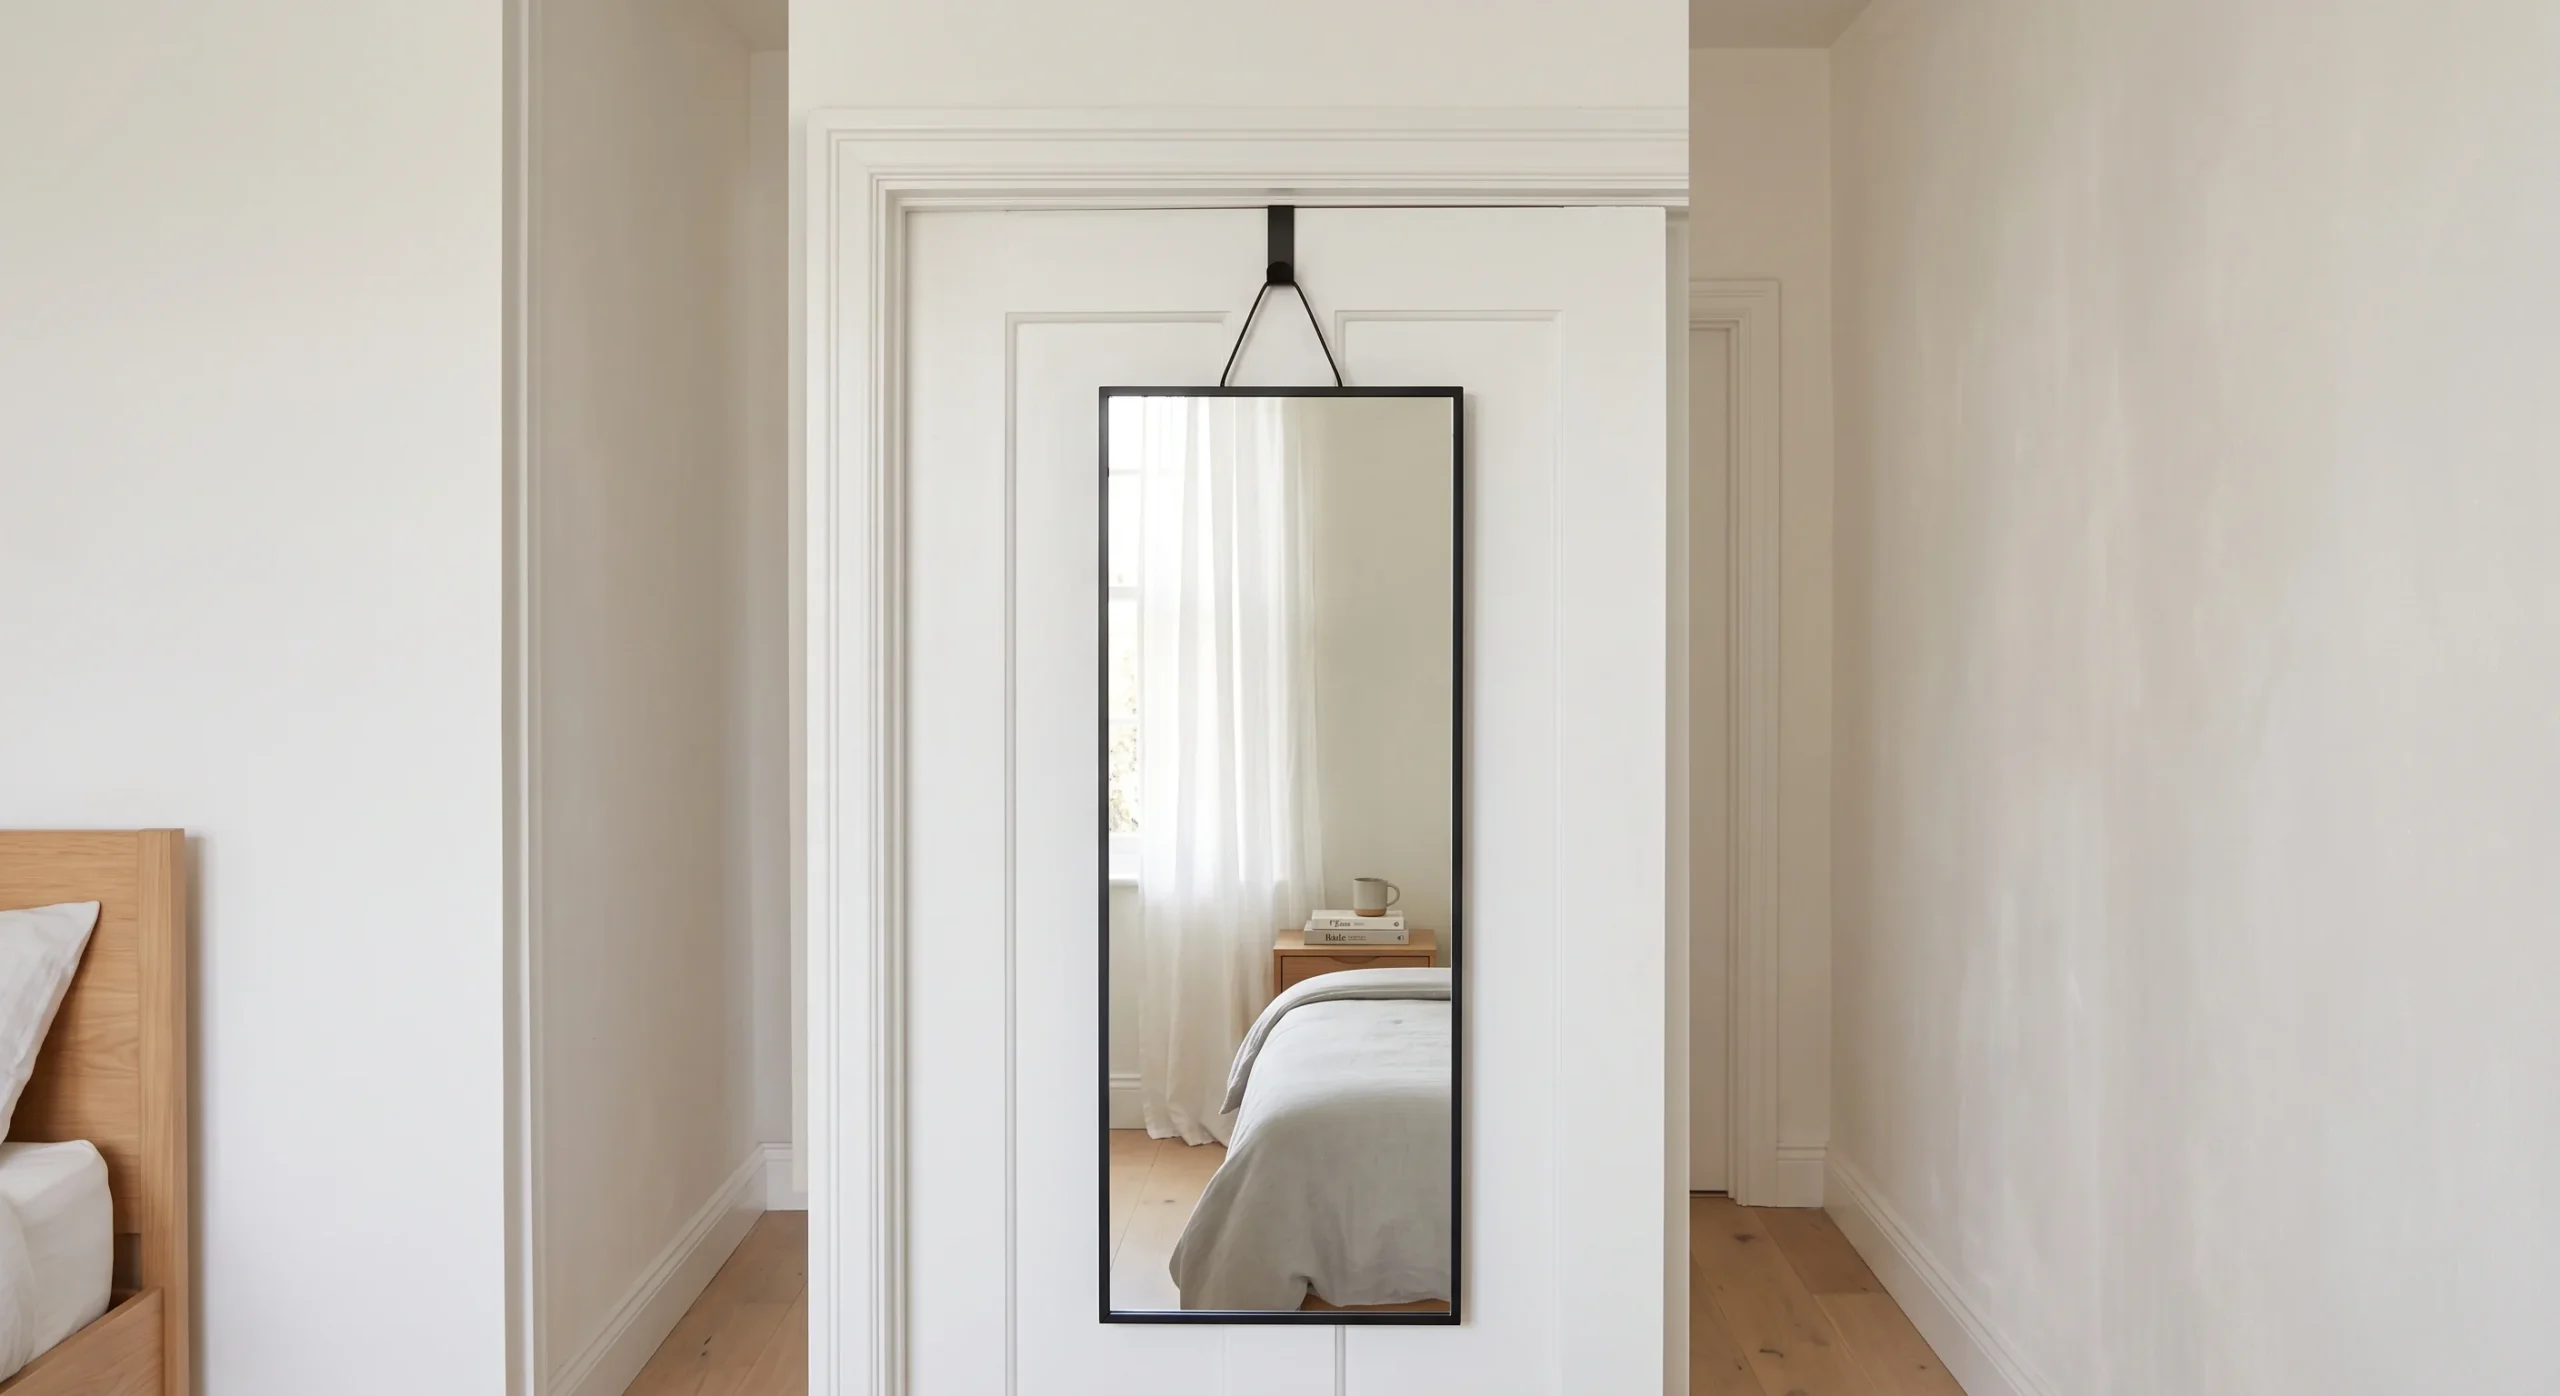
- Over-the-door mirrors hang from a bracket that hooks over the door frame, needing no wall mounting.
- A mirror on a narrow wall visually doubles the perceived depth of a small room instantly.
- Position it to reflect a window or a styled corner rather than a blank wall for best effect.
- Choose a slim frame profile so the mirror doesn’t add bulk to a door that still needs to close.
An over-the-door mirror is a practical structural workaround: the door frame itself becomes the load-bearing point, so the full weight of the mirror never touches the wall at all. This makes it one of the most reliable damage-free options for anyone in an older building with plaster walls that don’t hold adhesive as well as modern drywall does. Positioned thoughtfully, a mirror does more than serve its functional purpose — it reflects light back into the room and visually extends a narrow hallway or bedroom that might otherwise feel cramped.
Real apartments benefit most when the mirror faces a window, since it bounces daylight deeper into the room and reduces the need for daytime lighting altogether. In a small bedroom, this single addition can make the whole space read larger without moving a single piece of furniture around. Because it hangs from the door rather than the wall, repositioning it to another door in a future apartment takes only seconds, with no tools or hardware to buy again.
Velcro Strip Shelving
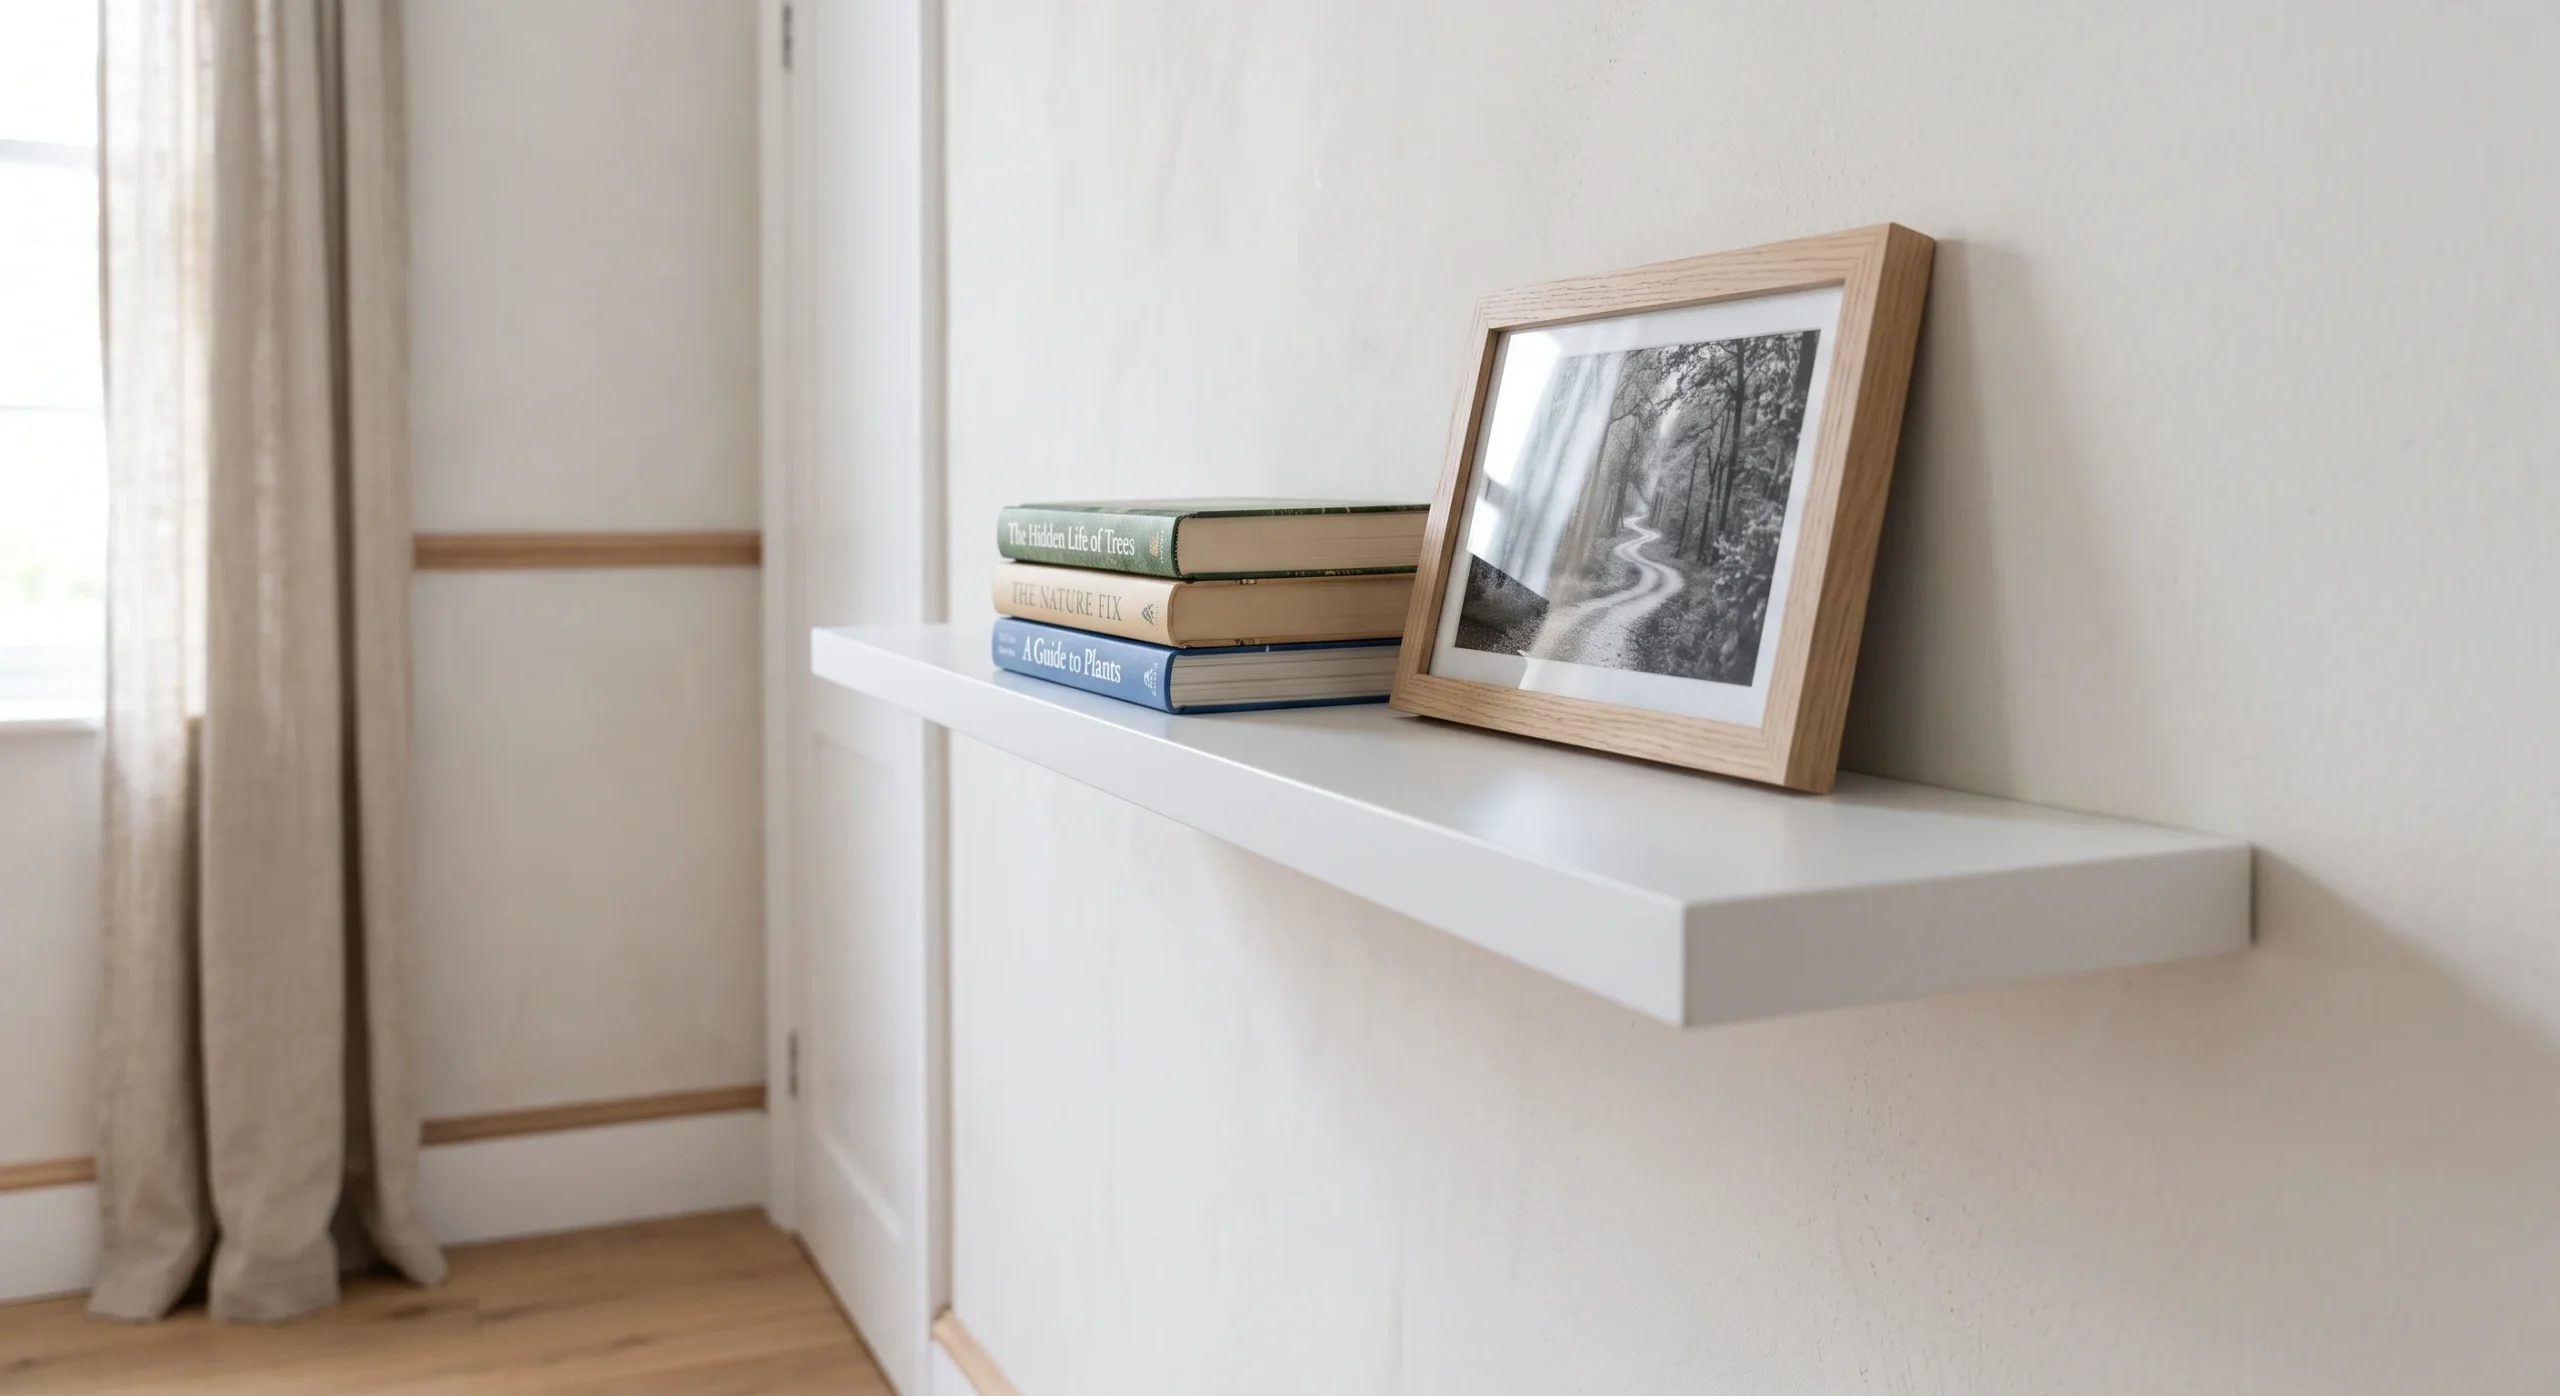
- Heavy-duty velcro strips mount light floating shelves without screws, holding a few pounds securely in place.
- Best suited to display items rather than storage — books, small plants, framed photos work well.
- Press firmly along the full strip length for maximum hold, not just at the shelf’s center point.
- Avoid overloading a single shelf; distribute decor across two lighter shelves instead of one heavy one.
Velcro strip shelving fills a specific gap: it allows a genuinely floating shelf look without drilling into studs, which most wall-mounted shelf brackets require for safety reasons. The interlocking hook-and-loop strips distribute weight across their full surface area rather than a single point, which is why pressing the entire strip length during installation matters more than most people realize. This method suits lighter decorative loads best — think a small stack of books or a single framed photo — rather than anything approaching gallery-shelf weight. Used correctly, it opens up shelf styling to renters who otherwise couldn’t consider it.
The visual payoff in a real room is a shelf that appears to float against the wall with no visible hardware, which reads as more architectural and intentional than a bracketed alternative. Styling it sparsely — three or four objects with breathing room between them — keeps both the weight and the look manageable overall. When you move, the strips separate cleanly with steady, even pressure rather than a sharp pull, which protects the wall finish underneath. It’s a small-scale idea with a genuinely outsized visual return.
Magnetic Board Wall
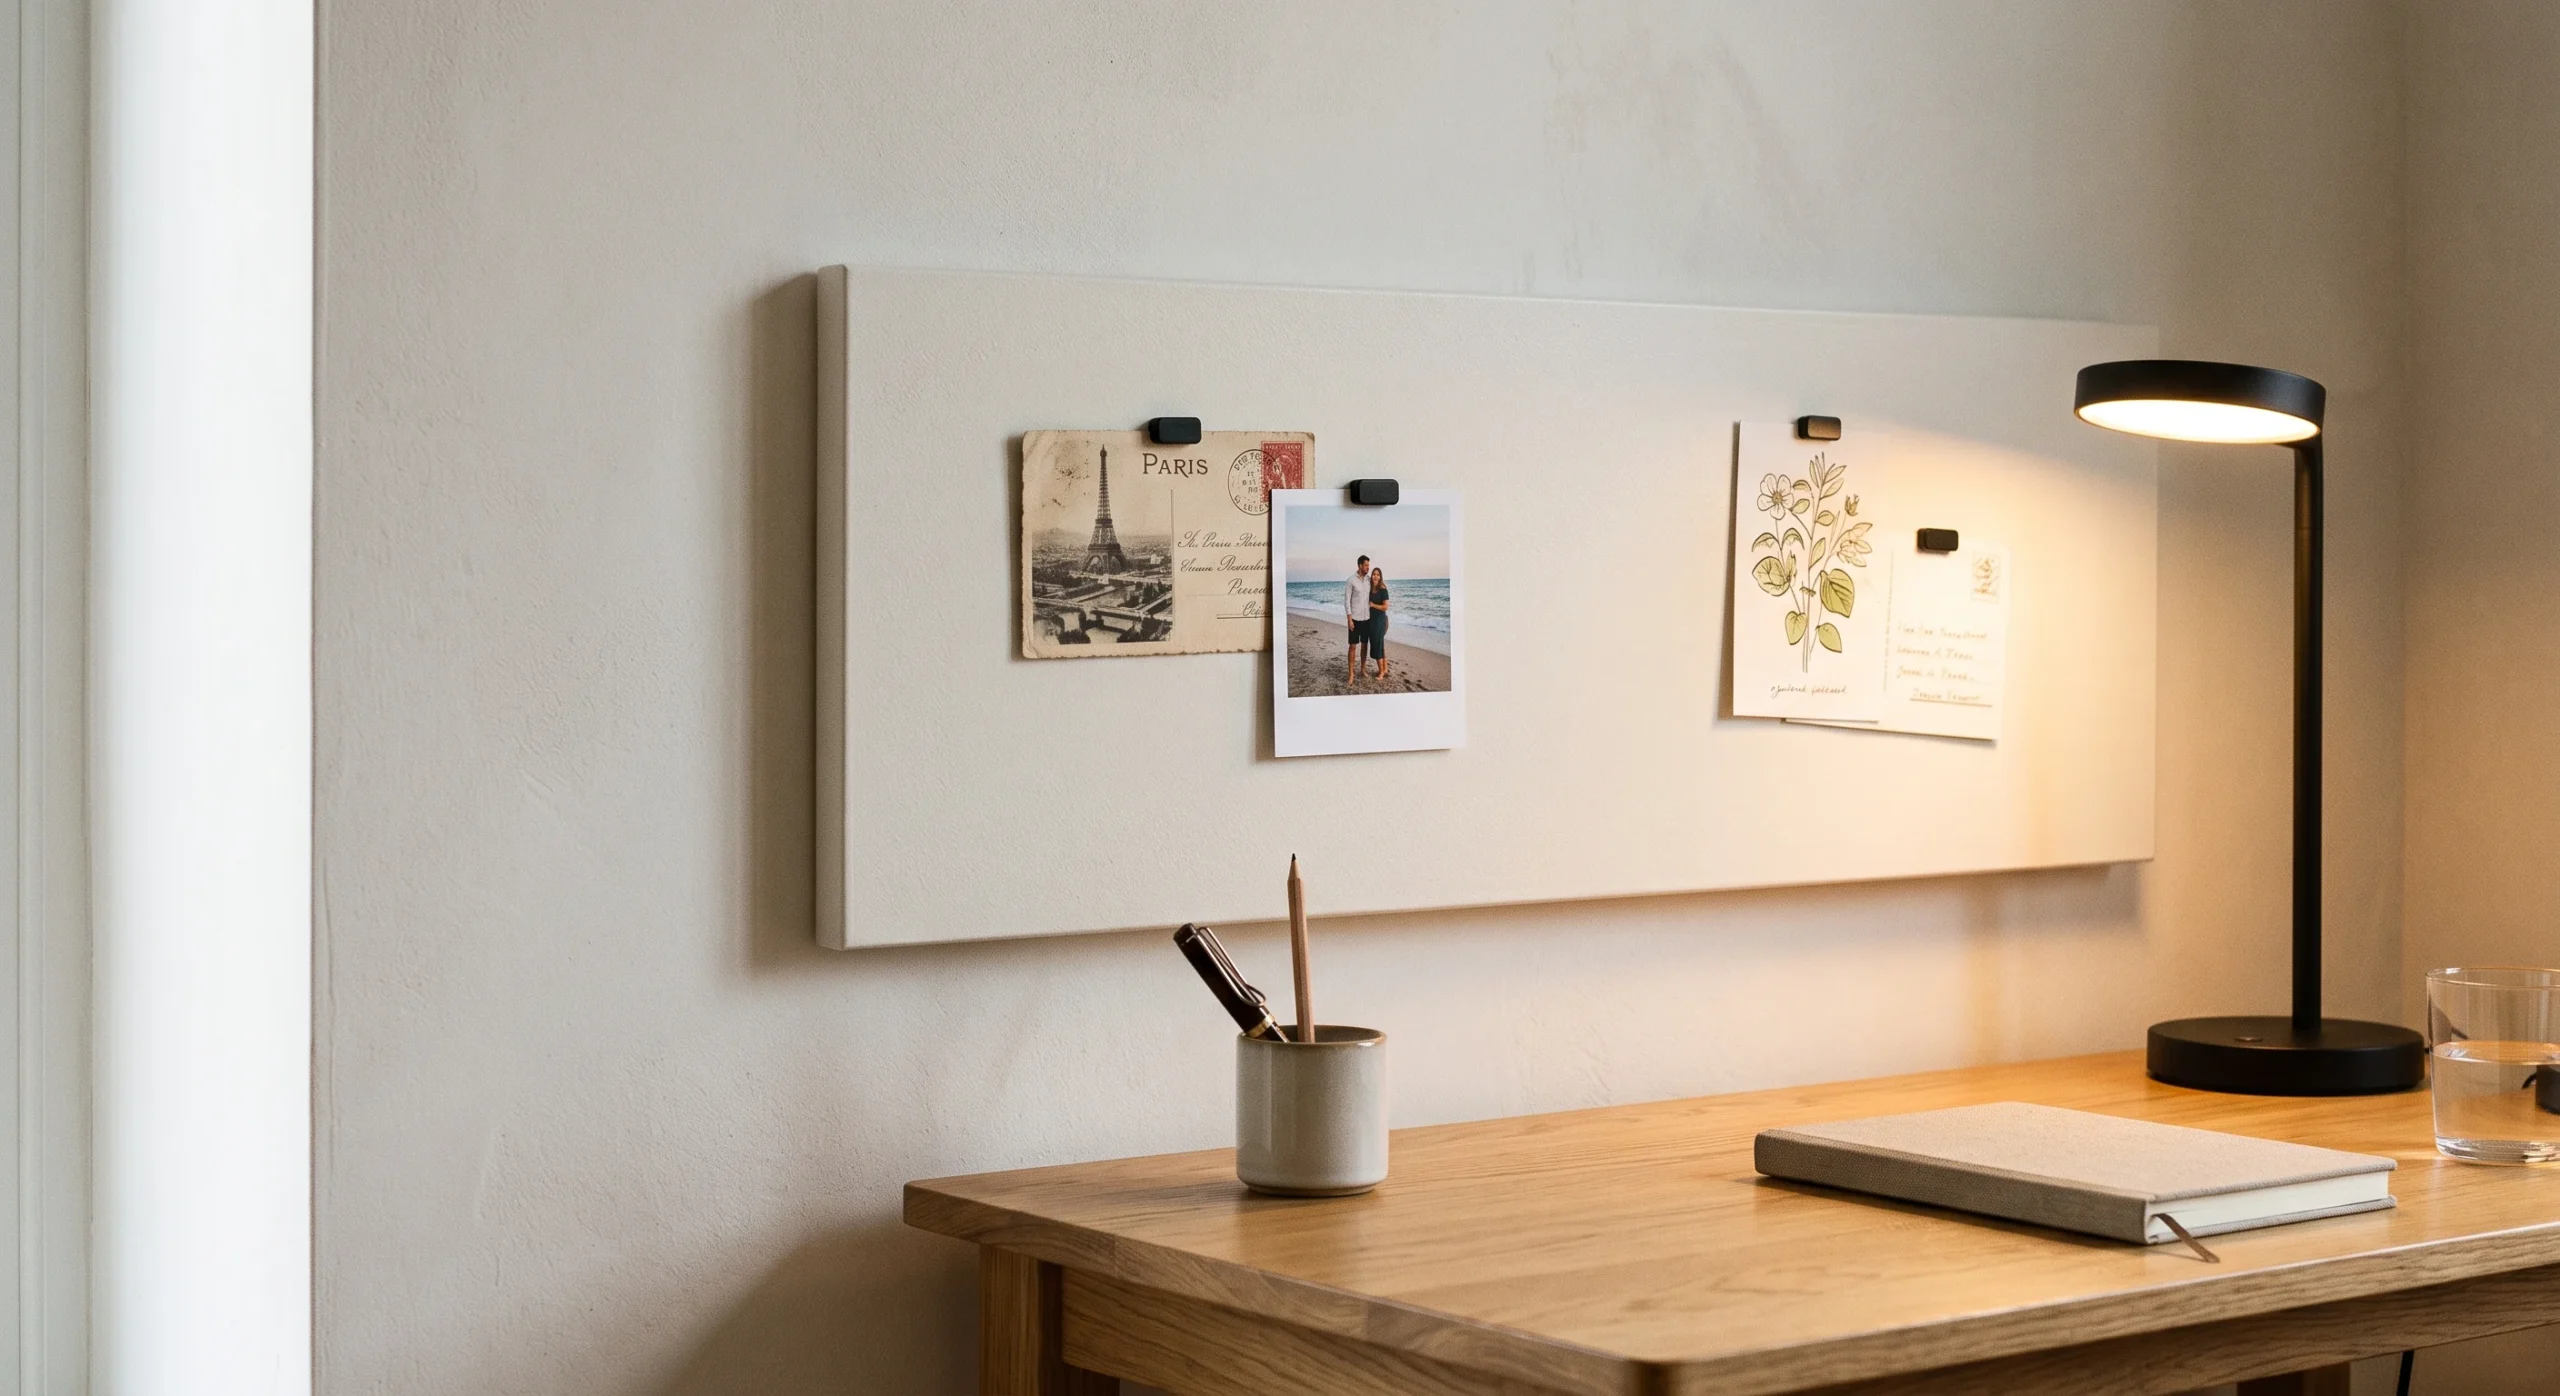
- A thin magnetic sheet mounts with adhesive strips, turning part of a wall into a display surface.
- Use magnetic clips to rotate photos, postcards, or notes without any pins or tape residue.
- Paint or wrap the sheet to match your wall color so it blends in rather than standing out.
- Keep the board sized to one defined zone rather than covering an entire wall for a cleaner look.
A magnetic board wall works on the same principle as a household refrigerator door, applied intentionally to a defined section of wall instead of appearing there by accident. The thin metal sheet mounts using the same adhesive strips used elsewhere on this list, so the wall itself still takes on zero permanent damage overall. Once installed, it becomes an endlessly changeable surface — postcards, photos, small art prints — that can be rearranged in seconds using magnetic clips rather than pins or tape. This is a particularly good fit for a home office or a creative corner that needs to evolve often.
In practice, this idea removes the friction that usually stops people from updating their wall decor regularly, since there’s no adhesive to reapply and no residue risk from frequent changes. Painting the sheet to match the surrounding wall color, rather than leaving it visibly metallic, keeps the feature from reading as a workspace tool bolted onto a living space. The functional and visual benefit compounds over time: the wall stays current with whatever inspires you that month, at no ongoing cost or risk. A slim magnetic sheet also weighs very little, so it never strains the adhesive strips holding it in place.
Corkboard Memo Wall
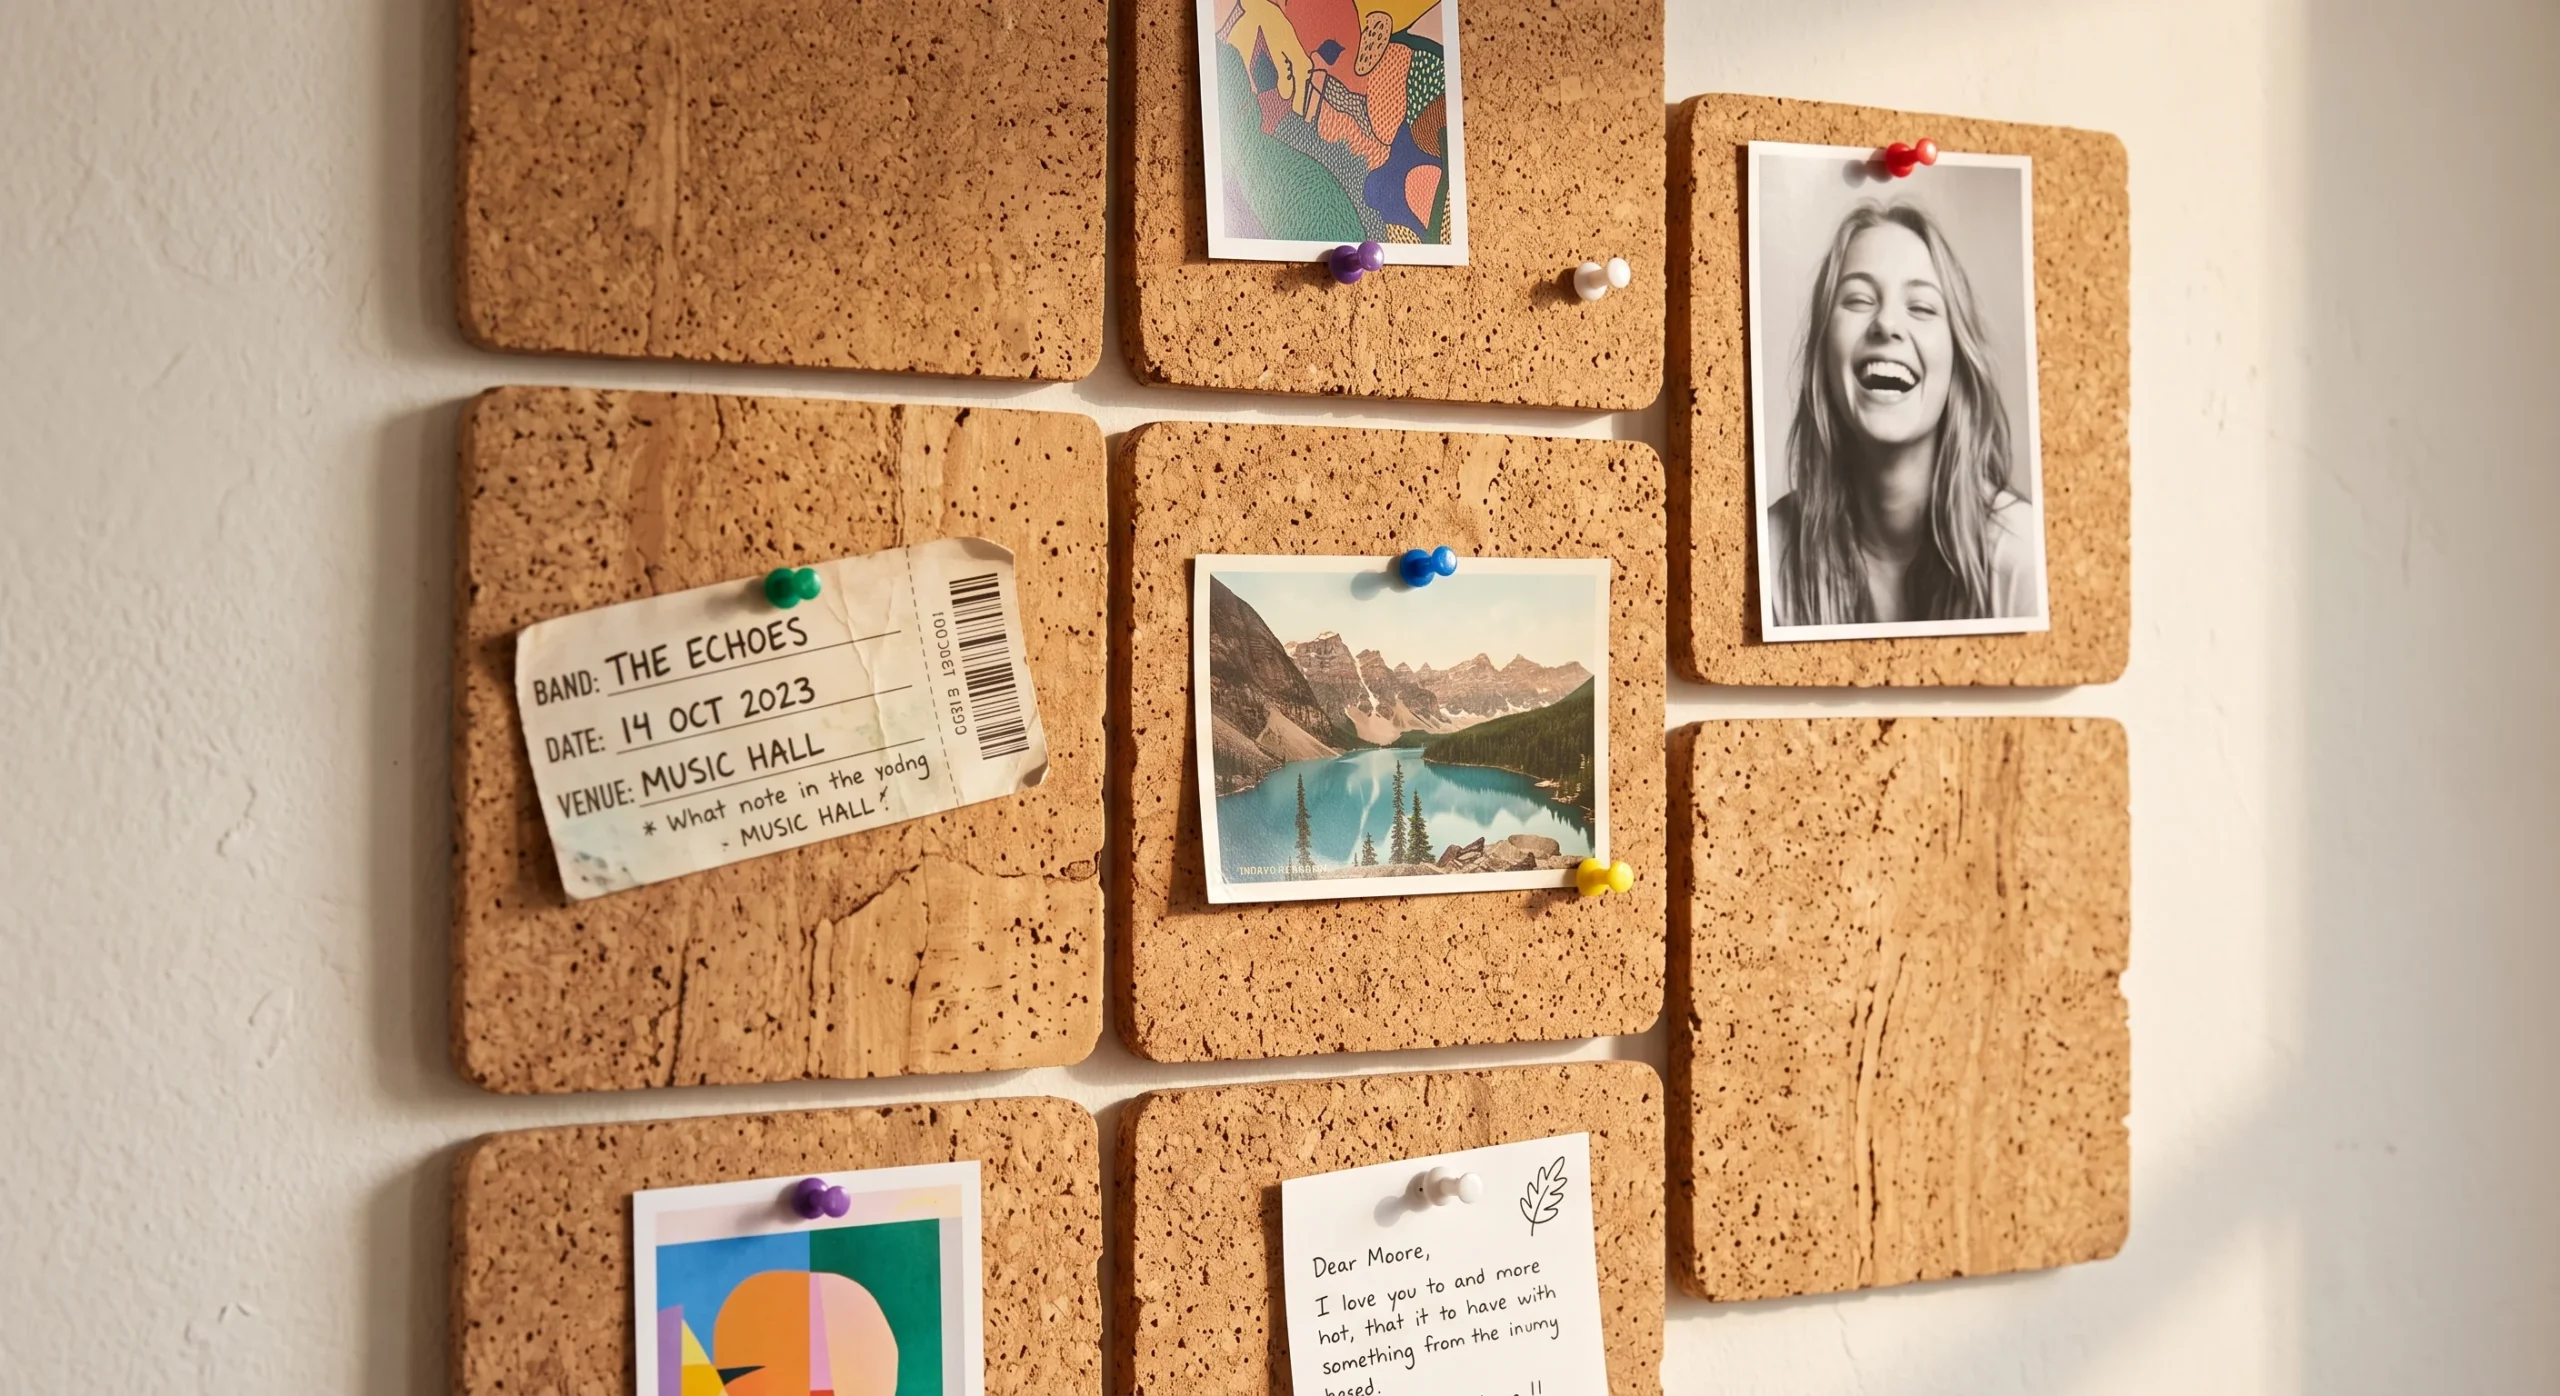
- Thin cork tiles or panels mount with strong adhesive strips, creating a pinboard without any wall damage.
- Use pins directly into the cork for photos, tickets, or notes that change frequently over time.
- Arrange tiles in a grid or scattered cluster depending on how structured you want the look.
- Choose a natural cork finish to add warmth and texture rather than a stark, office-supply feel.
A corkboard memo wall solves the same rotating-display need as a magnetic board but with a warmer, more textural material altogether. Thin cork tiles adhere directly to painted drywall using strong mounting strips, and because cork is lightweight, even a cluster of several tiles stays well within typical strip weight limits. Structurally, the appeal is that pins go into the cork itself rather than the wall behind it, so the wall surface underneath stays completely untouched no matter how often the display changes. This makes it especially practical for anyone who swaps photos or notes on a near-weekly basis.
The natural tan tone of cork brings genuine warmth to a wall in a way that most smooth vinyl or paper decor materials don’t quite achieve on their own. Grouped in a loose cluster rather than a rigid grid, cork tiles read more like an art installation than a bulletin board hanging in an office. Removing the tiles at move-out is a matter of peeling the mounting strips slowly, and any leftover residue lifts easily with a bit of rubbing alcohol on a soft cloth.
Floating Ledge Frames
- Slim floating ledges mount with adjustable anchors sized for drywall, holding several leaning frames at once.
- Overlap frames slightly front to back for a layered, gallery-style arrangement on a single ledge.
- Choose two ledges stacked vertically to build a taller display without needing a wider wall.
- Swap frames seasonally without any new holes, since the ledge itself stays permanently mounted in place.
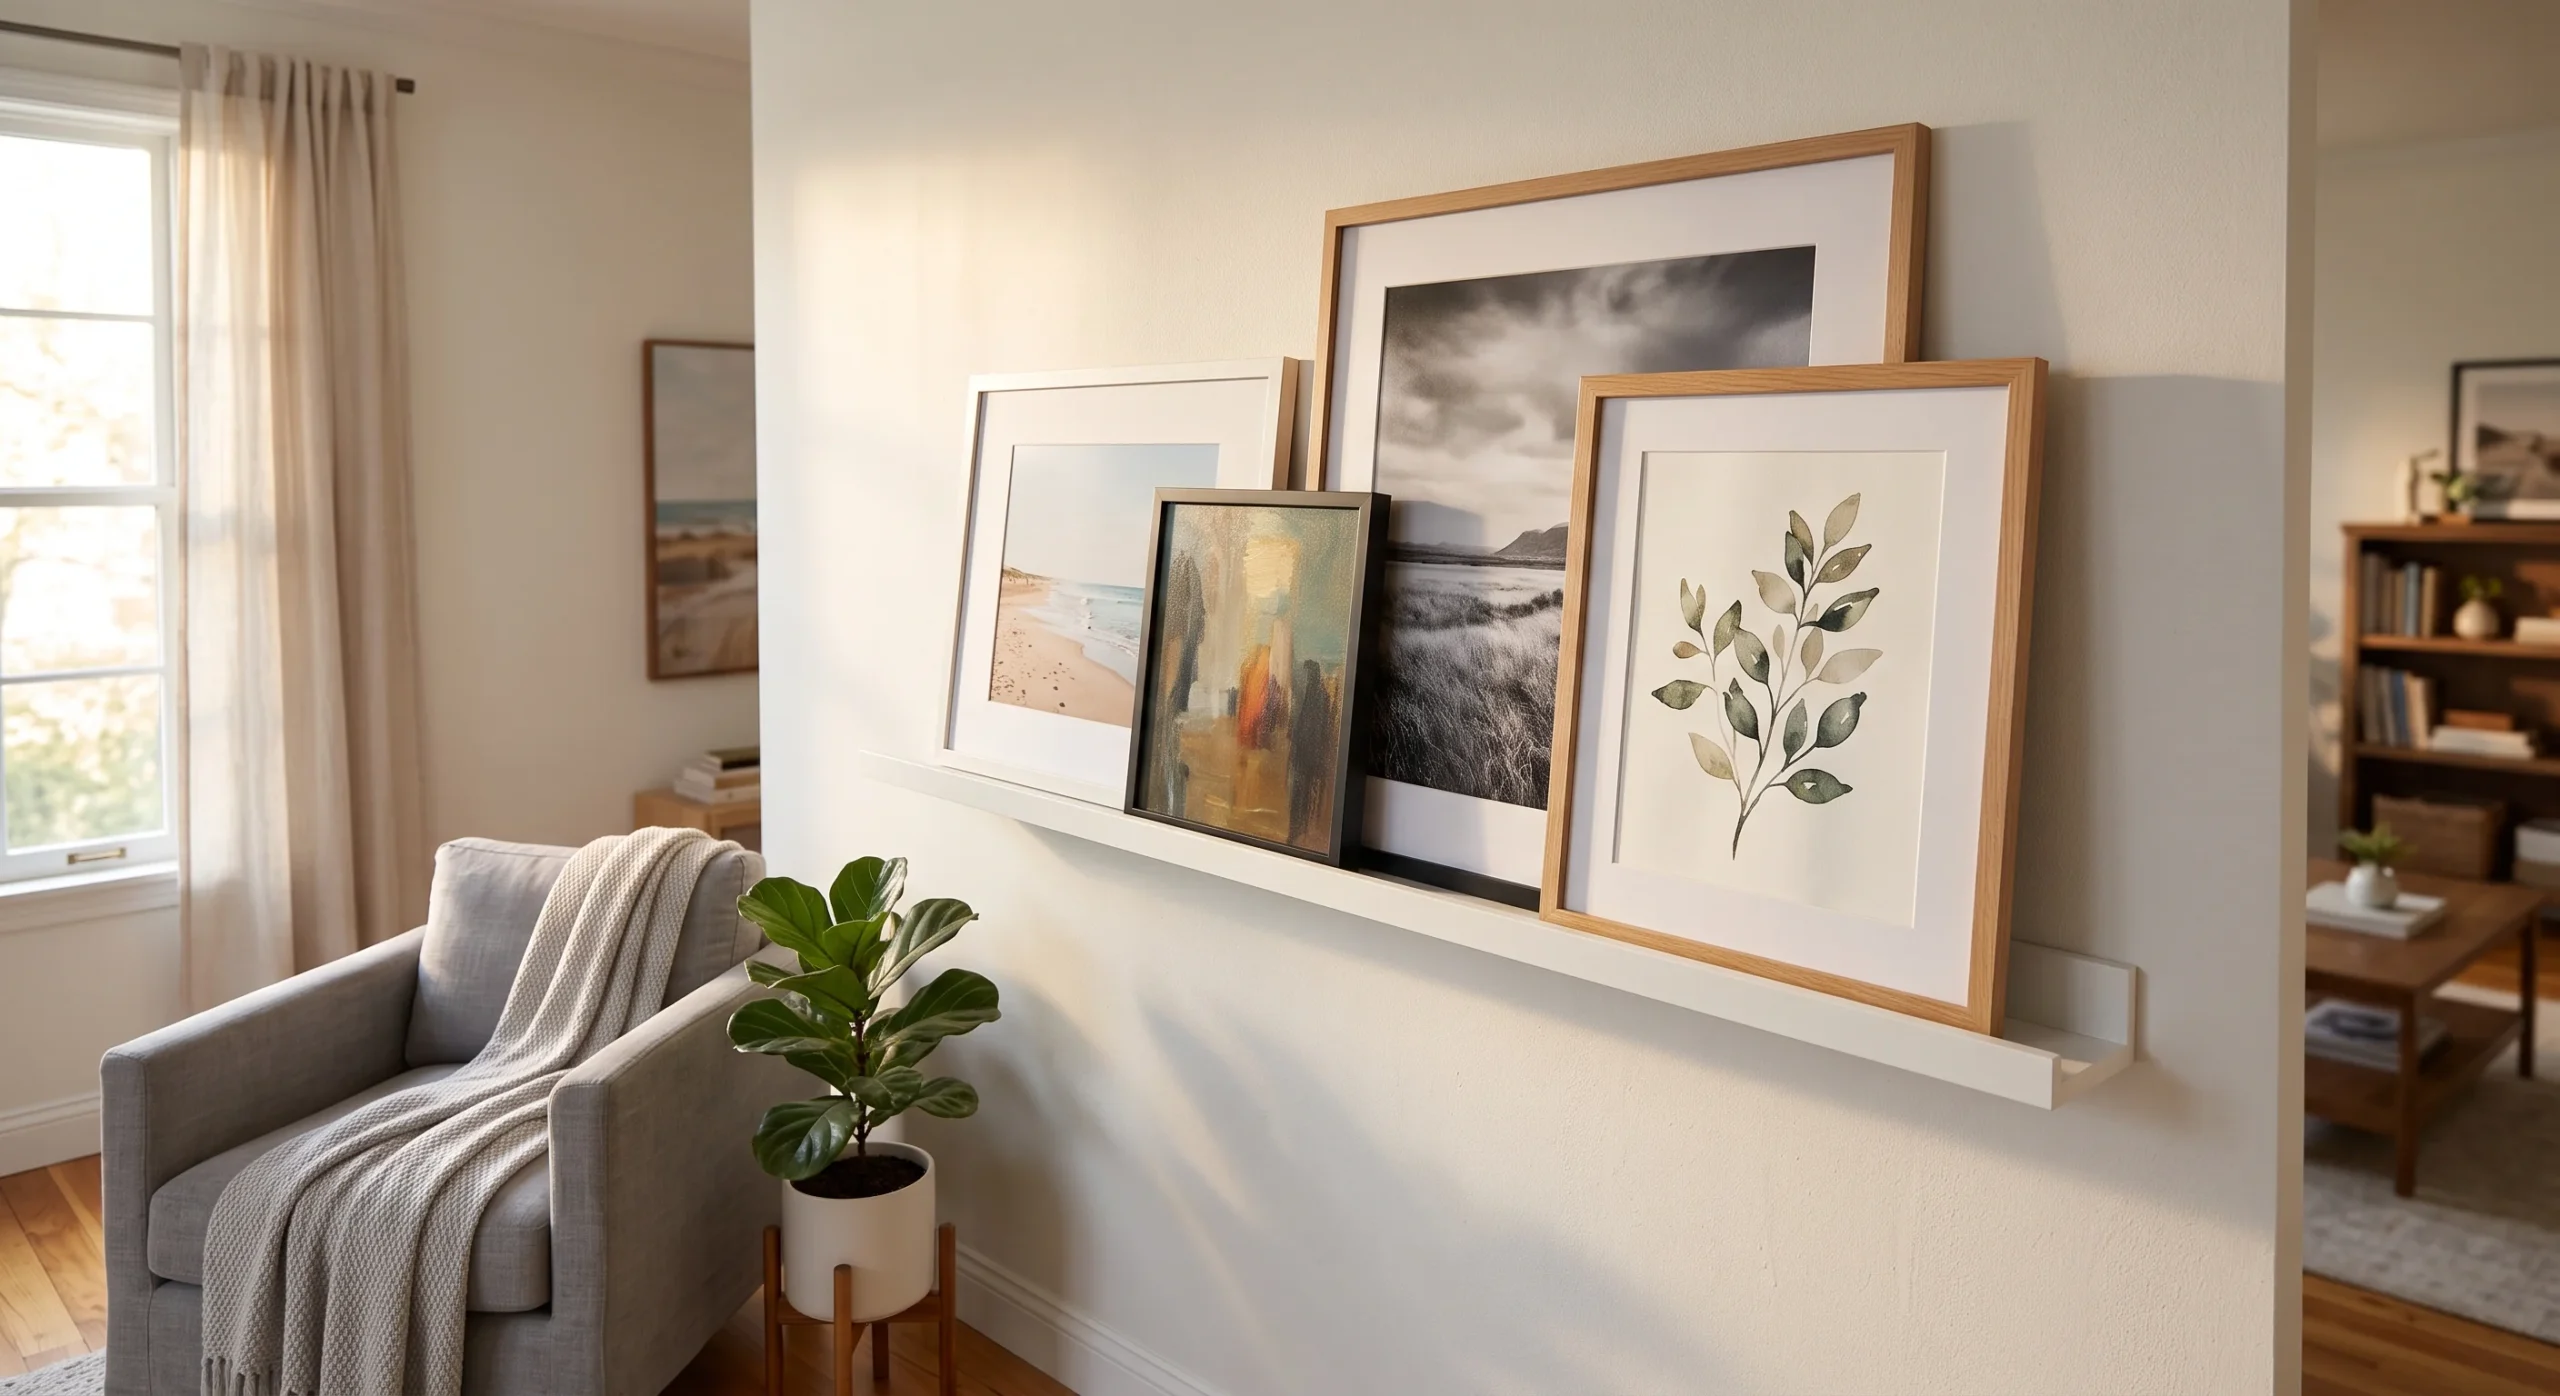
Floating ledge frames take a slightly different approach than the leaning shelves covered earlier: instead of resting on the floor, a slim ledge mounts higher on the wall using minimal, low-impact hardware sized specifically for drywall anchors rather than heavy-duty screws. The ledge itself becomes a permanent fixture, but everything displayed on it can be swapped endlessly without creating any new holes at all. This is a useful middle-ground solution for anyone who wants the layered look of leaning frames but needs the display positioned higher, above furniture or out of a pet’s reach.
Once mounted, a single ledge can hold four or five overlapping frames, creating the kind of depth and dimension that flat-mounted art can’t replicate on its own. Real apartments benefit from the flexibility most: swap in holiday cards during winter, travel photos after a trip, or botanical prints for spring, all without touching a drill again. Because only the ledge itself required installation, the ongoing changes cost nothing and leave nothing behind — a rare combination of one-time setup with continuous restyling potential. Choosing a ledge with a slightly raised front lip also keeps lighter frames from sliding forward over time.
Macrame Wall Hanging
- A single macrame piece hangs from one adhesive hook, adding texture without a gallery of small items.
- Choose a neutral cotton cord piece to keep it versatile across different wall colors and furniture.
- Let it hang slightly off-center above a bed or sofa for a more natural, styled placement.
- Pair it with warm lighting nearby to bring out the woven texture’s shadow detail after dark.
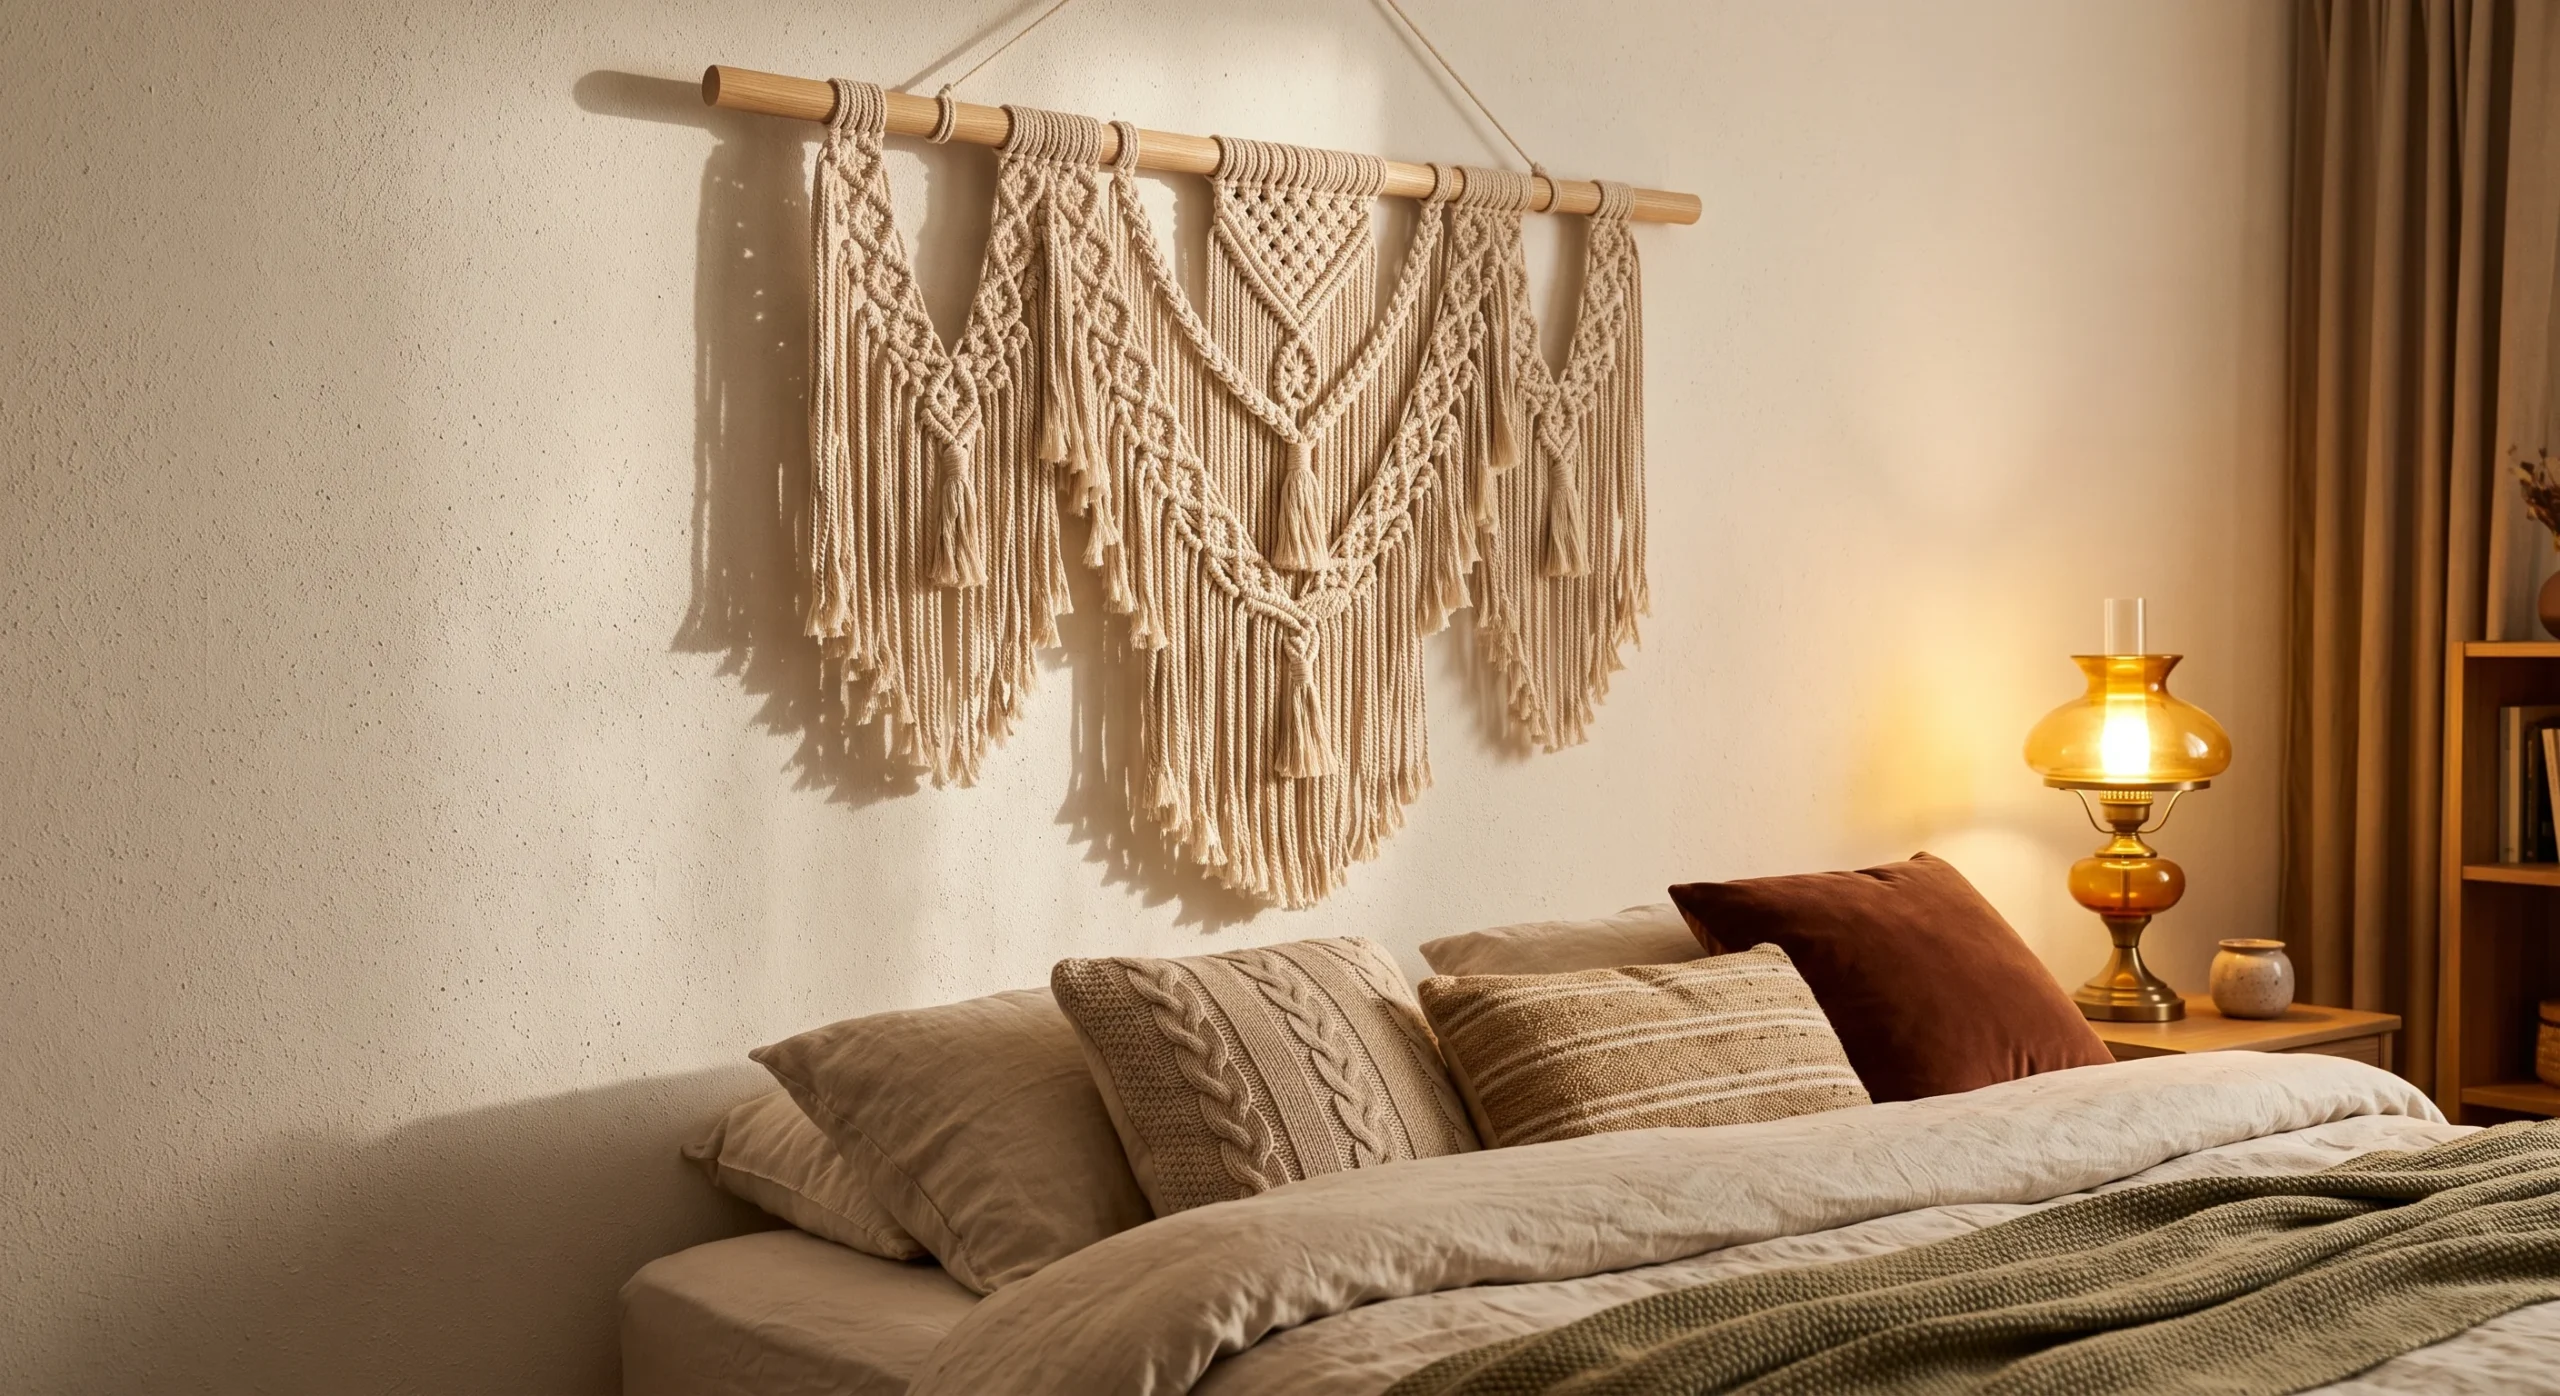
A macrame wall hanging is one of the simplest damage-free decor ideas structurally, since the entire piece typically weighs very little and hangs from a single, well-placed hook. What it lacks in structural complexity, it makes up for in texture — the woven cotton cord creates depth and shadow play that flat art or decals simply can’t replicate on their own. This makes it a strong choice for a wall that already has color or pattern nearby, since a neutral macrame piece adds dimension without introducing competing visual noise. One well-chosen piece, sized to the wall, does more work than several smaller items combined.
In a real bedroom or living room, a macrame hanging placed slightly off-center above furniture reads as a deliberate styling choice rather than a filler item. The texture becomes especially noticeable in the evening, when warm lamp light casts soft shadows through the woven pattern, adding a cozy dimension that daytime light doesn’t reveal as clearly. Because it hangs from one lightweight hook, removal at move-out takes seconds and leaves no trace behind, making it as low-risk as it is visually rewarding overall. Choosing a piece slightly narrower than the furniture beneath it also keeps the whole vignette feeling balanced.
Poster Putty Prints
- Reusable poster putty holds lightweight prints or posters flat against the wall without pins or tape.
- Use small amounts at each corner rather than one large blob for a cleaner, flatter finish.
- Best suited for paper prints and posters rather than heavier framed or canvas pieces.
- Roll leftover putty back into a ball for reuse in a future apartment or new print swap.
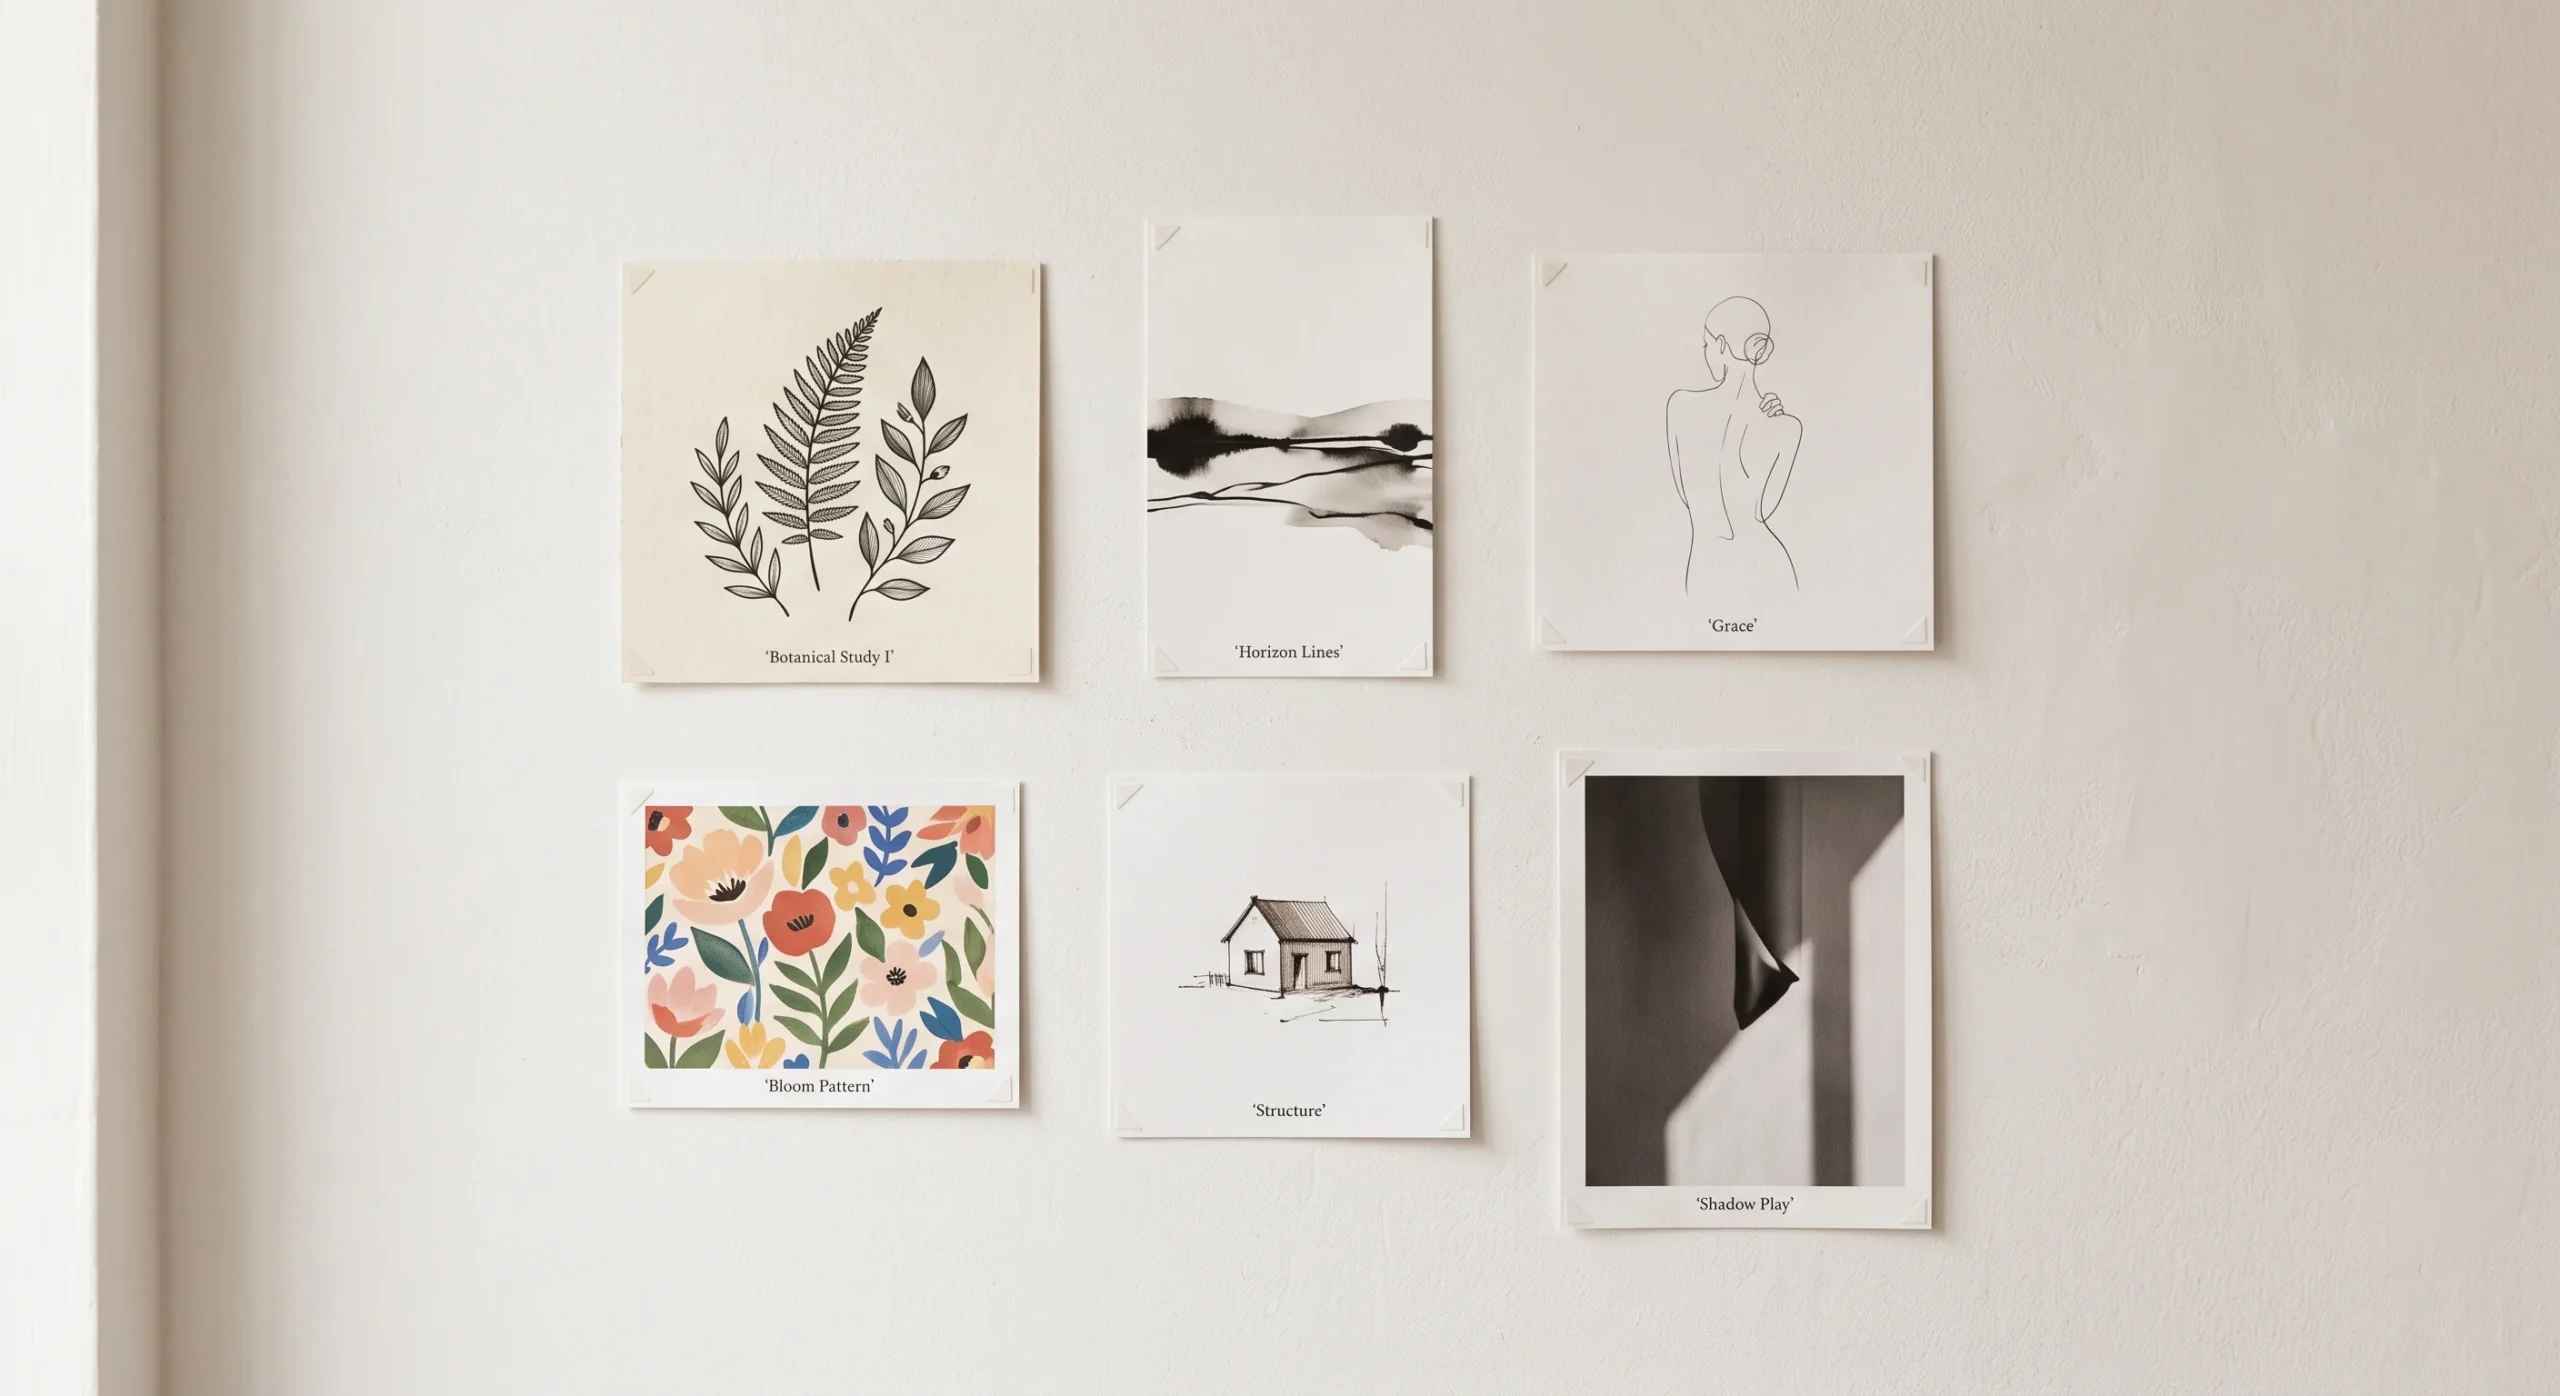
Poster putty is the most budget-friendly entry on this list, and its structural simplicity is exactly the point: small, reusable balls of adhesive putty at each corner hold a paper print flat without any specialized hardware at all. This makes it ideal for renters testing out an art arrangement before committing to frames, since prints can be repositioned in seconds without leaving any lasting mark on the wall. Pressing the putty evenly rather than in one thick clump keeps the print lying flat against the wall instead of curling forward at the edges over time.
The visual result works especially well for a rotating gallery of prints — a few favorites swapped out seasonally, or a growing collection added to gradually as a wall fills in. Because the cost per print display is so low, this is often where renters experiment most freely with color and composition before deciding what deserves an eventual frame. Removal is immediate and clean: the putty peels away in one motion, and any faint residue rubs off easily with a fingertip, leaving the paint underneath untouched.
Removable Vinyl Quotes
- Vinyl lettering applies directly to the wall for a clean, painted-on look that’s fully removable.
- Choose a short phrase or single word rather than a long quote for the strongest visual impact.
- Apply over a smooth, fully cured painted wall for the cleanest adhesion and easiest removal later.
- Use a credit card to press out air bubbles evenly from the center outward during application.
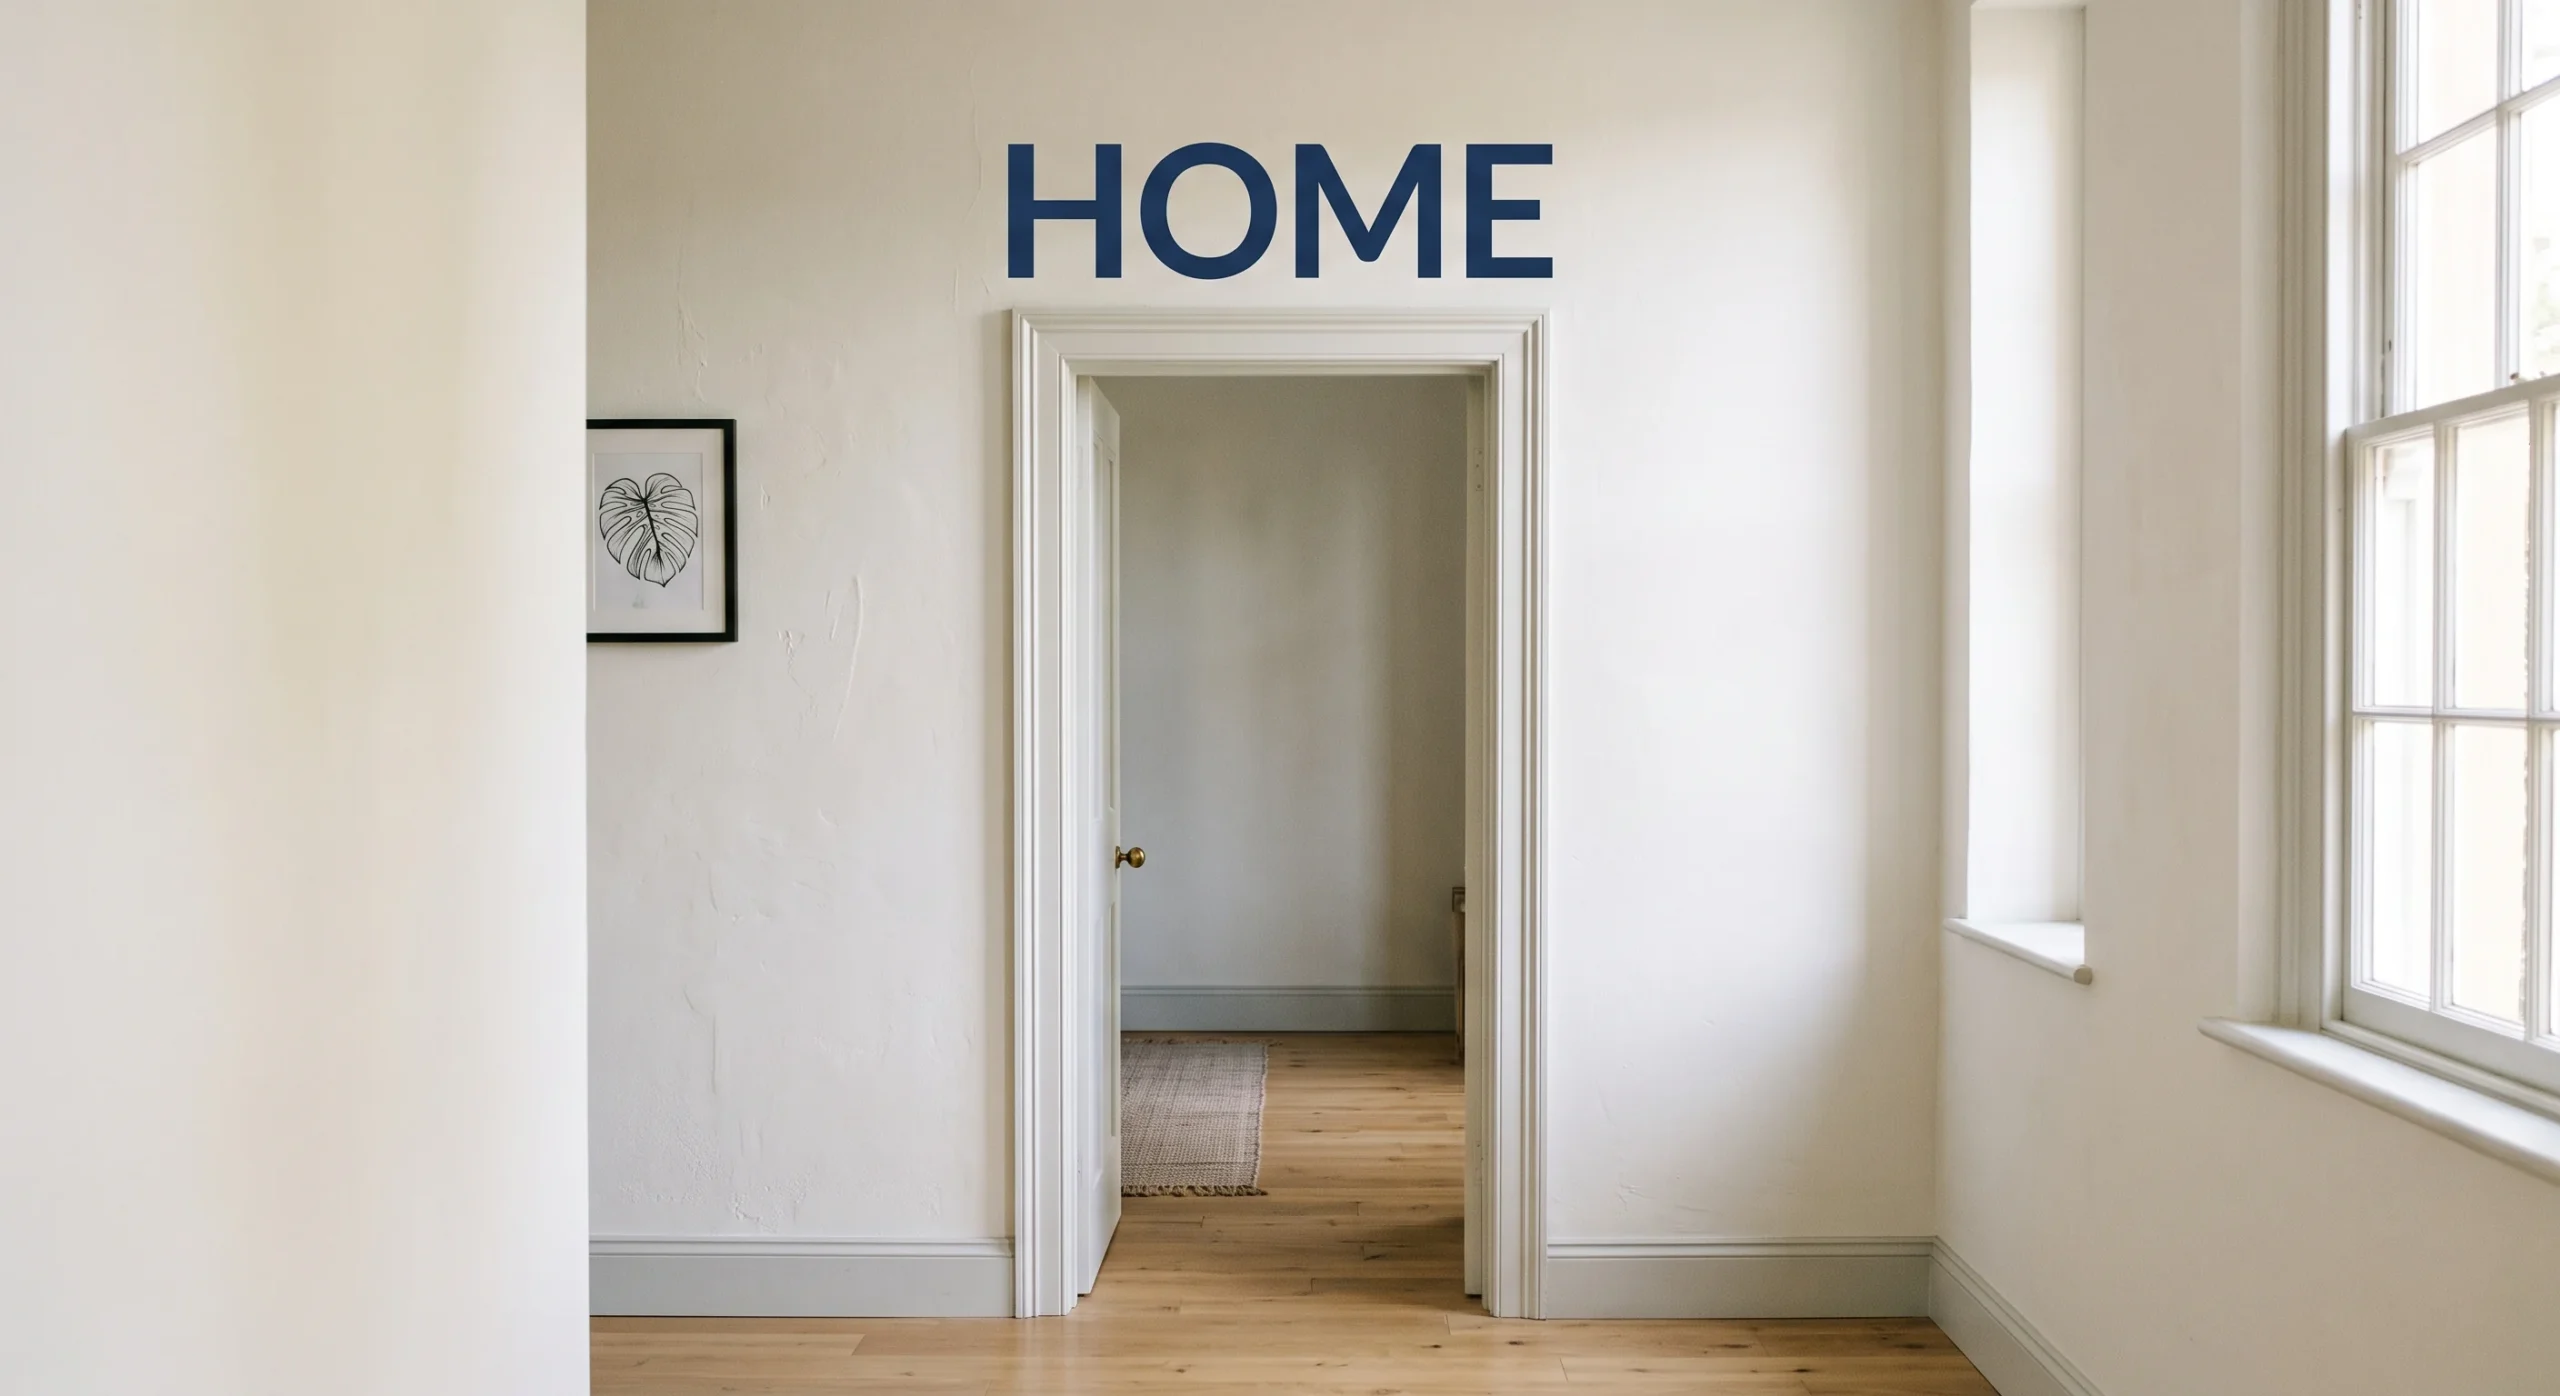
Removable vinyl quotes give a wall the look of custom hand-painted lettering without any actual paint involved, which matters enormously in a home where paint changes usually require landlord approval first. The vinyl material is thin enough that, once applied and smoothed correctly, it reads as though it were painted directly onto the plaster or drywall underneath. Keeping the phrase short — a single word or a few — tends to read as more intentional and gallery-like than a long paragraph of text, which can overwhelm a smaller wall space.
Real homes get the most impact from placing vinyl lettering in an unexpected spot — above a doorway, along a stairwell wall, or beside a mirror — rather than the more obvious space above a sofa. This idea works particularly well for renters who want personality on the wall without committing to art that needs to match a specific style or color palette. When it’s time to remove it, peeling slowly from one corner at a low angle prevents any paint from lifting along with the vinyl.
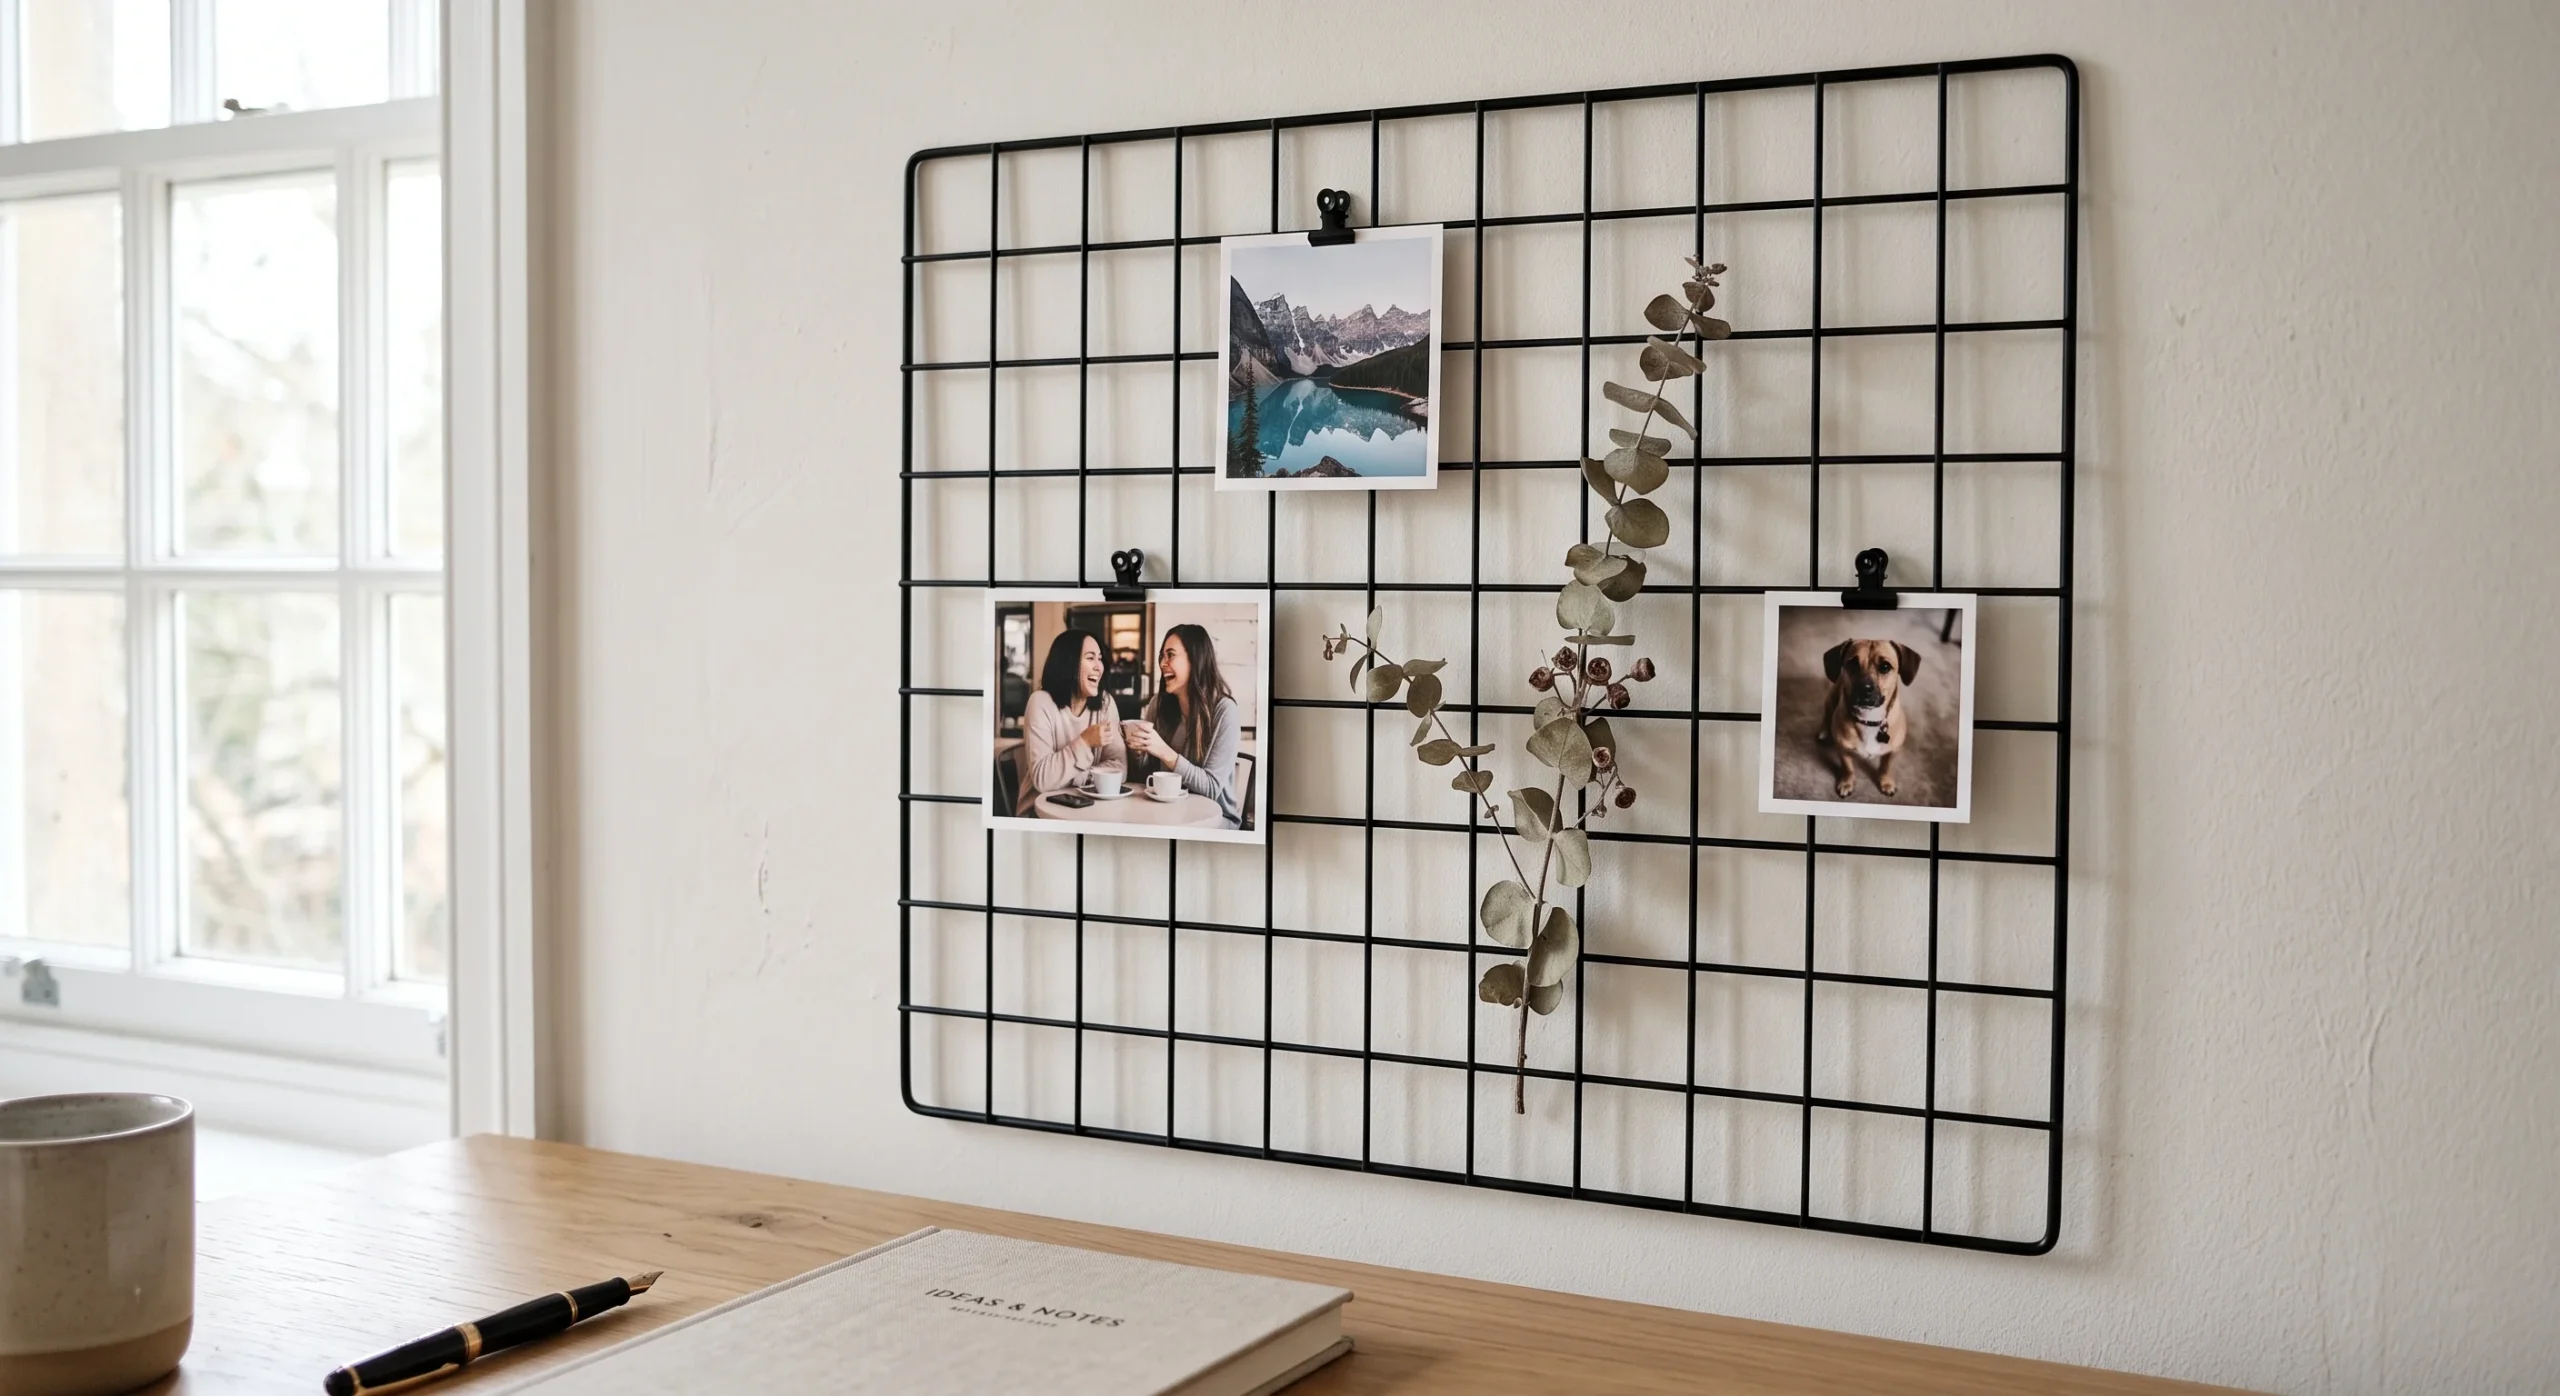
Grid Wire Panel
- A lightweight wire grid panel hangs from one or two adhesive hooks and holds small clip-on items.
- Clip photos, postcards, or dried flowers directly onto the grid for an easily changeable display.
- Choose a slim metal frame in black or gold to keep the grid feeling intentional, not utilitarian.
- Position the panel at eye level so the displayed items are easy to see and swap often.
A grid wire panel brings a structured, almost architectural quality to wall decor that softer materials like fabric or macrame simply don’t offer on their own. The panel itself hangs from just one or two hooks, keeping total wall contact minimal, while the grid surface underneath holds an unlimited number of small clipped items without adding meaningful weight. This makes it one of the more scalable ideas on this list — start with a few photos, and the display grows naturally over time without ever needing new hardware. The clean geometric lines also read well against almost any wall color.
In practice, a grid panel becomes a living display rather than a fixed one, since clips make swapping items nearly effortless compared to reframing or reprinting art entirely. Real households often use it to display evolving collections — postcards from trips, kids’ artwork, seasonal photos — in a way that stays organized rather than cluttered over time. Because the entire structure hangs from so few points, taking it down at move-out is a two-minute task, and the wall underneath shows no sign it was ever there.
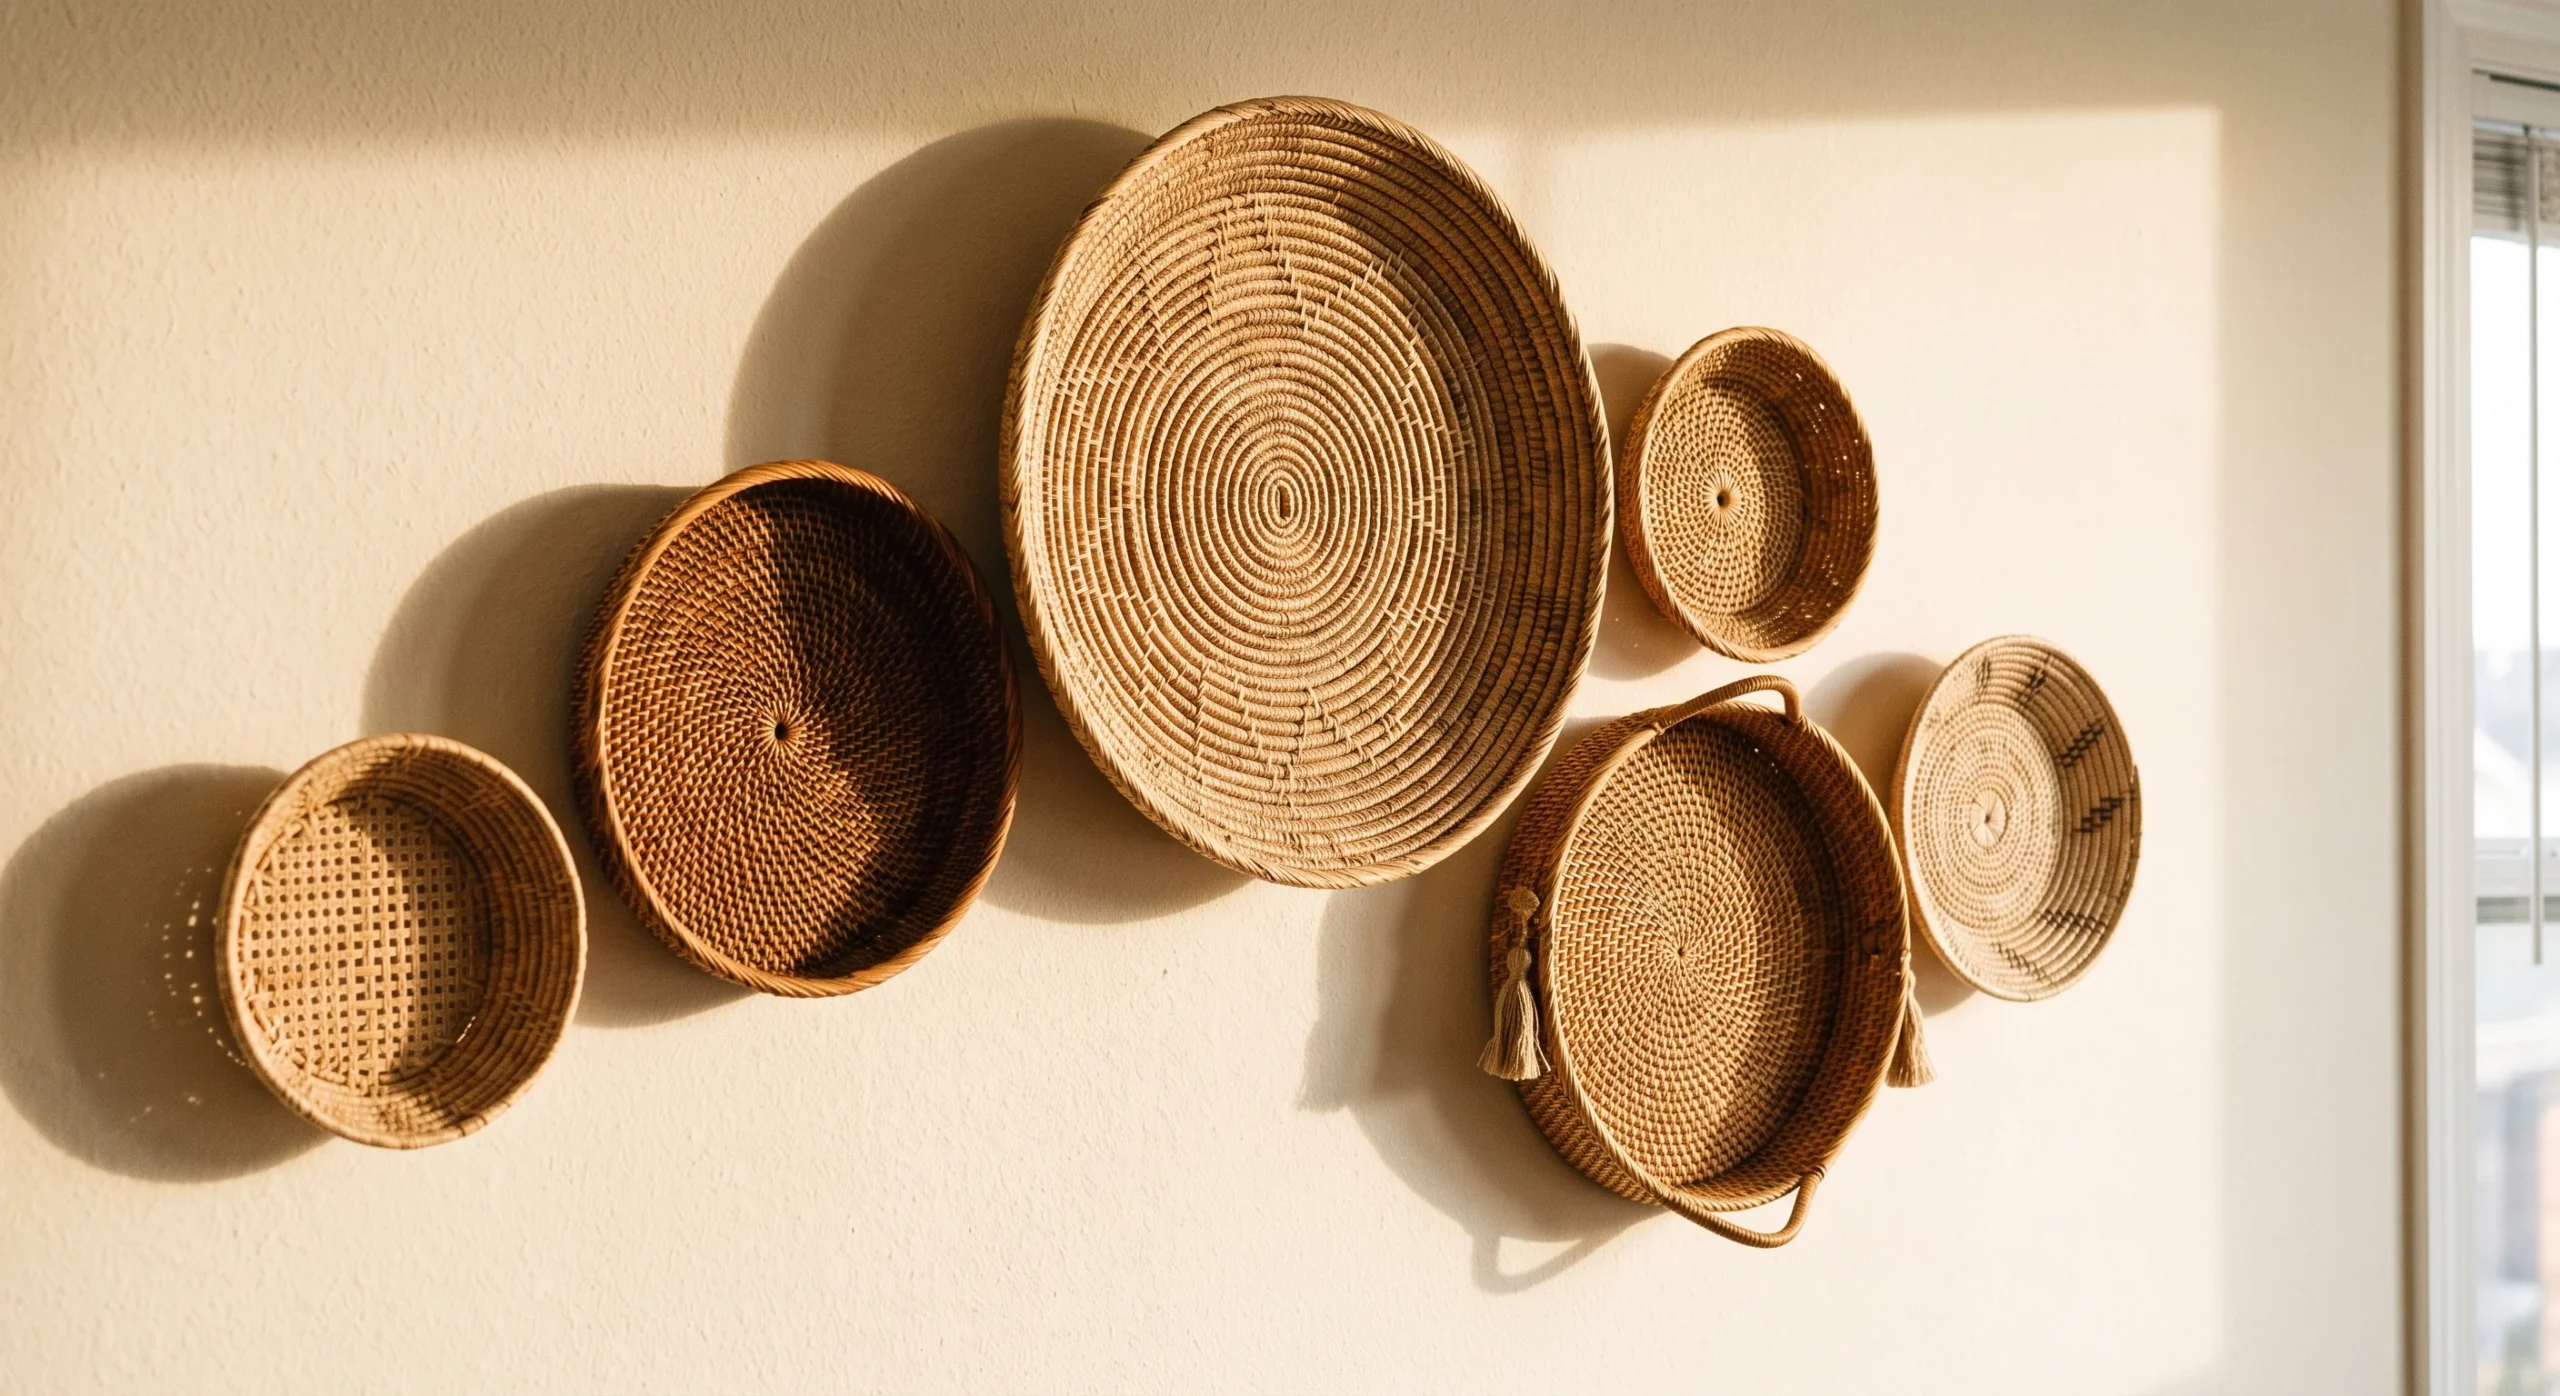
Woven Basket Wall
- Flat woven baskets hang from adhesive hooks in a cluster, adding texture and a sculptural, layered look.
- Vary basket sizes and shapes slightly for a more organic, gallery-style grouping on the wall.
- Choose natural rattan or seagrass tones for warmth that works well with most existing decor.
- Keep the cluster asymmetric rather than a perfect grid for a more relaxed, handmade feel.
A woven basket wall brings dimensional texture to a flat surface in a way that framed art simply can’t achieve, since each basket casts its own soft shadow depending on the light. Structurally, baskets are ideal for adhesive hooks because their natural material keeps them genuinely lightweight despite their visual presence, meaning even a cluster of five or six stays well within typical hook weight limits. Arranging them in a loose, organic cluster rather than a rigid grid gives the wall a handmade, collected-over-time feeling that fits especially well in earthy or minimalist interiors.
The transformation this idea offers is genuinely dramatic for the effort involved: a plain wall becomes a textured, sculptural feature in under an hour, with materials that cost relatively little overall. Real apartments benefit from the way baskets catch and diffuse natural light differently throughout the day, giving the wall a subtle movement that flat decor simply doesn’t provide. When it’s time to take the cluster down, each basket lifts off its hook individually, and the whole wall returns to its original blank state within minutes.
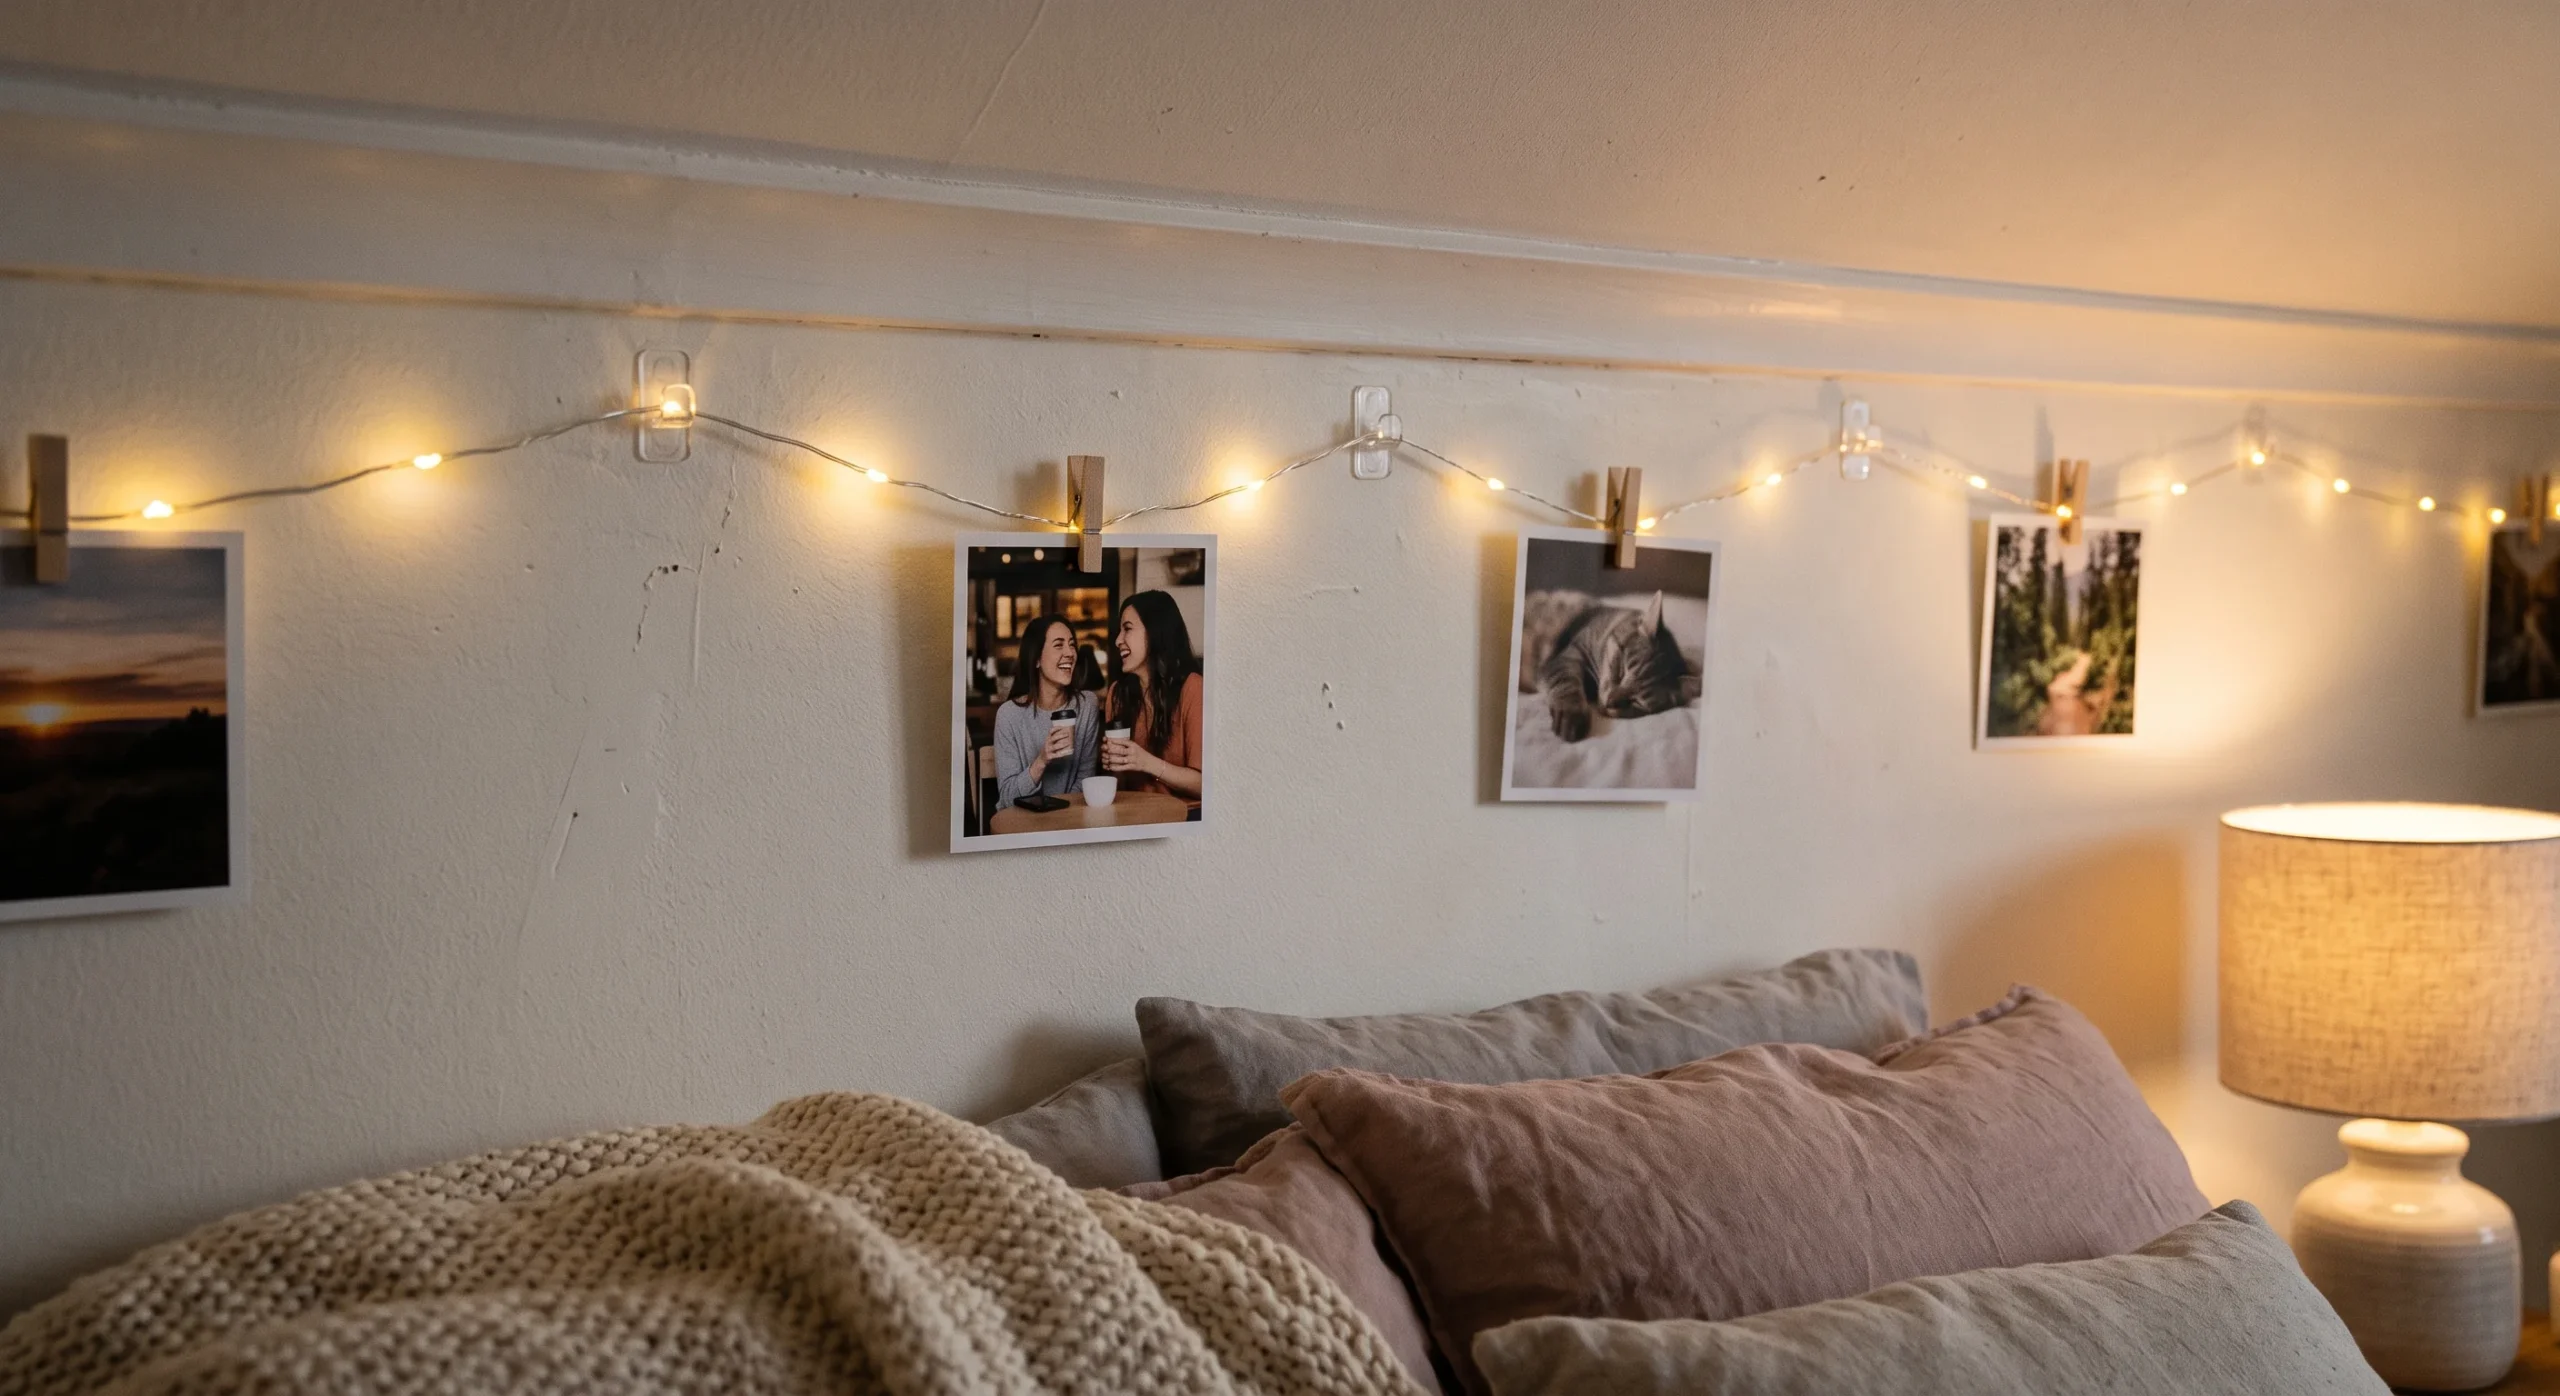
String Light Clips
- Adhesive clips route string lights along a wall or around a doorway without any nails or tacks.
- Use warm white bulbs rather than cool white for a softer, more residential glow at night.
- Route the cord along a baseboard or ceiling line to keep the installation looking tidy, not tangled.
- Combine with framed prints or photos clipped directly onto the string for a layered evening display.
String light clips close out this list because lighting changes a wall’s mood in a way no static decor item can fully replicate on its own. Small adhesive clips route the cord along a chosen path — framing a window, tracing a doorway, or outlining a headboard wall — without a single nail or tack involved. Structurally, the clips carry almost no load, since string lights themselves weigh very little, which makes this one of the lowest-risk additions on the entire list. Positioning clips every six to eight inches keeps the cord’s line clean and intentional rather than sagging.
In real bedrooms and living rooms, warm string lighting adds a soft ambient layer that overhead lighting rarely achieves on its own, especially in the evening hours. Clipping small photo prints directly onto the string turns the lighting into a display feature as well, doubling its function without adding any extra wall hardware. At move-out, the clips peel away individually, and the wall is left exactly as it was found, completing a full room’s worth of decor changes without a single hole to patch or explain to a landlord.
FAQ
Do command strips actually work on textured or older painted walls?
Command strips hold most reliably on smooth, fully cured paint, so textured plaster or recently painted walls can reduce their grip. Test one strip in a low-visibility spot first and wait the full recommended cure time before hanging anything. If a wall consistently rejects adhesive, a leaning shelf or tension rod option is usually the safer structural choice.
What’s the best option for hanging something heavier, like a mirror?
For anything beyond a few pounds, an over-the-door mirror or a floor-leaning piece is generally more reliable than adhesive alone, since the weight transfers to the door frame or floor rather than the wall. Heavy-duty strips can work for mid-weight items, but always check the manufacturer’s stated limit first. When in doubt, it’s worth reaching out to a professional — you can book a consultation directly at https://wa-associates.com/book-a-consultation/ to talk through options if you’re planning a bigger transformation once your lease allows it.
Will any of these methods leave marks when I move out?
Properly applied adhesive strips, hooks, and tape are designed to release cleanly from painted walls when removed slowly at the recommended angle. The most common cause of leftover marks is pulling too fast or at the wrong angle, not a flaw in the product itself. Following each manufacturer’s specific removal instructions is the real safeguard here.
How many of these ideas can I combine in one room without it feeling cluttered?
Two or three ideas per wall is usually the sweet spot — for example, a gallery wall on one side and a leaning ledge on another. Repeating the same idea across every wall tends to feel busier than mixing a few different textures and heights throughout the room.
Conclusion
Renting doesn’t have to mean living with bare, impersonal walls until you finally own a place. These rental-friendly wall decor ideas prove that real style, warmth, and character can exist entirely within your lease terms — no drills, no patching, no risk to your deposit. Start with just one or two: a leaning shelf here, a gallery wall there, and let the rest build over time as you find what actually fits your space. Save this list to Pinterest so it’s easy to find again, try the idea that excites you most this weekend, and pass it along to a renter friend still staring at an empty wall.